I was halfway through trying to prune my basil plants last Sunday when my shears finally gave up the ghost, hacking at the stems instead of slicing through them. I stood there in my kitchen, staring at a pile of crushed, bruised leaves, feeling that familiar flash of frustration because I just wanted to get things done. Most people think you need to drop a hundred bucks on those professional-grade electric sharpeners or some complicated diamond-plate setup to fix the problem, but honestly? That’s just a way to waste money. Learning how to sharpen tools isn’t about buying more gear; it’s about understanding the basic physics of an edge so you can stop fighting your equipment and start actually using it.
I’m not here to give you a lecture on metallurgy or show you a perfectly curated, “aesthetic” workshop that looks like a magazine spread. Instead, I’m going to show you the messy, real-world way to get a razor-sharp edge using just a basic whetstone and a little bit of patience. We’re going to skip the fluff and focus on the specific angles and movements that actually work for the stuff you use every day—from kitchen knives to garden shears. By the end of this, you’ll have the confidence to revive your old gear without breaking your budget.
Table of Contents
- Step-by-Step Instructions
- Mastering Whetstone Sharpening Techniques for Real Results
- Finding the Perfect Sharpening Angle for Different Tools
- Five things I wish I knew before I ruined a perfectly good blade
- The bottom line: keeping your gear sharp without the headache
- ## The real takeaway
- Making It Stick
- Frequently Asked Questions
Guide Overview
Tools & Supplies
- Chisel or Knife (the item being sharpened)
- Sharpening Stone (whetstone or diamond plate)
- Water or Honing Oil (as required by stone type)
- Leather Strop (for final polishing)
Step-by-Step Instructions
- 1. First things first, you need to figure out what you’re actually working with. Don’t just grab a random stone and start rubbing metal against it; you need to identify the edge type. A kitchen knife is totally different from a garden trowel or a heavy-duty chisel. Take a second to look at the blade—is it a single bevel or a double bevel? Knowing this prevents you from ruining a perfectly good tool by grinding it into a useless piece of scrap.
- 2. Grab your sharpening surface. If you’re like me and don’t want to drop $80 on a professional kit, a simple dual-grit whetstone is your best friend. One side is coarse for fixing the heavy damage, and the other is fine for that smooth, finished edge. If you’re in a pinch and just need to fix a dull garden tool, a metal file works too, but please don’t use a concrete sidewalk unless you enjoy the taste of grit in your morning coffee.
- 3. Set up your workspace so you aren’t fighting your tools. I usually prop my stone up on a damp kitchen towel to keep it from sliding around while I work. You want a stable base because if the stone shifts mid-stroke, you’re going to lose your angle and end up with a jagged, uneven mess. It’s much better to spend two minutes setting up than twenty minutes trying to fix a mistake.
- 4. Now, let’s get to the actual grinding. This is where most people panic, but just breathe. Hold the tool at a consistent angle—usually about 15 to 20 degrees for most household blades—and start making long, sweeping strokes across the stone. Don’t use short, frantic movements; you want to use the full length of the stone to ensure the edge stays even from heel to tip.
- 5. You’ll know you’re making progress when you feel the “burr.” This is a tiny, microscopic lip of metal that curls over the edge of the blade as you sharpen it. Once you feel that slight roughness when you run your thumb (carefully!) across the opposite side, it’s time to switch sides. It’s a bit of a sensory thing, but once you get the hang of it, you’ll know exactly when to move on.
- 6. Once the edge feels decent, it’s time to refine it. Switch to the finer, smoother side of your whetstone and repeat the process with much lighter pressure. This step isn’t about removing metal; it’s about polishing away those microscopic scratches you made during the heavy grinding. Think of it as the final smoothing pass that turns a functional tool into one that actually glides through work.
- 7. Finally, clean everything off. Wipe the tool down with a dry cloth to get rid of any leftover metal dust or stone grit. If it’s a tool you use outdoors, like a pair of shears, I highly recommend applying a tiny drop of oil to the metal. It prevents rust and keeps everything moving smoothly, which is a small habit that saves you a massive headache down the road.
Mastering Whetstone Sharpening Techniques for Real Results
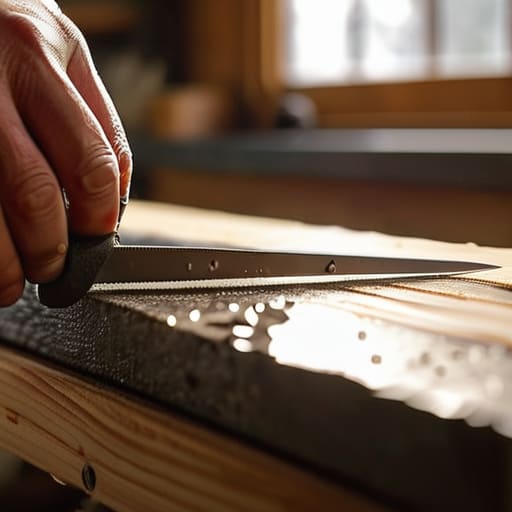
Once you’ve got your basic rhythm down, the real magic happens when you start fine-tuning your approach. A lot of people ask me about honing steel vs sharpening stone, and honestly, it’s a common point of confusion. Think of a honing steel as your daily maintenance—it just realigns the edge you already have. But if your tool is actually feeling dull or struggling through a project, you need the stone to physically remove metal and reshape that edge. It’s not about choosing one; it’s about knowing when you’ve moved past “maintenance” and into “repair” mode.
The biggest game-changer for me was finally paying attention to the sharpening angle for different tools. You can’t treat a delicate paring knife the same way you treat a heavy-duty garden trowel. If you’re too steep, you’ll grind away the metal unnecessarily; too shallow, and you’ll never get a bite. I’ve learned through plenty of trial and error that consistency is more important than perfection. Just find a comfortable angle that works for the specific tool in your hand and stick to it. It’s much better to take your time than to rush and end up with a jagged, useless edge.
Finding the Perfect Sharpening Angle for Different Tools
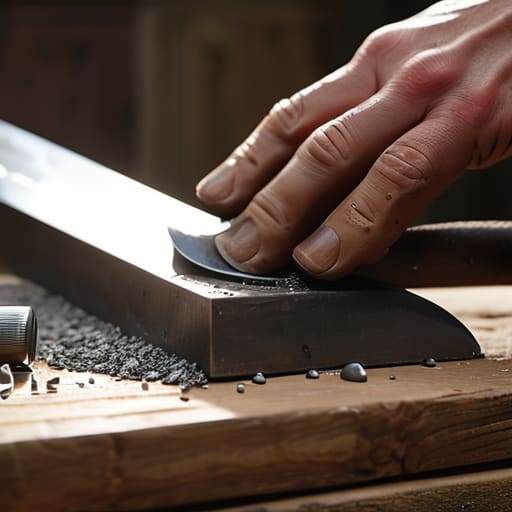
Here’s the thing: if you try to treat a heavy-duty garden shears like a delicate kitchen paring knife, you’re going to end up with a tool that’s either useless or dangerous. Finding the right sharpening angle for different tools is less about following a strict math equation and more about understanding what the tool actually does. For your kitchen knives, you want a shallow, acute angle—usually around 15 to 20 degrees—to ensure they slice through a tomato without any struggle. But if you’re working on something beefier, like a chisel or a lawnmower blade, you need a much steeper, more obtuse angle to handle the impact.
I used to get frustrated trying to hold a perfect angle by hand, but I realized that consistency matters more than perfection. If your angle wobbles all over the place, you aren’t actually creating a clean edge; you’re just scratching the metal. While a honing steel is great for a quick touch-up to keep things straight, it isn’t a substitute for the deep work of a stone. To really focus on maintaining blade edge longevity, aim for that steady, rhythmic stroke. It takes a bit of muscle memory, but once you find that “sweet spot,” it becomes second nature.
Five things I wish I knew before I ruined a perfectly good blade
- Stop rushing the process; if you try to force a sharp edge in two minutes, you’re just going to end up with a jagged, useless mess that’ll frustrate you more than a dull knife ever could.
- Don’t skip the soaking part—if you’re using a whetstone, make sure it’s actually saturated with water, otherwise you’re just grinding grit into the metal and scratching up your tools for no reason.
- Keep your fingers clear of the edge, seriously; I learned that the hard way when I was trying to “feel” the angle and ended up needing a bandage more than a sharp screwdriver.
- Use the grit you actually need instead of jumping straight to the fine finish; you have to do the heavy lifting with the coarse stone first to actually reshape the metal before you even think about polishing it.
- Check your progress often by testing on something soft like a piece of scrap cardboard rather than your expensive kitchen knives—it’s a much safer way to see if you’ve actually hit that sweet spot.
The bottom line: keeping your gear sharp without the headache
Don’t get caught up in the gear obsession; a decent whetstone and a little patience will beat an expensive, flashy kit every single time.
Consistency is everything—it’s much better to hold a steady, mediocre angle than to constantly hunt for a “perfect” one that you can’t actually maintain.
Stop waiting until your tools are useless to fix them; a quick five-minute touch-up once a month saves you from the frustration of fighting a dull blade mid-project.
## The real takeaway
“At the end of the day, a sharp tool isn’t about having a pristine workshop or the most expensive gear; it’s about respecting your time enough to make sure your tools actually work when you need them to.”
Maya Sterling
Making It Stick
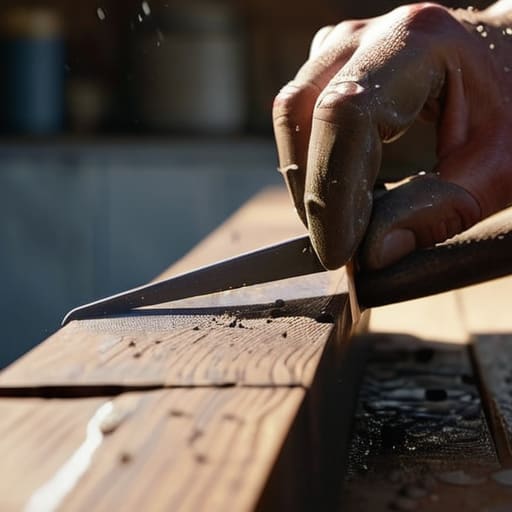
At the end of the day, sharpening your tools isn’t about achieving some level of professional mastery or owning a thousand-dollar setup; it’s about respect for the things you use every single day. We’ve covered how to find that sweet spot with your angles, how to actually use a whetstone without getting frustrated, and why a dull blade is basically just a safety hazard waiting to happen. Just remember that it’s a process of trial and error. You might mess up a few passes, and your hands might get a little tired, but once you stop fighting against blunt edges and start working with precision, you’ll realize that maintenance is much easier than replacement.
I know that when you’re staring at a pile of dull garden shears or a kitchen knife that can’t even slice a tomato, it feels like just one more chore on an endless to-do list. But honestly? Taking twenty minutes to sharpen what you already own is a small act of rebellion against the “buy more, throw away faster” culture. It’s about building a toolkit that actually works for you, rather than constantly hunting for replacements. So, grab that stone, find a quiet corner, and give your tools the edge they deserve. You’ve got this, and I promise, the payoff is worth the effort.
Frequently Asked Questions
How do I know if I've actually gone too far and accidentally ruined the edge of my tool?
Look, we’ve all been there—that moment of panic where you realize you might have just ground your blade into nothingness. If you notice the edge looks uneven, or if you’ve accidentally thinned the metal so much that the tip feels flimsy and “soft,” you might have overdone it. The real giveaway? If it won’t hold a bite on a piece of paper or your fingernail anymore, you’ve likely rounded it off or lost too much material.
Is it worth buying a professional sharpening service for my expensive kitchen knives, or can I really handle it myself?
Look, I get the hesitation. When you’ve dropped a significant chunk of change on a high-end chef’s knife, the idea of messing it up feels terrifying. Honestly? If it’s a Japanese steel blade or something truly heirloom-quality, take it to a pro once a year just to reset the edge. But for everything else? Learn the skill. It’s a massive money saver, and once you nail the technique, you’ll never feel tethered to a service again.
What’s the best way to store my tools after sharpening so they don't go dull again the second I pull them out of the drawer?
Honestly, nothing is more frustrating than spending twenty minutes perfecting an edge only to have it ruined by a chaotic junk drawer. Please, don’t just toss them in a pile. If you’re on a budget, even a simple pegboard or a dedicated tool roll makes a massive difference. If you’re working with knives, get some cheap plastic edge guards. The goal isn’t a Pinterest-perfect workshop; it’s just preventing metal-on-metal contact.