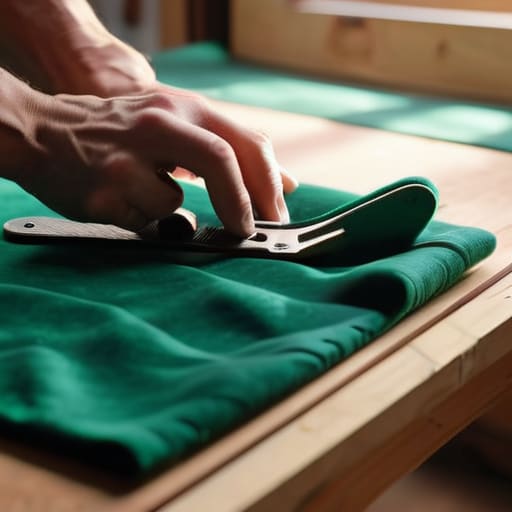
I was sitting on my floor last Tuesday, surrounded by scraps of velvet and a very frustrated expression, staring at a dining chair that looked more like a science project than a piece of furniture. My instinct was to toss it in the curb and head straight to a big-box retailer, but then I remembered my dad’s old workshop advice: don’t replace it if you can repair it. Most people think learning how to reupholster a chair requires a professional studio and a degree in interior design, but that’s just not true. You don’t need a perfectly curated workspace or expensive industrial tools to get the job done; you just need a bit of patience and the right sequence of steps so you don’t end up with lumpy, sagging fabric.
In this guide, I’m skipping the fluff and the “Pinterest-perfect” illusions to show you the actual process that works in a real, slightly messy apartment. I’ll walk you through selecting a fabric that won’t pill after a week, how to tension your material so it stays put, and the little tricks I use to hide those inevitable mistakes. We aren’t aiming for a showroom finish here; we’re aiming for a chair that actually feels good to sit in and looks like it belongs in your home.
Table of Contents
- Step-by-Step Instructions
- Stripping It Down Removing Old Chair Fabric Without the Drama
- The Essential Toolkit Upholstery Tools and Supplies That Actually Work
- 5 Pro-Tips to Save Your Sanity (and Your Fabric)
- The Real-World Cheat Sheet
- ## The Real Goal of DIY
- You've Got This
- Frequently Asked Questions
Guide Overview
Tools & Supplies
- Staple gun and staples for securing fabric
- Pliers for removing old staples and tacking
- Scissors or utility knife for cutting fabric
- Upholstery tack hammer for precision work
- Upholstery fabric (2-3 yards depending on chair size)
- High-density foam padding (1-2 sheets)
- Batting/Dacron wrap to smooth edges
- Replacement staples or upholstery tacks
Step-by-Step Instructions
- 1. Before you touch a single tool, you need to strip the chair down to its bare bones. Carefully remove the old fabric, but here is my biggest piece of advice: do not throw anything away yet. Keep the old staples, the foam, and even the original fabric scraps in a pile. You’ll want to use them as a literal template for where the new fabric needs to sit so you don’t end up with weird gaps or bunching later on.
- 2. Once the frame is bare, take a good look at the padding. If the old foam is crumbling into orange dust or feels like a pancake, it’s time to replace it. You can grab some high-density upholstery foam from a craft store, but don’t feel like you need to buy the most expensive stuff on the shelf. Just make sure it’s thick enough to provide actual support so you aren’t feeling the wooden frame through the seat in a week.
- 3. Now, it’s time to prep your new fabric. Lay your fabric out on a clean floor—ideally a hard surface so nothing snags—and place the chair right in the middle. I like to pull the fabric taut toward the center of the chair first to make sure everything is centered before I start stapling. If you start stapling from the corners immediately, you’re almost guaranteed to end up with awkward wrinkles that drive you crazy.
- 4. Grab your staple gun (and maybe a hammer if you’re working with a stubborn frame) and start securing the fabric. Work in a cross-pattern: staple the top, then the bottom, then the left, then the right. This keeps the tension even across the whole piece. Don’t worry about being perfect here; the goal is just to get the fabric tight enough that it feels secure and firm under your hands.
- 5. This is the part where most people get frustrated, so take a breath. As you move toward the corners, you’ll have to fold and tuck the excess fabric. It’s going to look like a messy pile of cloth for a minute, but just focus on tucking the folds neatly under the frame. If you have a multi-tool or a pair of scissors handy, use them to trim away any massive chunks of fabric that are making the corners too bulky to sit flat.
- 6. For the finishing touch, check all your staples. Give the seat a firm press with your hands to make sure there are no hidden lumps or loose spots. If a corner feels a bit wonky, just pull it a little tighter and add another staple. It doesn’t need to look like a museum exhibit; it just needs to be sturdy enough to handle a real human sitting on it.
Stripping It Down Removing Old Chair Fabric Without the Drama
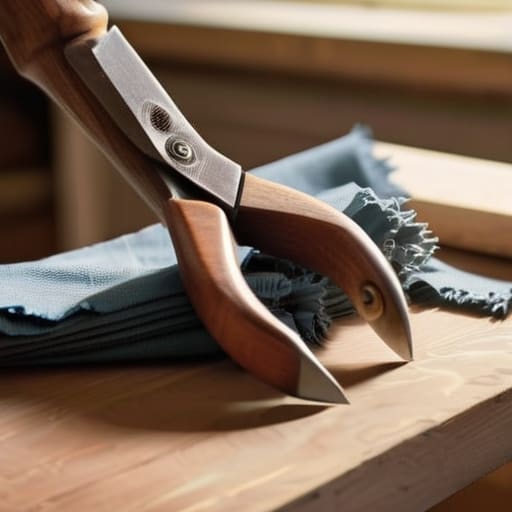
Before you start hacking away at the old fabric, grab a pair of heavy-duty pliers and a flat-head screwdriver. My biggest mistake when I first started was trying to rip everything off in one go, which usually ended in a pile of shredded foam and frustration. Instead, take your time removing old chair fabric in small, manageable sections. If you hit a stubborn staple that refuses to budge, don’t just yank it—use the screwdriver to pry the staple up slightly first. It saves your fingernails and prevents you from gouging the wood frame underneath.
As you strip the chair down to its bones, pay close attention to what’s happening underneath the surface. This is your golden opportunity to inspect the upholstery webbing and springs to see if they’ve actually lost their tension. If the seat feels like it’s sagging into a crater, it’s much easier to fix the structural stuff now than to regret it once the new fabric is on. Think of this stage as a deep clean for your furniture; you want a totally blank, clean slate before you even think about the pretty new stuff.
The Essential Toolkit Upholstery Tools and Supplies That Actually Work
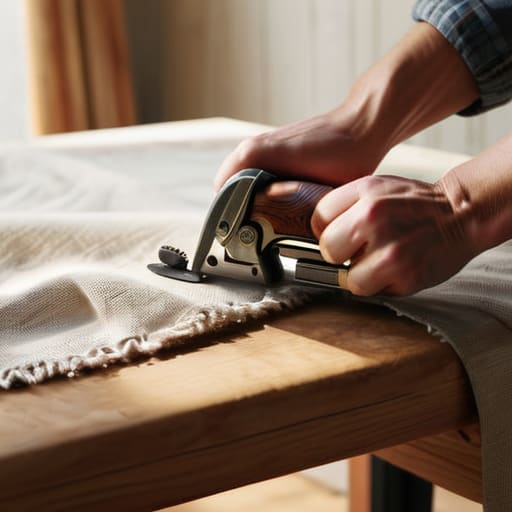
Before you go out and drop a fortune on professional-grade equipment, let’s talk about what you actually need. You don’t need a workshop full of heavy machinery, but you do need the right basics to avoid a headache halfway through. I always start with a decent staple gun—and I mean a real one, not one of those tiny office versions that jams every five seconds. When you get into your staple gun techniques for furniture, remember that tension is everything. If you’re using a manual gun, your hand is going to get tired, so if your budget allows, a pneumatic or electric one is a total game-changer for your sanity.
Beyond the staples, don’t overlook the “guts” of the chair. If you’re replacing chair foam padding, grab a roll of batting too; it smooths out those awkward lumps and gives the piece a much more polished feel. I also keep a pair of heavy-duty shears and a small multi-tool (my constant companion) handy for snipping loose threads or prying up stubborn old tack. It’s less about having a fancy kit and more about having the right tools to do the job properly the first time.
5 Pro-Tips to Save Your Sanity (and Your Fabric)
- Save your old fabric like it’s gold. Seriously. Even if it’s raggedy and looks like it’s seen better days, use it as a template to cut your new fabric. Trying to eyeball measurements is the fastest way to end up with a lopsided seat that looks more “accidental” than intentional.
- Don’t skimp on the staples. I know, it’s tempting to just use whatever you have in the junk drawer, but cheap staples bend and pop out, which is a nightmare to fix later. Invest in a decent heavy-duty staple gun; your future self will thank you when the fabric actually stays put.
- Pull from the center out. This is the golden rule. Start your staples in the middle of each side to create a balanced tension, then work your way toward the corners. If you just start pulling from one edge, you’re going to end up with a bunch of awkward wrinkles that no amount of smoothing can fix.
- Mind the corners, but don’t obsess. Corners are where most people lose their cool. The trick is to fold them neatly—think of it like wrapping a gift—and tuck the excess underneath. It doesn’t have to look like a museum piece, it just needs to be tight and tucked away so it doesn’t snag on your clothes.
- Test your “stretch” before you commit. Before you start stapling the new fabric down for real, drape it over the frame and pull it taut to see how much give you have. If the fabric is super stiff, you might need to cut a slightly larger piece than you think to account for the lack of stretch.
The Real-World Cheat Sheet
Don’t obsess over perfection; focus on tension. If the fabric is pulled tight enough to stay put and doesn’t sag when you actually sit down, you’ve won the battle.
Save your old fabric scraps. Even if they’re a bit beat up, they are your best roadmap for measuring and cutting your new material so you don’t end up with awkward gaps.
Invest in the right staples, not just the prettiest fabric. A cheap staple gun will just frustrate you halfway through, and trust me, you don’t want to be fighting your tools when you’re already tired.
## The Real Goal of DIY
“Don’t get caught up in trying to make it look like something straight out of a high-end catalog; the real win is sitting in a chair that feels solid, looks fresh, and didn’t cost you a month’s rent.”
Maya Sterling
You've Got This
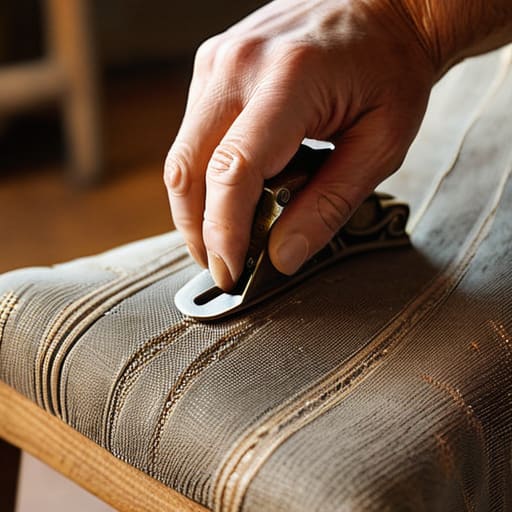
At the end of the day, reupholstering a chair is less about achieving that flawless, Pinterest-perfect look and more about the satisfaction of knowing you didn’t just toss something useful into a landfill. We’ve gone through the grit of stripping down the old layers, gathering the right tools, and working through the actual mechanics of pulling that new fabric tight. It’s a process that can feel a bit overwhelming when you’re staring at a pile of staples and scrap fabric, but once you’ve mastered the basics of securing the tension and managing your corners, you’ve officially moved from spectator to maker. It might not be a showroom masterpiece, but it’s functional, sturdy, and uniquely yours.
If your last staple went in a little crooked or the fabric bunched up more than you intended, please don’t let that stop you from trying again. My goal isn’t to turn you into a professional upholsterer overnight; it’s to show you that you have the agency to fix the things you love. There is something incredibly grounding about working with your hands and seeing a tangible result from a few hours of effort. So, take a breath, grab your multi-tool, and just start where you are. Life is too short to live with broken furniture when you have the power to make it better yourself.
Frequently Asked Questions
How much extra fabric should I actually buy so I don't run out halfway through?
Look, I’ve definitely had that “panic moment” where I’m halfway through a project and realize I’m a few inches short. It’s the worst. My rule of thumb? Always buy an extra yard more than the pattern calls for. If you’re working with a pattern that has a repeat, grab even more. It’s much better to have a scrap left over for a matching throw pillow than to be staring at a bare chair frame.
Can I use a regular staple gun from my junk drawer, or is a real upholstery stapler a non-negotiable?
Look, I get it—I have a junk drawer full of half-used tools, too. If you’re just fixing a small footstool, your standard staple gun might get you through it. But if you’re tackling a real chair, please don’t skip the upholstery stapler. Those heavy-duty ones are designed to fire straight and deep into wood without jamming. A regular one will likely fatigue your hand or leave staples sitting crooked, and trust me, you don’t want that headache.
What do I do if the foam is crumbly and falling apart when I try to strip the old fabric?
Ugh, the dreaded “foam crumble.” It’s honestly one of the most frustrating parts of the process, but don’t panic—it’s actually a sign you need to replace it. If it’s turning into dust, it’s lost its structural integrity. Just vacuum up the mess, strip it down to the frame, and grab some new high-density foam. It’s a little extra work now, but it’s the only way to make sure your chair doesn’t feel flat by next month.