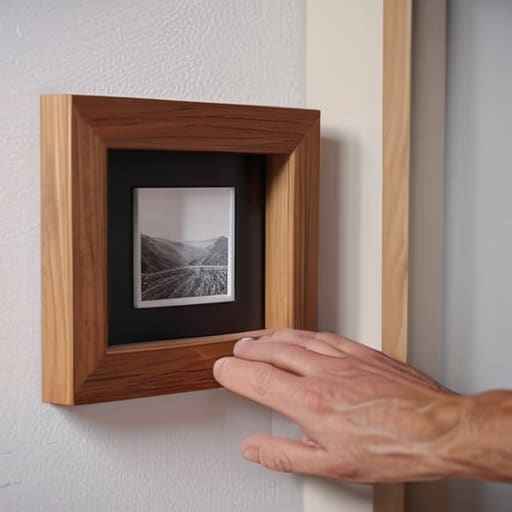
I was standing in my living room last Tuesday, staring at a pile of beautiful, expensive frames and a wall that looked suspiciously empty, feeling that familiar wave of “adulting” paralysis. I had spent forty minutes measuring the same six inches, convinced that if I didn’t find a laser level or some magical mounting solution, I’d end up with a crooked mess or, worse, a giant hole in my rental wall. But here’s the truth: you don’t need a degree in architecture or a specialized toolkit to figure out how to hang a picture without losing your mind. Most of the “professional” advice out there is just way too complicated for someone who just wants their home to feel actually lived in.
In this guide, I’m stripping away the performative perfection and the overpriced gadgetry. I’m going to show you my messy, tried-and-true methods for getting your art up on the wall using stuff you probably already have in your junk drawer. We’re talking about the real-world way to handle different wall types, avoiding those dreaded crooked frames, and making sure your space feels like yours—even if it takes a little trial and error to get it right.
Table of Contents
- Step-by-Step Instructions
- The Real World Picture Hanging Tools List You Actually Need
- Hanging Art on Drywall Without Ruining Your Security Deposit
- Five Little Hacks to Save Your Walls (and Your Sanity)
- The Bottom Line: Less Stress, More Decor
- ## The Reality Check
- The Final Verdict
- Frequently Asked Questions
Guide Overview
Tools & Supplies
- Hammer for driving nails or hooks
- Measuring tape for accurate placement
- Pencil for marking wall positions
- Level to ensure the picture is straight
- Picture frame or artwork (1 unit)
- Hanging hardware such as nails or sawtooth hangers (1-2 units)
- Wall anchors if hanging on drywall without studs (optional)
Step-by-Step Instructions
- 1. First things first, grab your frame and find the exact spot where you want it to live. Don’t just eyeball it and hope for the best; use a pencil to lightly mark the center point on the wall. If you’re working with a heavy mirror or a massive piece of art, I highly recommend having a friend hold it in place while you mark the corners. It’s much easier to move a pencil than it is to patch a hole in the drywall later.
- 2. Once you have your mark, you need to figure out where the actual hanging hardware sits on the back of the frame. Most people make the mistake of measuring from the top of the frame, but you really need to measure from the hanging wire or the sawtooth bracket. Take a quick measurement from the top of the frame down to that hardware, then transfer that distance to your wall mark. This is the secret sauce to making sure your art doesn’t end up sitting way too low.
- 3. Now, let’s talk tools. If you’re dealing with a lightweight print, a simple command strip might do the trick, but for anything with real weight, you’re going to need a drill or at least a hammer and some nails. If you can find a wall stud, use it—it’s the only way to be 100% sure that thing isn’t coming down in the middle of the night. If you can’t find a stud, grab some sturdy drywall anchors; they are a total lifesaver for renters.
- 4. Time to make the hole. If you’re using a drill, go slow so you don’t crack the plaster or send dust flying all over your rug. If you’re just using a hammer and a nail, try to angle the nail slightly downward into the wall rather than driving it straight in. This creates a much more secure “hook” for the wire to catch on, which helps prevent the frame from sliding left or right.
- 5. Get that hardware into the wall and give it a quick tug to make sure it’s actually holding. I know it feels redundant, but I’ve definitely learned the hard way that a sketchy-looking anchor is not something you want to trust with your favorite family photo. Once you’re sure it’s solid, you’re ready for the final move.
- 6. Carefully lift the frame and guide the wire or bracket onto the nail or hook. This is the part where you might feel a little tension, so just take a deep breath and steady your hands. Once it’s seated, step back about five feet to check the alignment.
- 7. If it’s slightly crooked—and let’s be real, it probably will be—don’t freak out. You don’t need a professional leveler for every single piece; just give it a tiny nudge or a gentle tilt until it looks right to your eye. If it’s still acting wonky, check if the wire on the back is pulled too tight, and adjust accordingly. Done! Now go enjoy your space.
The Real World Picture Hanging Tools List You Actually Need
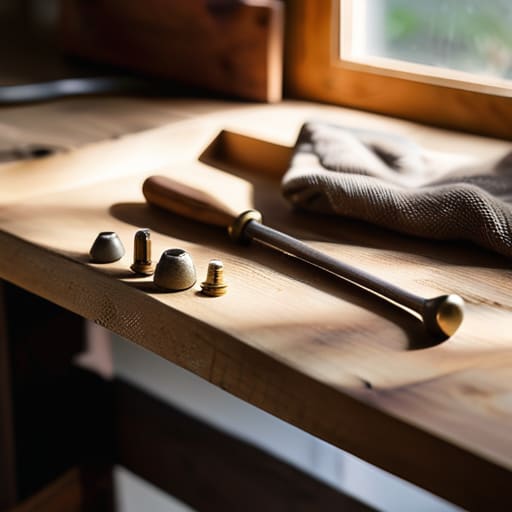
Look, you don’t need to go to a massive home improvement warehouse and buy a kit that costs more than the art itself. Most of the time, you can pull together a solid picture hanging tools list from that junk drawer in your kitchen. I always keep a hammer, a few assorted nails, and a screwdriver handy. If you’re dealing with something a bit heavier, skip the tiny finishing nails and grab some sturdy picture hooks. Honestly, the most important thing I learned growing up with a handy dad was that having the right nail for the specific surface is the difference between a successful afternoon and a hole in your drywall that you’ll be staring at for weeks.
If you’re worried about making a mess, don’t sweat it. When it comes to avoiding wall damage when hanging art, I swear by the blue painter’s tape trick. Just stick a piece on the wall to mark your spot, or use it to hold your level in place while you’re adjusting things. You don’t need a professional-grade laser level; a basic bubble level or even a straight edge from your desk will do the trick for leveling picture frames just fine. Just keep it simple and keep moving.
Hanging Art on Drywall Without Ruining Your Security Deposit
If you’re renting, the fear of a giant, gaping hole in the wall is real. I’ve been there, staring at a beautiful print and wondering if it’s worth the inevitable “security deposit deduction” conversation with my landlord. The secret to hanging art on drywall without the drama is all about choosing the right anchors. Please, for the love of your lease, skip the tiny nails that inevitably pull out and leave a crater. Instead, look into Command strips for lightweight pieces or those little self-drilling drywall anchors. They distribute the weight much better and, most importantly, they are way easier to patch up later if you decide to move.
When you are actually ready to commit, remember that precision matters more than perfection. If you’re trying to avoid a crooked mess, don’t just eyeball it. Even if you aren’t using a fancy laser level, a basic spirit level is your best friend for avoiding wall damage when hanging art in a way that looks intentional rather than accidental. If you mess up a hole, don’t panic—a tiny bit of spackle and a damp cloth can make most mistakes disappear before your landlord even notices.
Five Little Hacks to Save Your Walls (and Your Sanity)
- Stop eyeballing it. I know, I know—you think you have a “feel” for where the center is, but you don’t. Use a pencil to mark your spots first. It’s much easier to erase a tiny graphite dot than it is to patch a hole you made because you were being overconfident.
- The “Painter’s Tape Trick” is your new best friend. If you have a heavy frame, take a piece of painter’s tape, mark exactly where the wire or hook sits on the back, then peel the tape off and stick it on the wall. It’s a foolproof way to map out your heights without making a mess.
- Don’t be afraid of the Command Strip, but read the instructions like they’re a legal contract. Most people fail because they don’t wait the full minute for the adhesive to bond before hanging the weight. Give it the time it asks for; your art will thank you.
- If you’re hanging a gallery wall, lay everything out on the floor first. Seriously. Move the pieces around, step back, and look at them from a distance. It’s way better to realize a layout looks “off” on your rug than to spend an hour drilling holes in the wrong places.
- Level it out with a phone app. You don’t need to go digging through a junk drawer for a heavy brass level. Most of us have a smartphone with a built-in level app. It’s quick, it’s free, and it’s much more accurate than “that looks straight enough to me.”
The Bottom Line: Less Stress, More Decor
Stop waiting for the “perfect” moment or the most expensive tools; if you have a hammer, some nails, and a basic sense of where you want things to go, you’re already halfway there.
Prioritize function over perfection—a slightly crooked frame is much better than a beautiful piece of art sitting in a box because you were too intimidated to touch the wall.
Protect your space by knowing your walls; use the right anchors for drywall so you can decorate freely without worrying about the dreaded security deposit deduction.
## The Reality Check
“At the end of the day, a slightly crooked frame isn’t going to ruin your life, but spending three hours obsessing over a leveler will definitely ruin your evening. Just get it on the wall, make it straight enough to look decent, and go enjoy your coffee.”
Maya Sterling
The Final Verdict
At the end of the day, hanging a picture shouldn’t feel like a high-stakes engineering project. Whether you decided to go the route of command strips to save your security deposit or you actually braved the drywall with a hammer and some anchors, the goal is the same: getting that art off the floor and onto the wall. Just remember to double-check your leveling, don’t be afraid to make a mistake (we’ve all put a hole in the wrong spot), and keep your tool kit handy for the next one. It’s all about having a functional system in place so you aren’t staring at a blank wall for three months because you’re too stressed to pick up a screwdriver.
Your home is meant to be lived in, not curated like a museum gallery. If a frame is a little crooked or the spacing isn’t mathematically perfect, let it go. I’ve spent way too many hours obsessing over millimeters in the past, only to realize that no one actually notices the tiny imperfections once the room feels warm and lived-in. Focus on making your space feel like yours by surrounding yourself with the things you love. Once that last nail is in, take a breath, grab a coffee, and actually enjoy your space. You did the work, and it looks great.
Frequently Asked Questions
What do I do if I accidentally hit a wire or a pipe while trying to find a stud?
First, take a breath. If it’s just a tiny nick in the drywall, we can fix that. But if you hear rushing water or see a spark, stop immediately. Shut off your main water valve or your breaker box right now. Don’t try to “patch” a pipe or a live wire yourself—that’s how small DIY projects turn into expensive nightmares. Call a professional. It’s better to pay a plumber than to flood your apartment.
How do I hang heavy mirrors or chunky frames without them constantly tilting to one side?
If you’re tired of your heavy mirror looking like it’s slowly sliding off the wall, stop relying on just one nail. The secret is using two points of contact. Instead of a single hook, use two heavy-duty picture hangers or even two small screws spaced apart. This distributes the weight more evenly and keeps things level. If it’s still tilting, grab some tiny adhesive rubber bumpers for the bottom corners—they act like little stabilizers.
Is there a way to hang art on textured or brick walls without drilling massive holes?
Look, I get it—textured walls and brick are the ultimate vibe killers when you’re just trying to make a space feel like home. If you’re renting or just terrified of the drill, skip the heavy-duty hardware. For brick, grab some high-quality Command adhesive strips; just make sure you clean the surface with rubbing alcohol first so they actually stick. For heavy texture, look into “monkey hooks”—they’re tiny, discreet, and way less invasive than a massive masonry bit.