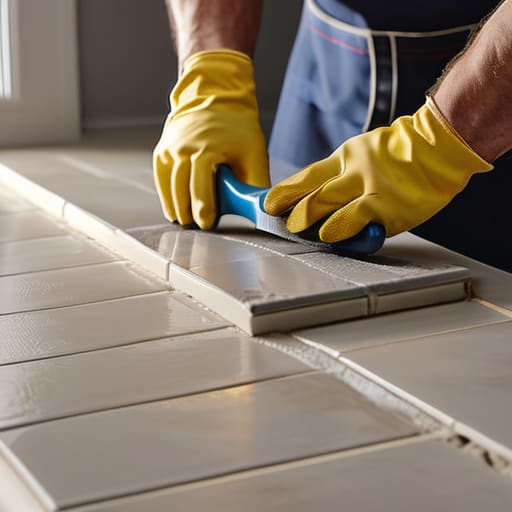
I was sitting on my kitchen floor last Tuesday, staring at a pile of subway tiles and a bag of grout that looked significantly more intimidating than the “easy DIY” videos promised, wondering if I’d just made a massive mistake. We’ve all seen those perfectly staged home renovation videos where the tiles seem to just snap into place with a single touch, but let’s be real: the actual process of learning how to tile a backsplash is usually a messy, slightly stressful lesson in patience and elbow grease. I realized then that I didn’t need a professional crew or a showroom-perfect finish; I just needed a way to get these tiles on the wall so I could actually cook my dinner without worrying about grease splattering onto my bare drywall.
In this guide, I’m stripping away the performative perfection and giving you the real-world mechanics of the job. I’ll walk you through the exact tools you actually need (and the ones you can skip), how to handle those annoying uneven corners, and how to grout without making a catastrophic mess of your countertops. This isn’t about achieving a magazine cover; it’s about functional, beautiful results that won’t break your budget or your spirit.
Table of Contents
- Step-by-Step Instructions
- Smart Backsplash Layout Planning Without the Overwhelming Perfection
- The Real World Tiling Tools Checklist for Messy Beginners
- Five Things I Wish I Knew Before I Actually Touched the Grout
- The Bottom Line: Keeping It Simple and Functional
- The Reality Check
- The Messy, Beautiful Finish Line
- Frequently Asked Questions
Guide Overview
Tools & Supplies
- Manual tile cutter for making straight cuts
- Notched trowel for applying adhesive
- Rubber grout float for spreading grout
- Spacers to maintain even gaps
- Level to ensure straight lines
- Backsplash tiles (calculate area + 10% extra)
- Tile adhesive or mastic (1-2 tubs)
- Grout (1 bag based on joint size)
- Tile sealer (1 bottle)
Step-by-Step Instructions
- 1. First things first, you need to clear the decks. I’m talking about removing everything from your countertops and taking off those outlet covers. Grab a screwdriver and pull those plates off—you can just pop them back on once we’re done. Then, give the wall a good wipe down with a degreaser. If there’s even a hint of kitchen grease left on the surface, your adhesive is going to struggle, and we definitely don’t want tiles sliding down the wall halfway through the process.
- 2. Before you even touch a tub of mortar, you have to map it out. I know, it sounds tedious, but trust me: dry-laying your tiles is the only way to avoid a disaster. Lay your tiles out on the counter or even tape them to the wall temporarily. This helps you see exactly where those awkward, tiny slivers of tile might end up at the edges. You want to avoid having a full tile on one side and a pathetic half-inch strip on the other; it just looks messy.
- 3. Now, grab your thin-set mortar and start applying it to the wall. I usually use a notched trowel, and the trick is to use the flat side of the trowel to press the mortar into the wall first before combing it with the notched side. This prevents air pockets from forming. Don’t try to do the whole backsplash at once, though. Work in small, manageable sections so the mortar doesn’t dry out before you actually get your tiles laid down.
- 4. This is where the actual tiling happens. Press each tile into the mortar with a slight twist—think of it like tucking a bedsheet in—to ensure it’s making full contact. If you’re using spacers (and please, for the love of sanity, use them), slide them into the gaps between the tiles. They keep your lines straight so you don’t end up with a “wavy” look that makes your kitchen feel crooked.
- 5. Once your tiles are set and the mortar has had a few hours to firm up, it’s time for the grout. Mix your grout to a peanut butter consistency—not too runny, or it’ll disappear into the cracks, and not too thick, or it’ll be impossible to spread. Use a rubber grout float to push the mixture into the joints at a 45-degree angle. You want to make sure those gaps are completely filled, leaving no empty voids behind.
- 6. After you’ve spread the grout, wait about 15 to 20 minutes, then grab a damp (not soaking wet) sponge and start wiping away the excess from the tile faces. This is the part that requires a little patience. If you use too much water, you’ll actually wash the pigment out of the grout and create those weird, cloudy stains that are a nightmare to fix. Just wipe, rinse, and repeat until the tiles are clean and the grout lines look even.
- 7. Finally, once everything is completely dry (usually overnight), you’ll likely see a thin, hazy film on the tiles called grout haze. Don’t panic; it’s totally normal. Just take a dry microfiber cloth and buff it out until your tiles are shining again. Once that’s done, pop your outlet covers back on, and you’ve officially upgraded your kitchen without having to hire a contractor.
Smart Backsplash Layout Planning Without the Overwhelming Perfection
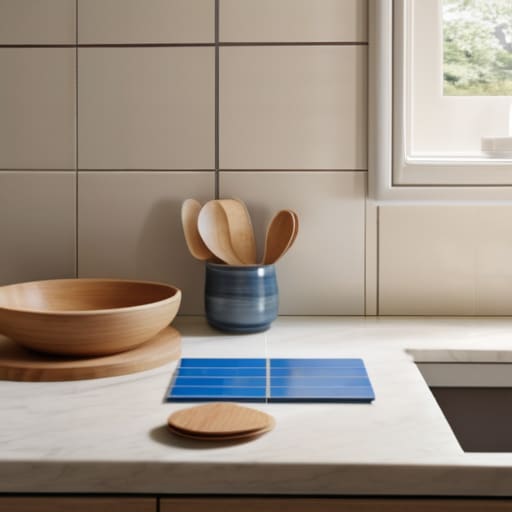
Before you even touch a bag of thin-set, you need to tackle the backsplash layout planning phase. I know, it sounds technical and intimidating, but honestly? It’s just about preventing a headache later. Grab a roll of painter’s tape and some scrap pieces of your chosen tile (or even just cardboard cutouts) and map it out on the wall. This is where you’ll realize that starting with a full tile in the middle might leave you with those tiny, annoying slivers at the edges that are a nightmare to cut. Aim for a layout that keeps your cuts mostly hidden under the cabinets or in the corners.
Don’t get caught mid-project realizing you’re missing something essential. Before the glue starts drying, double-check your tiling tools checklist—make sure you actually have a level, a notched trowel, and a good pair of tile snips. I used to think I could wing it, but nothing kills my momentum faster than having to run to the hardware store when I’m covered in dust. Focus on the flow of the pattern rather than trying to make every single line a mathematical miracle; if it looks intentional and stays level, you’ve already won.
The Real World Tiling Tools Checklist for Messy Beginners
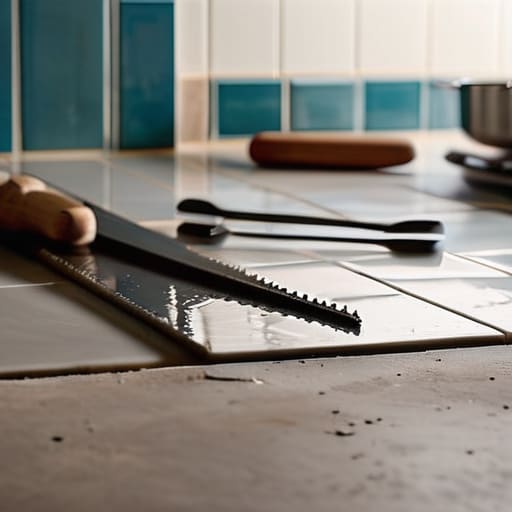
Look, you don’t need a professional contractor’s entire warehouse to get this done, but you also shouldn’t try to wing it with a kitchen knife and some prayer. My personal tiling tools checklist is pretty stripped back because I hate clutter, but there are a few non-negotiables. You’ll definitely want a notched trowel—don’t skimp here, because the right notch size is everything for proper tile adhesive application tips. Grab a decent manual tile cutter or a wet saw if you’re feeling ambitious; learning how to cut tiles for backsplash edges is usually where the most frustration happens, so having the right blade makes a world of difference between a clean line and a jagged mess.
I also highly recommend picking up a few cheap sponges and a bucket. You’ll be surprised how much water and grout-slurry you’ll go through while cleaning the joints. Also, grab a small container of sealer. I know, it feels like an extra step, but the grout sealing process is what actually prevents your hard work from absorbing grease and looking gross in six months. It’s not about having the fanciest gear; it’s just about having the right basics to keep the chaos manageable.
Five Things I Wish I Knew Before I Actually Touched the Grout
- Don’t get hung up on the “perfect” pattern. If your tiles are slightly off by a millimeter, nobody is going to call a building inspector. Focus on making sure the rows are level, and if a tiny gap creeps in, just let the grout do its job.
- Buy more thin-set and grout than you think you need. There is nothing more soul-crushing than being halfway through a wall and realizing you’re scraping the bottom of the bucket while your tiles are drying.
- Protect your countertops like your life depends on it. I learned the hard way that thin-set is basically liquid concrete once it dries; lay down some heavy-duty drop cloths or even old cardboard so you aren’t scrubbing your granite for three hours later.
- Test your grout color on a scrap piece first. It always looks different once it’s actually in the cracks and wet. I’ve seen people pick a “light grey” only to realize it looks like industrial sidewalk cement once it’s applied.
- Keep a damp sponge in your hand at all times. You want to clean the excess grout off the tile faces while you’re working, not wait until the next morning when it’s hardened into a permanent crust.
The Bottom Line: Keeping It Simple and Functional
Don’t let the fear of a single crooked tile stop you; as long as your lines are mostly straight and your grout is even, your kitchen is going to look great and—more importantly—be easy to clean.
Prioritize the prep work over the “pretty” stuff, because a solid foundation and a smart layout will save you way more stress than trying to fix mistakes halfway through the job.
Focus on tools that actually work for your budget and skill level, rather than buying every expensive gadget just because a pro uses them.
The Reality Check
“At the end of the day, your backsplash isn’t a museum piece; it’s a shield for your walls. If you focus more on a solid, level foundation than on whether every single grout line is a work of art, you’ll end up with a kitchen that actually works for you instead of a project that just drains your bank account.”
Maya Sterling
The Messy, Beautiful Finish Line
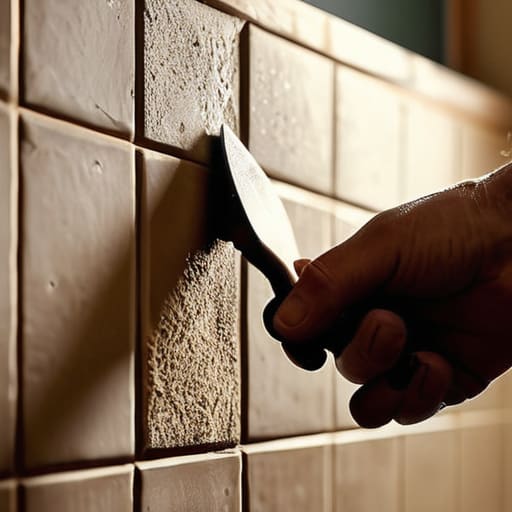
At the end of the day, tiling a backsplash isn’t about achieving that sterile, magazine-ready look that makes you feel inadequate. It’s about the fact that you sat down, grabbed a trowel, and actually did the thing. We’ve covered how to plan a layout that works for your specific space, how to gather the right tools without breaking the bank, and how to manage the actual installation without letting the grout dust get the best of you. If a few tiles are slightly crooked or your grout lines aren’t mathematically perfect, guess what? It doesn’t matter. You’ve created a functional, updated part of your home that serves a purpose, and that is a massive win in my book.
I know that feeling of staring at a half-finished project and wondering if you’ve made a huge mistake, but I promise you, the satisfaction of cooking in a kitchen that feels truly yours is worth the temporary chaos. Don’t let the fear of a little imperfection stop you from starting. Life is way too short to wait for “perfect” conditions or a professional budget. Just grab your multi-tool, get your supplies, and start building the life you want, one tile at a time. You’ve totally got this.
Frequently Asked Questions
How do I handle those annoying little gaps around the electrical outlets without it looking like a total disaster?
Ugh, the outlet situation. It’s the ultimate test of patience, right? Honestly, don’t stress about getting the tile to wrap perfectly around the box—it’s nearly impossible. Instead, just cut your tiles as close as you reasonably can, then use a bit of color-matched caulk to fill those awkward gaps. It’s much more forgiving than grout, and once you pop a new decorative cover plate on, it looks totally intentional and clean.
Do I really need to wait a full 24 hours before grouting, or can I get this done in one weekend if I'm in a rush?
I totally get the urge to just power through and finish the weekend, but please, resist the temptation to grout early. I’ve been there, staring at a project wanting it done, but rushing the cure time is how you end up with cracked grout or tiles that shift. Give the adhesive those 24 hours to actually set. It feels like a setback, but waiting ensures your hard work actually lasts.
What’s the best way to deal with uneven walls so my tiles don't end up looking crooked?
Honestly, I used to stress about this, but here’s the truth: most walls are never actually straight. Instead of fighting the wall, focus on your starting point. Don’t just start in a corner; find the most level spot (usually above the countertop) and use a level to establish a perfectly horizontal line there. If the wall dips, just use a slightly thicker layer of thin-set to shim the gap. It’s much easier to hide a little extra mortar than to fix a crooked row.