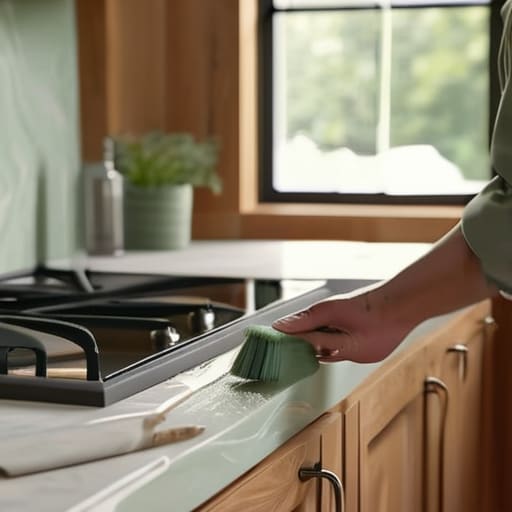
I was sitting on my kitchen floor last Tuesday, surrounded by half-empty paint cans and a mountain of sticky painter’s tape, staring at a cabinet door that looked more like a textured orange peel than a professional finish. If you’ve been scrolling through social media thinking that learning how to paint kitchen cabinets requires a professional studio setup and a thousand-dollar sprayer, I’m here to tell you that’s a total lie. You don’t need a showroom-perfect life to have a kitchen that doesn’t make you cringe every time you make coffee; you just need a system that actually works when you’re tired and on a budget.
In this guide, I’m skipping the fluff and the expensive, specialized tools you’ll never use again. Instead, I’m walking you through my tested, messy-but-effective method for getting a smooth, durable finish using stuff you can actually find at a local hardware store. We’re going to talk about the prep work that actually matters, the shortcuts that won’t ruin your life, and how to finish the job without losing your mind in the process. Let’s get into it.
Table of Contents
- Step-by-Step Instructions
- Ditch the Fancy Gear My Essential Cabinet Painting Supplies List
- Skip the Fluff How to Prep Cabinets for Painting Fast
- Five Things I Wish I Knew Before I Started Painting
- The Real-World Cheat Sheet
- The Reality Check
- The Finish Line (And Your New Kitchen)
- Frequently Asked Questions
Guide Overview
Tools & Supplies
- Screwdriver/Drill for removing hardware
- Sandpaper (120-220 grit) for smoothing surfaces
- Paint rollers (small foam or microfiber) for smooth finish
- Angled brush for detail work and corners
- Cabinet degreaser or TSP for cleaning
- Primer (1-2 gallons) for adhesion
- Cabinet-grade paint (1-2 gallons) for durability
- Painter's tape for masking edges
Step-by-Step Instructions
- 1. First things first: clear everything out. I know, it sounds like a chore, but you can’t effectively paint around a toaster or a stack of cereal boxes. Empty the cabinets completely and set your hardware—the knobs, the hinges, the little screws—into labeled sandwich bags. Trust me, losing a specific tiny screw is the fastest way to turn a fun weekend project into a breakdown.
- 2. Now, we tackle the grease. This is the part everyone tries to skip, but if you don’t, your expensive paint will just peel off in sheets a month from now. Grab a heavy-duty degreaser or even just some warm water and Dawn dish soap. Scrub every single inch of the surfaces until they feel completely squeaky clean. If you skip this, you’re basically just painting over a layer of old cooking oil.
- 3. Time to sand. You don’t need to sand the wood down to the bare grain like some professional contractor would tell you; you just need to scuff the surface. Use a fine-grit sandpaper to take the shine off the existing finish so the new paint has something to grab onto. It should feel slightly rough to the touch, not smooth like glass. Once you’re done, wipe everything down with a damp cloth to get rid of the dust.
- 4. Don’t skip the primer. I’ve seen people try to go straight in with the colored paint to save time, and it is always a mistake. Use a high-quality primer designed for cabinetry. It acts like the glue between your prep work and your final color. Apply a thin, even coat and let it dry completely. If you can see the old wood color peeking through, just go for a second coat of primer.
- 5. This is where the magic happens: the actual painting. If you want that smooth, professional look without spending a fortune on a spray rig, use a high-quality synthetic brush or a small foam roller. The secret is to work in small sections and avoid heavy, gloopy layers. It’s much better to do three thin, light coats than one thick, messy one that ends up dripping down your doors.
- 6. Patience is your new best friend. I know you want to go in there and put your plates back immediately, but you have to let the paint cure. Even if it feels dry to the touch after an hour, it’s still soft. If you hang heavy pots on those doors too soon, you’ll leave permanent fingerprints in the finish. Give it at least 24 to 48 hours before you start reassembling everything.
- 7. Finally, put it all back together. Reattach your hardware, hang your doors, and finally—finally—put your dishes back in. Take a second to look at what you did. It might not look like a showroom in a magazine, but it’s your kitchen, it’s functional, and you did it without breaking the bank.
Ditch the Fancy Gear My Essential Cabinet Painting Supplies List
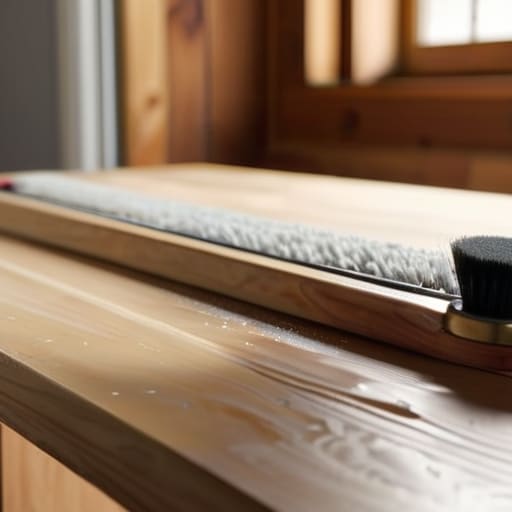
Look, you don’t need to drop a small fortune at a high-end hardware store to get this done right. I’ve learned the hard way that buying every gadget on the shelf just leads to a cluttered garage and a lighter wallet. When I put together my own cabinet painting supplies list, I focus on the stuff that actually touches the wood. You’ll want a high-quality microfiber roller for those flat surfaces—it helps prevent those annoying little bubbles—and a decent angled brush for the tricky corners.
The biggest decision you’ll face is the whole spraying vs brushing cabinets debate. Honestly? Unless you have a dedicated space and a lot of patience for cleanup, stick to a good brush and roller. It’s much more manageable for a DIYer. Most importantly, don’t skimp on the actual liquid in the can. You want to find the best paint for kitchen cabinets that specifically promises a hard, scrubbable finish. If you use cheap wall paint, you’ll be repainting in six months because the moisture from your cooking will make it peel. Get the good stuff once, so you only have to do this once.
Skip the Fluff How to Prep Cabinets for Painting Fast
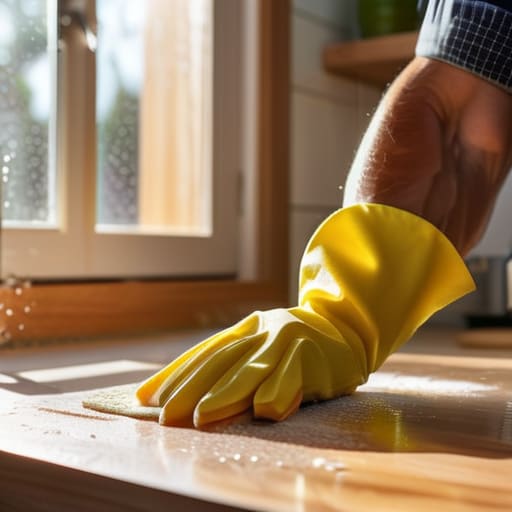
Look, I know the idea of prepping sounds like the most tedious part of the whole kitchen cabinet refinishing process, but if you skip this, you’re basically asking for a peeling nightmare in six months. I’ve learned that hard. Most people think they can just wipe a cabinet down with a damp cloth and call it a day, but kitchen grease is a different beast entirely. You need to get all that invisible film off, or your new coat won’t stick. Use a heavy-duty degreaser—even if it feels like overkill—because clean surfaces are non-negotiable if you want a finish that actually lasts.
Once the grease is gone, don’t get caught in a rabbit hole of professional-grade sanding equipment you’ll never use again. If you’re wondering how to prep cabinets for painting without spending your entire weekend on your knees, just focus on the edges and any high-traffic spots. A quick, thorough scuff-sand is all you really need to give the paint something to grab onto. It’s not about making the wood look brand new; it’s about creating a grippy surface so your hard work doesn’t flake off the first time you bump a cupboard.
Five Things I Wish I Knew Before I Started Painting
- Don’t try to do it all in one weekend. Seriously. If you try to rush the drying time between coats just to get it over with, you’re going to end up with a tacky, sticky mess that feels like glue for weeks.
- Test your colors on a piece of scrap wood first, not just a swatch card. Kitchen lighting is weirdly fickle, and that “perfect” greige might look like a muddy beige once it’s actually sitting against your countertops.
- Keep a damp rag in your back pocket at all times. You will drip, and if you let that paint dry before you catch it, you’re looking at a whole new level of sanding frustration.
- Invest in a decent brush, but don’t go overboard. You don’t need the $40 professional artist kit, but a cheap, scratchy brush will leave streaks that make your cabinets look amateur.
- Label everything as you go. I learned this the hard way—take a piece of painter’s tape, write “upper left door,” and stick it to the back of the door. Trust me, when you’re tired and halfway through, you won’t remember which hinge goes where.
The Real-World Cheat Sheet
Don’t skip the cleaning phase; if you leave grease behind, your expensive paint is going to peel off in a week, and nobody has time for that.
Focus on function over perfection—a few tiny brush strokes might show, but a solid, even coat that lasts is much more important than a Pinterest-perfect finish.
Invest in decent tools rather than the cheapest option, because fighting with a bad brush will turn a weekend project into a month-long headache.
The Reality Check
“Don’t let a perfect Pinterest board paralyze you. Your cabinets don’t need to look like a showroom; they just need to look like a space where you actually enjoy making dinner again.”
Maya Sterling
The Finish Line (And Your New Kitchen)
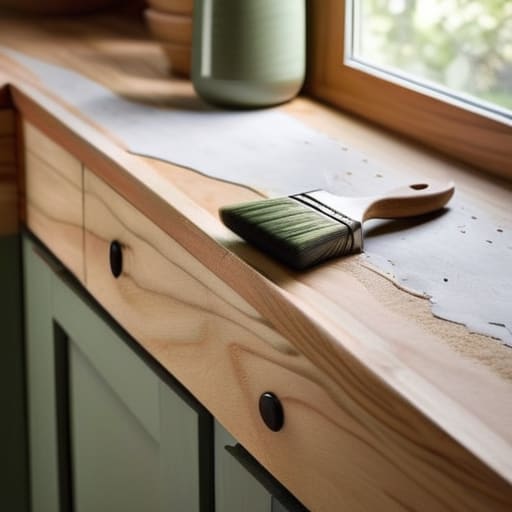
Look, I know it feels like you’ve been living in a construction zone for the last week. Between the endless sanding, the grease-stripping, and the layers of primer, it’s easy to feel like you’ve bitten off more than you can chew. But remember: you’ve already done the hardest part. You’ve skipped the expensive professional quotes and the overwhelming, “perfect” tutorials to focus on what actually matters—getting the job done. By prioritizing a solid prep job and sticking to the functional tools we talked about, you’ve laid a foundation that isn’t just going to look good for a photo, but will actually last through years of morning coffee and midnight snacks.
At the end of the day, your kitchen doesn’t need to look like a showroom in a magazine to be a success. It just needs to be a space that feels like yours. If there’s a tiny drip you missed or a spot that isn’t quite surgically perfect, let it go. Life is too short to stress over a cabinet door when you’ve successfully transformed your entire home on a budget. You took a messy, daunting project and tackled it head-on, and that is a massive win. Now, go grab a drink, sit down in your refreshed kitchen, and enjoy the fact that you actually did this yourself.
Frequently Asked Questions
How long do I actually have to wait before I can start using my kitchen again without ruining the finish?
Here’s the real deal: you can technically use your kitchen almost immediately, but please, don’t go heavy-duty on it yet. While the paint might feel dry to the touch in a few hours, it’s still “soft” underneath. I usually tell myself to wait at least 48 hours before doing any heavy cleaning or slamming cabinet doors. If you can hold off on the heavy cooking and grease-splatter for a full week, your finish will thank you.
Is it worth it to use a primer, or can I just dive straight into the paint and save some time?
Look, I get the urge to skip straight to the color—I really do. I’ve been there, staring at a pile of supplies thinking, can I just save an hour? But honestly? Don’t do it. If you skip primer, you’ll likely end up with streaks, peeling, or that annoying “tacky” feeling that lasts for weeks. Use a good primer. It’s the one “extra” step that actually saves you from having to redo the whole thing later.
What should I do if I notice drips or brush marks while the paint is still drying?
Deep breaths—we’ve all been there. If the paint is still tacky, grab a clean, dry brush and very gently feather out the drip. Don’t overwork it, or you’ll just create a mess. If it’s already started to set and looks bumpy, stop immediately. Let it dry completely, sand that spot smooth with fine-grit sandpaper, wipe away the dust, and then apply a thin, even layer to fix it. It’s not ruined; it’s just a detour.