
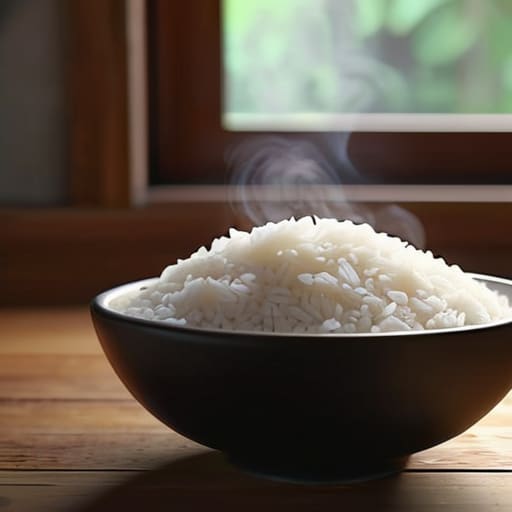
I used to think I needed one of those high-tech, $200 smart rice cookers just to avoid ending up with a pot of gummy, unidentifiable mush. I’d spend way too much time scrolling through recipe blogs that insisted on “perfectly calibrated” water temperatures or some other nonsense that felt more like a chemistry lab than a kitchen. But honestly? All that expensive gear is just a distraction from the fact that most people are overcomplicating the basics. I’ve learned through a lot of trial and error—and a fair amount of wasted grain—that figuring out how to cook rice perfectly isn’t about the gadgets you own; it’s about understanding a few simple, unsexy mechanics that actually work.
I’m not here to give you a performative cooking tutorial that looks good on a Pinterest board but fails in a real, busy kitchen. Instead, I’m sharing the stripped-back, messy methods I use in my own apartment to get consistent results every single time. We’re going to skip the kitchen drama and focus on the functional systems that save you time and money. By the end of this, you’ll have a foolproof way to master your grains without the unnecessary stress or the massive price tag.
Table of Contents
- The Messy Truth About Rinsing Rice Before Cooking
- Mastering the Rice to Water Ratio Guide Without the Stress
- Five Low-Stress Rules for Rice That Actually Turns Out Right
- The "Set It and Forget It" Cheat Sheet
- ## Forget the Perfectionism
- Stop Stressing and Just Start Cooking
- Frequently Asked Questions
The Messy Truth About Rinsing Rice Before Cooking
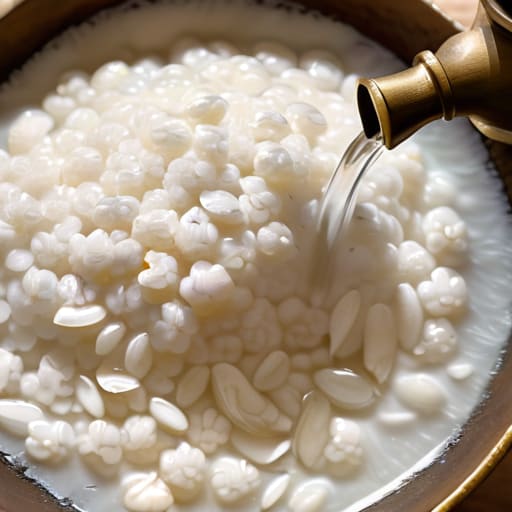
Look, I know we’ve all seen those satisfying videos of crystal-clear water pouring out of a bowl of grain, but let’s get real for a second. For the longest time, I thought skipping this step was just being lazy, but I eventually learned that rinsing rice before cooking isn’t about being a perfectionist—it’s about chemistry. Most of the starch sits right on the surface of the grain. If you don’t wash that excess off, it turns into a literal glue once the heat hits, and suddenly you’re staring at a gummy, clumpy mess instead of fluffy individual grains.
If you’re tired of preventing mushy rice from becoming a constant battle, this is your easiest win. I don’t need a fancy strainer or a kitchen gadget that takes up half my cabinet; I just use a fine-mesh sieve or even just swirl the rice in a bowl with my hands until the water stops looking like cloudy milk. It takes an extra sixty seconds of my time, but it saves me the massive headache of wasting a whole pot of food. It’s not about the aesthetic; it’s just about making sure the texture actually works.
Mastering the Rice to Water Ratio Guide Without the Stress
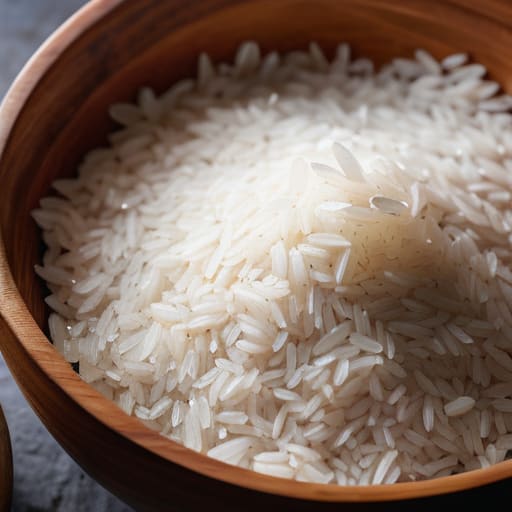
Look, I’ve spent way too many nights staring at a pot of gummy, overcooked mush because I thought I could “eyeball it.” We’ve all been there. But if you want to stop guessing, you need a reliable rice to water ratio guide that actually works for your specific setup. If you’re using a standard stovetop rice cooking method, the golden rule is usually two parts water to one part rice. However, that’s not a law written in stone; it’s more of a baseline. I’ve learned that the real secret to preventing mushy rice is adjusting that liquid based on how much you rinsed it earlier.
If you’re a fan of convenience, your best friend is going to be your appliance. While I love the control of a pot, the best rice cooker settings are honestly hard to beat when you’re juggling a dozen freelance deadlines. Most modern cookers have a built-in logic that handles the heavy lifting for you. Just remember: different grains have different personalities. White jasmine is a different beast than hearty brown rice, so always double-check your specific grain’s needs before you hit start.
Five Low-Stress Rules for Rice That Actually Turns Out Right
- Stop hovering over the stove. Once you’ve got your water and rice in the pot and the heat is set, walk away. Let the steam do the heavy lifting while you tackle something else on your to-do list.
- Don’t even think about touching it with a spoon while it’s cooking. If you stir it mid-way, you’re just going to break the grains and end up with a gummy, mushy mess that’s impossible to fix.
- The “rest” period is non-negotiable. When the timer goes off, turn off the heat and let the pot sit, covered, for at least ten minutes. This lets the moisture redistribute so the bottom isn’t a swamp and the top isn’t bone-dry.
- Use a fork, not a spatula. When you finally go in to fluff it, use a fork to gently lift and separate the grains. It keeps things light and airy instead of smashing them into a paste.
- Check your equipment before you start. If you’re using an old, dented pot with a lid that doesn’t quite fit, your ratio is going to be off regardless of how much you measure. A tight-fitting lid is your best friend here.
The "Set It and Forget It" Cheat Sheet
Stop obsessing over the exact milliliter; once you nail your basic ratio, trust your instincts and adjust slightly if you prefer your rice a little firmer or fluffier.
Don’t skip the rinse step just because you’re in a rush—it’s the difference between a delicious meal and a gummy, starchy mess that ruins your mood.
Let the rice sit covered for ten minutes after the heat is off; it feels like wasted time, but it’s actually the secret to getting that perfect, non-clumpy texture every single time.
## Forget the Perfectionism
“At the end of the day, your rice doesn’t need to look like a Pinterest board; it just needs to be fluffy, edible, and not a gummy mess in the bottom of your pot. Stop chasing the perfect aesthetic and just focus on the ratio—it’s the only thing that actually matters when you’re hungry.”
Maya Sterling
Stop Stressing and Just Start Cooking
At the end of the day, cooking the perfect bowl of rice really just comes down to two things: giving it a good rinse to get rid of that excess starch and getting your water ratio right. You don’t need a $200 smart cooker or a degree in culinary arts to make this work; you just need a little bit of patience and a willingness to experiment with your own stove. If it comes out a little too sticky one night or a bit firm the next, don’t sweat it. That’s just part of the process. Just remember to rinse well and trust your measurements, and you’ll be miles ahead of where you started.
I know that when you’re staring at a pot of potentially ruined grains, it can feel like just another thing on your “adulting” to-do list that you’re failing at. But honestly? It’s just rice. It doesn’t have to be a Pinterest-worthy masterpiece to be a nourishing, delicious part of your meal. My goal isn’t to help you achieve culinary perfection, but to help you build a functional system in your kitchen that actually works for your real, busy life. So, grab your pot, keep your multi-tool handy for opening those stubborn pantry bags, and just give it a shot. You’ve got this.
Frequently Asked Questions
What do I do if I end up with a pot of mushy, overcooked rice?
Look, we’ve all been there. You check the pot and it’s just a gummy, sad mess. First, don’t panic—it’s not a total loss. If it’s only slightly soft, spread it out on a baking sheet to let the steam escape and dry it out. If it’s truly mushy, lean into it. Turn it into a savory rice porridge or stir it into a pan with some eggs for a quick fried rice. It’s not “aesthetic,” but it’s edible.
Is it actually worth buying a rice cooker, or can I just stick to my stovetop?
Honestly? It depends on how much you value your mental bandwidth. If you’re someone who loves the ritual of the stovetop and doesn’t mind hovering to make sure nothing burns, stick with your pot. But if you’re like me—constantly juggling freelance deadlines and forgetting I even started dinner—a rice cooker is a total game-changer. It’s one less thing to micromanage, and frankly, the “set it and forget it” factor is worth every penny.
Can I use things like chicken broth or coconut milk instead of water, and will that mess up my ratios?
Short answer: Yes, absolutely. In fact, that’s how you turn a boring side dish into something actually worth eating. Using chicken broth or coconut milk is a total game-changer for flavor. As for the ratios, stick to the same volume you’d use for water. Just keep in mind that coconut milk is thicker, so you might want to add a splash more broth to keep it from getting too heavy. Don’t overthink it!
