
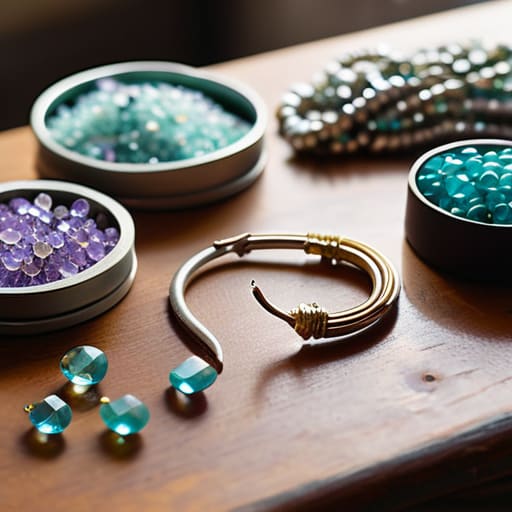
I was sitting on my living room floor last Tuesday, surrounded by a literal mountain of tangled gold-plated chains and tiny, overpriced beads, wondering why I’d spent sixty dollars on a “starter kit” that felt more like a pile of junk. We’ve all seen those polished, aesthetic videos where someone effortlessly crafts a masterpiece in thirty seconds, but let’s be real: the reality of diy jewelry making is usually a lot more frustrating and messy than a curated Instagram feed suggests. I used to think you needed a professional studio and a massive budget to make something that didn’t look like a middle school craft project, but I was totally wrong.
In this guide, I’m stripping away the performative perfection and showing you how to actually get started without draining your savings. I’ll walk you through the essential, low-cost tools you actually need—and the ones you can totally skip—along with my tried-and-true methods for building pieces that look intentional rather than accidental. We’re focusing on functional creativity here, using what you have on hand to create jewelry that fits your style and your budget.
Table of Contents
- Step-by-Step Instructions
- Smart Jewelry Making Tools for Beginners Without the Fluff
- Essential Bead Supplies That Wont Waste Your Hard Earned Cash
- My Real-World Rules for Not Making a Mess (or Wasting Money)
- The Bottom Line: Keeping It Real and Affordable
- ## The Reality of the Craft
- Final Thoughts Before You Start Making
- Frequently Asked Questions
Guide Overview
Tools & Supplies
- Needle-nose pliers for gripping and bending wire
- Wire cutters for trimming metal and cord
- Jewelry crimping tool for securing beads
- Assorted glass or gemstone beads (1 pack)
- Jewelry wire or elastic cord (1 spool)
- Lobster clasps and jump rings (1 set)
Step-by-Step Instructions
- 1. First things first, clear off a spot on your table that isn’t covered in junk. You don’t need a professional studio, but you really need a flat surface and a small tray or even a shallow bowl to keep your beads from rolling onto the floor. I usually use a little ceramic saucer I found at a thrift store; it keeps everything contained so I’m not chasing stray pearls under the radiator every ten minutes.
- 2. Next, grab your base materials. Instead of running out and buying those massive, expensive “starter kits” that come with fifty colors you’ll never use, just pick a specific vibe. If you want to make a simple necklace, grab some decent cord or wire and a handful of beads that actually match your style. I’ve found that keeping it to a limited color palette makes the whole process feel way less overwhelming and much more intentional.
- 3. Now, let’s talk tools. You only actually need three basics: needle-nose pliers, wire cutters, and maybe a bead spinner if you’re feeling fancy (but honestly, a small bowl works fine). When you’re cutting your wire, make sure you’re using actual wire cutters and not your kitchen scissors—I learned that the hard way, and it definitely ruined a good pair of shears.
- 4. Once you have your components, start “dry fitting” your design. This is the part where you lay everything out on your tray to see how it looks before you commit to the permanent stuff. Don’t be afraid to move things around; the goal is to find a rhythm that feels right to you. I like to play with symmetry for a bit, but sometimes a little intentional randomness looks much more high-end.
- 5. Now it’s time to actually assemble. If you’re working with wire, use your pliers to loop the ends securely. If you’re using cord, you’ll likely need a crimp bead or a simple knot to finish it off. Take your time here—this is the part where people usually rush and end up with a messy, lopsided result. Just breathe through the fiddly bits and focus on making each connection tight and secure.
- 6. Finally, do a “stress test” on your creation. Give it a gentle tug to make sure the knots are holding and the clasps are actually snapping shut. There is nothing worse than wearing a beautiful new necklace only to have it disintegrate halfway through your lunch meeting. If it holds up to a little bit of pressure, you’re officially ready to wear your hard work.
Smart Jewelry Making Tools for Beginners Without the Fluff
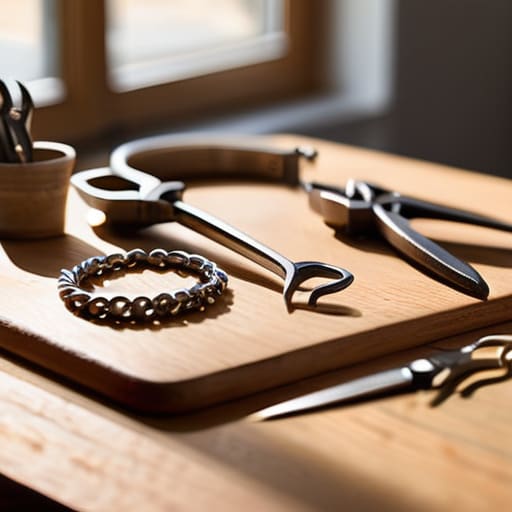
Look, I’ve been there—staring at those massive, $100 “professional” starter sets and feeling like I needed a degree just to open the box. Most of those kits are filled with filler items you’ll never actually touch. When you’re looking for jewelry making tools for beginners, my rule of thumb is to ignore the flashy packaging and focus on the “Big Three”: round-nose pliers, side cutters, and chain-nose pliers. That’s it. If you have those, you can tackle almost any basic project without cluttering your desk or your budget.
Once you have the basics, don’t go overboard on the essential bead supplies. It’s tempting to buy every color of glass bead under the sun, but you’ll end up with a mountain of stuff you don’t use. Instead, I like to curate a small stash of high-quality components—think decent quality jump rings and a few versatile semi-precious stones. It’s much more satisfying to master a few jewelry making techniques for hobbyists using good materials than to struggle through a dozen projects with cheap, flimsy parts that break before you even finish your first coffee.
Essential Bead Supplies That Wont Waste Your Hard Earned Cash
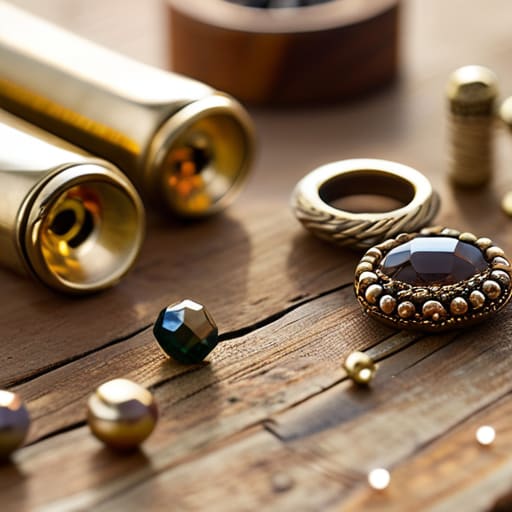
Look, I’ve been there—standing in the craft aisle, staring at those massive, $50 “starter sets” that are basically just a glorified pile of plastic beads and three pieces of wire that snap if you look at them wrong. Don’t fall for it. When you’re gathering your essential bead supplies, the goal isn’t quantity; it’s quality and versatility. I always tell my friends to start with a small selection of glass or semi-precious stone beads in neutral tones. They look more expensive than they are, and they’ll actually work with whatever random charms or hardware you find later on.
Instead of buying a pre-packaged kit, I’d rather spend that money on a few decent spools of memory wire or high-quality crimp beads. It’s much more satisfying to learn how to design handmade accessories when you aren’t fighting against materials that are destined for the trash. If you’re just starting out, focus on a few different sizes of seed beads. They are the ultimate building blocks for almost any project, and honestly, having a solid variety of textures will do way more for your creativity than a thousand pieces of cheap, neon-colored acrylic.
My Real-World Rules for Not Making a Mess (or Wasting Money)
- Don’t buy the massive “all-in-one” starter kits you see in big-box stores. Most of those beads are low-quality plastic that will turn your skin green in a week, and half the tools are flimsy junk. Just buy small amounts of exactly what you need for your first specific project.
- Use a small tray or even an old muffin tin to hold your beads and findings while you work. There is nothing more soul-crushing than spending twenty minutes on your hands and knees looking for a tiny silver jump ring that rolled under the radiator.
- Test your clasps before you commit. I’ve learned the hard way that a beautiful necklace is useless if the clasp is finicky or snaps the first time you try to put it on. Give it a few good tugs to make sure it actually holds up.
- Embrace the “ugly” prototype. Before you string up your expensive glass beads, use some cheap twine or even paperclips to map out the pattern. It helps you see if the length and color balance actually work without the high stakes of wasting good materials.
- Keep a dedicated “scraps” jar. Those tiny bits of wire or leftover earring hooks might seem like trash, but they are lifesavers when you need to make a quick repair or a tiny component for a future piece. It’s all about working smarter, not harder.
The Bottom Line: Keeping It Real and Affordable
Don’t fall for the “starter kit” trap; you’re better off buying a few versatile tools like pliers and wire rather than a massive, cheap set that’ll break in a week.
Start small with your bead stash—grab a few colors you actually love instead of buying huge bulk packs of colors you’ll never touch.
Remember that perfection is overrated; if a clasp is a little wonky or the wire isn’t perfectly straight, it’s still a piece you made with your own hands, and that’s what matters.
## The Reality of the Craft
“Don’t let a $50 starter kit intimidate you into thinking you need a professional studio to begin; honestly, if you can thread a needle and have a little patience, you’re already halfway there.”
Maya Sterling
Final Thoughts Before You Start Making
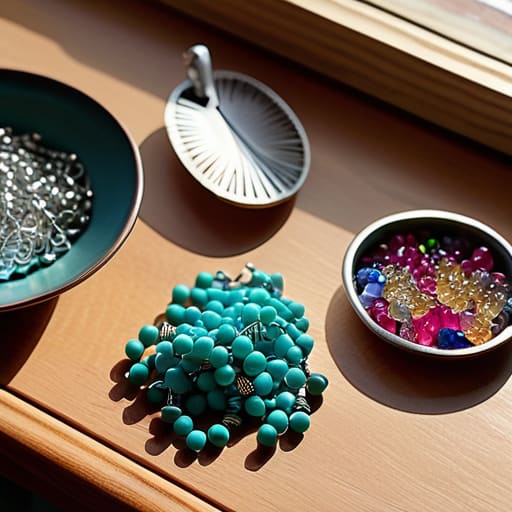
Look, I know it can feel like you need a professional studio and a massive budget to get started, but we’ve already debunked that. We’ve covered how to pick the right tools without buying the entire store, how to source beads that actually look good without the premium price tag, and how to follow a simple process that won’t leave you feeling frustrated. At the end of the day, jewelry making is just about having a few reliable basics and a bit of patience. You don’t need a perfectly curated workspace; you just need a functional setup and the willingness to try a few things that might not work the first time.
My biggest piece of advice? Don’t get caught up in the “aesthetic” of being a maker. Your first few pieces might be a little wonky, or the clasp might be a bit finicky, and honestly, that is perfectly okay. The goal isn’t to create something that looks like it came straight from a high-end boutique; it’s about the satisfaction of making something with your own two hands. So, grab that multi-tool, clear off a corner of your table, and just start creating. You’ve got this, and I can’t wait to see what you make.
Frequently Asked Questions
How do I stop myself from buying every single bead color I see and actually stick to a budget?
I have been there—standing in the craft aisle, convinced that I absolutely need that specific shade of periwinkle. My trick? I treat my bead stash like my herb garden: I don’t buy more until I’ve actually used what I have. Before you hit checkout, ask yourself if those beads work with at least three things already in your kit. If they don’t, leave them. Stick to a “core palette” first; it saves money and makes designing way easier.
Is there a way to make my handmade pieces look professional instead of looking like something a kid made in summer camp?
Honestly, I’ve been there—staring at a necklace that looks more like a friendship bracelet than a piece of jewelry. The secret isn’t expensive stones; it’s the finishing touches. Focus on your tension and your crimps. If your wire loops are uneven or your jump rings are gaping open, it screams “summer camp.” Use needle-nose pliers to tuck everything tight and consistent. When the hardware looks intentional and sturdy, the whole piece instantly levels up.
What's the best way to store all these tiny, annoying components so I don't lose them in the bottom of a junk drawer?
Honestly, don’t even bother with those fancy, expensive acrylic organizers you see on Instagram. They’re overkill. I swear by those small, clear plastic tackle boxes or even repurposed pill organizers. They’re cheap, stackable, and—most importantly—you can actually see what’s inside without digging. Just grab a cheap multi-compartment bin from a craft store or even a hardware shop. It keeps the tiny jump rings and beads from becoming a permanent part of your junk drawer.
