
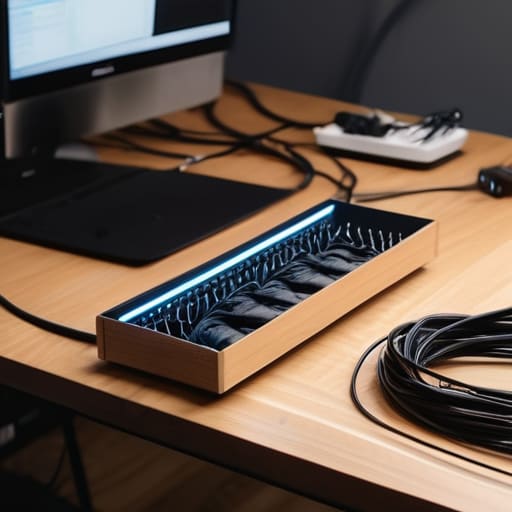
I was sitting on my floor last Tuesday, trying to plug in my laptop, when I realized I was actually fighting a losing battle against a literal nest of black wires. It wasn’t just messy; it was a chaotic, dusty tangle that made me feel like my entire life was spiraling out of control. We’ve all seen those Pinterest-perfect setups with hidden channels and custom-built wooden enclosures, but let’s be real: most of that is just expensive fluff. If you’re looking for a way to reclaim your desk without spending a fortune or turning your apartment into a construction zone, my approach to cable management diy is much more about using what you already have in your junk drawer than buying a specialized kit.
In this guide, I’m skipping the performative perfection and getting straight to the stuff that actually works. I’ll show you how to use simple items like zip ties, Velcro strips, and even old binder clips to corral your tech chaos once and for all. We’re going to focus on functional systems that keep your wires tucked away and out of sight, so you can finally stop staring at the mess and actually get to work.
Table of Contents
- Step-by-Step Instructions
- Under Desk Cable Management Solutions That Actually Work
- Cord Concealment Hacks for a Functional Workspace
- My low-stress rules for keeping the chaos contained
- The bottom line on keeping things tidy
- The truth about a tidy desk
- The Reality of a Tidy Desk
- Frequently Asked Questions
Guide Overview
Tools & Supplies
- Scissors or wire cutters for trimming ties
- Label maker or masking tape for identification
- Velcro cable ties (pack of 20-50)
- Cable management sleeves or raceways (2-3 units)
- Adhesive cable clips (1 pack)
Step-by-Step Instructions
- 1. First things first, you need to perform a complete cable audit. I know, it sounds intense, but just unplug everything and lay it all out on the floor. It’s much easier to see which cords are actually connected to something and which ones are just ghost wires from an old lamp or a charger you lost in 2019. If you aren’t using it, toss it or put it in a bin.
- 2. Once you have your “active” pile, grab some painter’s tape or even just scraps of paper and a Sharpie. Label both ends of every single cord. I used to spend ten minutes crawling under my desk just to find the plug for my printer, and honestly, life is too short for that kind of chaos. Knowing exactly which cord belongs to which device before you plug it in is a total game-changer.
- 3. Now, let’s tackle the “spaghetti monster” behind your desk. Instead of buying those expensive, sleek cable management boxes that look great on Pinterest but are a pain to actually use, just grab a pack of Velcro cable ties. Avoid the plastic zip ties if you can; they’re permanent and a nightmare if you decide to move your monitor later. Velcro lets you bundle your cords together into neat, manageable ribbons that you can easily adjust.
- 4. For the cords that need to travel from your desk to the floor, don’t let them hang in a tangled mess. I like to use adhesive cable clips—the cheap ones from the hardware store work just fine—to run the wires along the underside or the legs of my desk. It keeps the tension off the ports and stops that annoying feeling of tripping over a wire every time you get up for coffee.
- 5. If you have a power strip that’s currently sitting in a dusty corner on the floor, try mounting it. You can use heavy-duty command strips or even a little bit of mounting tape to stick the power strip directly to the bottom of your desk or the side of a cabinet. Getting that bulky block off the floor makes vacuuming ten times easier and keeps the whole setup looking way more intentional.
- 6. Finally, give yourself a little breathing room by leaving a bit of “slack” in your loops. It’s tempting to pull everything tight so it looks perfect, but if you move your laptop or adjust your chair, you don’t want to be tugging on your connections. A little bit of extra length tucked into a bundle ensures that your setup is actually functional for real life, not just for a photo.
Under Desk Cable Management Solutions That Actually Work
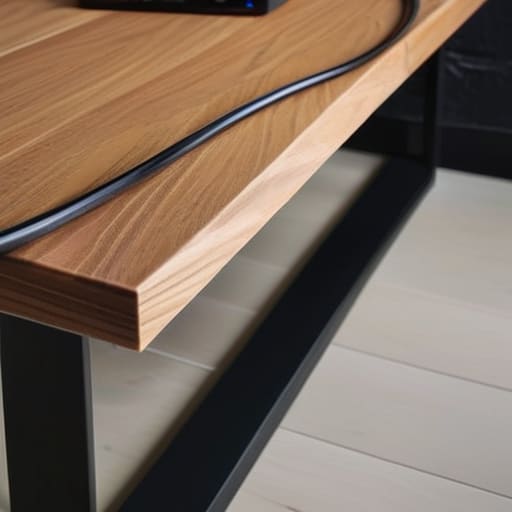
Once you’ve tackled the surface level, the real battle happens under the desk. This is where the “cable spaghetti” usually lives, and honestly, it’s the most stressful part of my home office setup organization. I used to just shove everything into a pile behind my legs, but I quickly realized that was a recipe for a tripping hazard and a dust magnet. Instead of buying those expensive, heavy-duty metal trays you see on Pinterest, I’ve found that heavy-duty adhesive command hooks or even simple screw-in J-channels are total lifesavers. They keep the weight of your power strips off the floor, which makes vacuuming (or just kicking things out of the way) so much easier.
If you’re dealing with a mountain of different lengths, don’t let them hang loosely. I swear by using a few velcro straps to bundle the excess length of each cord together before routing them. It’s one of those small cord concealment hacks that prevents that heavy, sagging look. By grouping your cables into distinct “paths,” you aren’t just managing tangled wires; you’re creating a system where you can actually find the plug you need without a frantic scavenger hunt.
Cord Concealment Hacks for a Functional Workspace
If you’re like me, you probably have a “junk drawer” for electronics, but the real battle is usually happening right behind your monitor. Once you’ve tackled the heavy lifting with your under desk cable management solutions, the next step is dealing with those pesky little cords that snake across your desk surface. Instead of buying expensive, designer cord covers that look like they belong in a showroom, I’ve found that simple cord concealment hacks work much better. A basic adhesive cable clip can keep your phone charger from sliding off the back of the desk every time you unplug, and honestly, it’s a total game-changer for your sanity.
Another thing that helps with my home office setup organization is being intentional about how I route things. I like to use a bit of command strip Velcro to attach my power bricks directly to the underside of my desk or even the side of a heavy monitor stand. This way, you aren’t just managing tangled wires; you’re actually removing them from your line of sight entirely. It’s not about making it look like a Pinterest board—it’s just about making sure you don’t trip over a rogue USB cord when you’re reaching for your coffee.
My low-stress rules for keeping the chaos contained
- Stop buying expensive branded organizers; most of the time, a simple pack of velcro straps from the hardware store does the exact same thing for a fraction of the cost.
- Label both ends of every cord using a piece of masking tape—it feels a little unpolished, but you’ll thank me the next time you need to unplug your printer without accidentally killing your router.
- Group your wires by “destination” rather than type, so you aren’t untangling a giant knot of different lengths just to reach one single outlet.
- Use binder clips on the edge of your desk to create makeshift cord holders; it keeps your phone charger from sliding behind the furniture every time you unplug it.
- Don’t try to hide everything at once or you’ll get overwhelmed and quit; just pick the one “cable nest” that’s currently driving you crazy and tackle that one first.
The bottom line on keeping things tidy
Stop chasing the Pinterest-perfect look; if a roll of velcro strips and some zip ties get the wires off the floor and out of your way, you’ve already won.
Prioritize accessibility over total concealment—don’t hide your power strips so deeply under your desk that you’ll have to crawl on the floor every time you need to plug in a new charger.
Think in layers by grouping your cables together first, which makes it way easier to troubleshoot a connection later without having to untangle a massive “cord nest.”
The truth about a tidy desk
“We spend so much time chasing that Pinterest-perfect, invisible-wire look, but honestly? If your cables are tucked away, labeled, and not tripping you up when you go to grab a charger, you’ve already won the battle.”
Maya Sterling
The Reality of a Tidy Desk
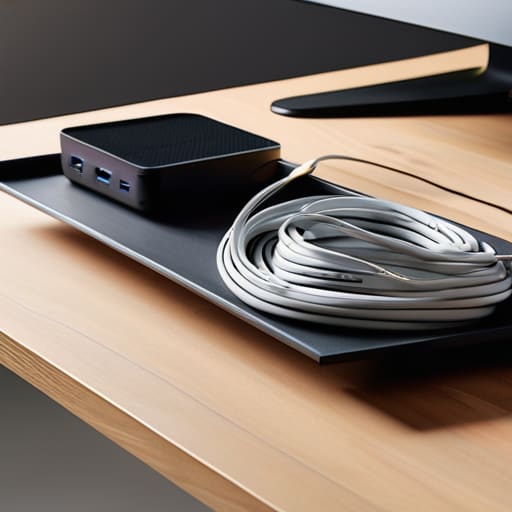
At the end of the day, we aren’t trying to win a home decor competition; we’re just trying to stop tripping over power strips. Whether you ended up using zip ties to bundle your monitor cords, tucked everything into a simple under-desk tray, or just used some basic tape to keep things from sliding behind the desk, you’ve already done the hard part. The goal was to move from a chaotic tangle of wires to a setup where you can actually focus on your work instead of the visual noise. It’s not about having a Pinterest-perfect studio, but about creating a space where your equipment stays where it belongs and your brain can finally settle into a flow state.
I know that looking at a pile of tangled black cords can feel like just another overwhelming task on an endless to-do list, but I promise it’s worth the twenty minutes of effort. Once you get these small, functional systems in place, you’ll realize that a little bit of organization goes a long way in reducing that daily, low-level mental clutter. Don’t worry if it doesn’t look like a professional studio setup right out of the gate—just aim for functional and manageable. You’ve got this, and your future, less-stressed self will definitely thank you for it.
Frequently Asked Questions
How do I keep my cables organized without spending a fortune on those expensive plastic trays?
Honestly, don’t even look at those $40 metal trays. I used to think I needed them, but they just end up cluttering my desk. Instead, grab a pack of heavy-duty Velcro strips or even some old binder clips from your junk drawer. Clip them to the edge of your desk to hold your charging cords in place. For the bigger mess, a simple mesh laundry bag or even a shoebox with holes cut in the back works just as well as any “designer” solution.
Is there a way to manage cords that won't damage my desk or leave permanent marks on the paint?
I totally get this—the last thing you want is to fix your cables only to realize you’ve ruined a perfectly good desk or left those annoying sticky residue marks on your walls. Skip the heavy-duty adhesives. Instead, try using command clips or even just a bit of removable mounting putty to guide cords along the edges. If you’re worried about the surface, a simple piece of felt or even a small strip of electrical tape can act as a buffer.
What's the best way to handle all those tangled wires behind my power strip without it looking like a total bird's nest?
Honestly, the “bird’s nest” is my kryptonite, but you don’t need a designer solution to fix it. I swear by a simple cable management box—you just drop the power strip and all the excess cord inside, snap the lid on, and it’s gone. If you’re on a tighter budget, grab some Velcro ties (not the plastic zip ties, please, they’re a nightmare to undo) and bundle the slack into neat coils.
