
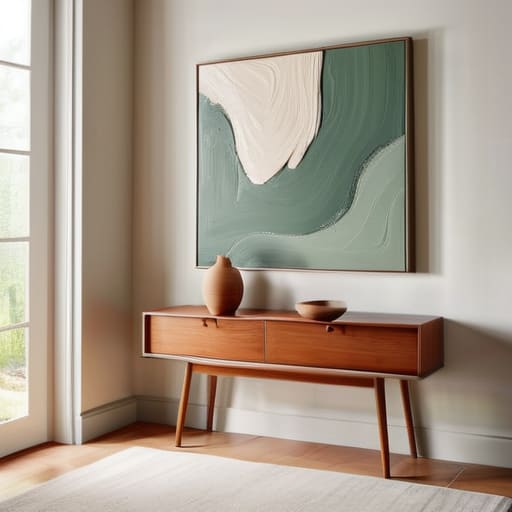
I was standing in the middle of my living room last Tuesday, staring at a massive, blank white wall that felt more like a clinical hospital ward than a home, clutching a $75 receipt for a “minimalist” print I’d just bought online. It looked exactly like every other mass-produced piece on Pinterest, and honestly? It felt soul-crushing. I realized right then that we’ve been sold this lie that you need a massive budget or a degree in fine arts to decorate a space. If you’re actually looking for how to make wall art that doesn’t feel like a cheap imitation of a lifestyle magazine, you have to stop looking at the price tag and start looking at what you already have in your junk drawer or your recycling bin.
In this guide, I’m skipping the expensive canvases and the “professional” supplies that just take up space in your closet. Instead, I’m sharing my favorite, low-stress methods for creating pieces that actually reflect your personality—using things like scrap wood, leftover paint, and even some clever framing hacks. We’re going to focus on projects that are functional, budget-friendly, and most importantly, completely doable even if your only creative tool is a pair of scissors and a dream.
Table of Contents
- Step-by-Step Instructions
- Low Stress Abstract Art for Beginners Without the Perfectionism
- Budget Friendly Home Decor Projects Using Scraps and Mixed Media Art Suppli
- Five Real-World Rules for Not Ruining Your DIY Art
- The Real Bottom Line on Making Your Own Art
- My Philosophy on Decorating
- Final Thoughts on Making It Your Own
- Frequently Asked Questions
Guide Overview
Tools & Supplies
- Paintbrush or sponge for applying color
- Pencil for sketching initial designs
- Measuring tape to center the piece
- Canvas or wooden panel (1 piece)
- Acrylic paints (set of assorted colors)
- Painter's tape for geometric patterns
- Water cup for cleaning brushes
- Paper towels for drying tools
Step-by-Step Instructions
- 1. First, we need to do a quick sweep of your house for supplies. Don’t go running to a big-box craft store just yet; that’s how you end up spending forty dollars on something you’ll never use. Instead, look for leftover scrap wood, old picture frames you don’t actually like, or even some thick, heavy cardstock from a junk drawer. The goal here is to use what you already have so this stays actually budget-friendly.
- 2. Once you’ve gathered your “trash,” decide on your vibe. Since I’m all about functionality, I usually lean toward something textural. You could go the route of pressed botanicals from your herb garden, or maybe some abstract shapes using leftover acrylic paint. Just grab a piece of paper and sketch out a rough idea so you aren’t staring at a blank canvas feeling paralyzed. It doesn’t have to be a masterpiece; it just needs to fill the space.
- 3. Prep your base material. If you’re using old wood, give it a quick sand with some sandpaper to get rid of any splinters or rough patches. If you’re working with a canvas or heavy paper, make sure it’s clean and flat. I always keep my small multi-tool handy for this part, just in case I need to scrape off some old dried glue or trim a piece of cardboard to size. It’s much easier to fix things now than when you’re halfway through the final layer.
- 4. Now for the fun (and slightly messy) part: applying your medium. If you’re painting, don’t worry about perfect lines; a little bit of “imperfection” actually gives it more character. If you’re doing something like a collage or pressed plants, use a bit of tacky glue or even a glue stick to secure everything. Just remember to work in layers so you don’t end up with a giant, soggy clump of glue that takes three days to dry.
- 5. Let everything dry completely. This is the hardest step for me because I want to see the finished product immediately, but patience is a virtue when it comes to DIY. If you’re using paint, give it a few hours. If you’re using heavier materials, maybe even leave it overnight. I usually set it aside on a flat surface and go tend to my indoor herbs to keep myself from fidgeting with it.
- 6. Finally, it’s time to hang it up. Don’t just slap a nail into the wall and hope for the best. Use a little bit of painter’s tape to mark exactly where you want the art to sit before you commit. If you’re renting and can’t use nails, look into those heavy-duty adhesive strips. The real win is seeing that piece finally living on your wall instead of sitting in a “to-do” pile in your hallway.
Low Stress Abstract Art for Beginners Without the Perfectionism
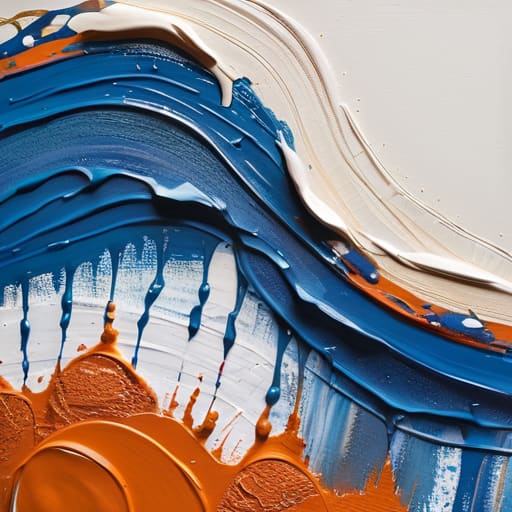
If you’re the kind of person who stares at a blank canvas and immediately feels the urge to overthink every single stroke, listen to me: stop. Abstract art is your best friend because there is no “wrong” way to do it. I used to get so stuck trying to make things look symmetrical or “correct,” but I’ve realized that some of my favorite pieces came from just letting the paint do its thing. One of my favorite easy canvas painting techniques involves using a palette knife or even an old credit card to scrape layers of color across the surface. It’s tactile, it’s a little messy, and it completely removes the pressure of being a “master painter.”
When you’re diving into abstract art for beginners, my biggest piece of advice is to embrace the texture. Don’t feel like you need to buy a professional studio setup; you can grab some basic mixed media art supplies from a local craft store and just start layering. If a section looks a bit wonky, don’t scrap the whole thing. Just layer something else over it. That’s the beauty of it—you can always pivot. It’s not about creating a masterpiece for a gallery; it’s about making something that makes your space feel a little more like home.
Budget Friendly Home Decor Projects Using Scraps and Mixed Media Art Suppli
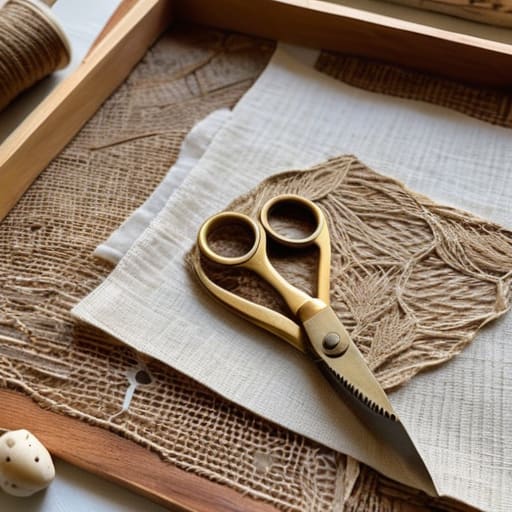
If you’re anything like me, your “junk drawer” is probably overflowing with things that feel too useful to toss but too random to use. Honestly, those are your best friends for budget friendly home decor projects. Instead of heading to a big-box retailer to buy a mass-produced print that looks like it came out of a catalog, look at your scraps. Old fabric remnants, dried botanicals from that herb garden of mine, or even those leftover bits of twine from a recent package can become the foundation for something beautiful. When you start playing with mixed media art supplies, you realize that texture is often way more interesting than a perfect, flat painting.
I love using a bit of cardboard or even an old wooden tray as a base to give pieces some actual dimension. You don’t need a studio full of expensive gear; just grab some glue, some old magazine clippings, and maybe a bit of leftover acrylic paint. The goal here isn’t to create a masterpiece for a museum, but to create something that feels intentional in your space. It’s about taking the “stuff” you already own and turning it into something that actually makes your apartment feel like home.
Five Real-World Rules for Not Ruining Your DIY Art
- Stop overthinking the “vision.” I used to stare at a blank canvas for an hour trying to be Picasso, but honestly? Just start moving color around. If it looks weird, layer something else over it. Art is meant to be layered, not perfect on the first pass.
- Don’t go overboard on the supplies. You don’t need a professional studio setup; a decent set of acrylics and some heavy-duty paper or a cheap canvas from a thrift store is plenty. Save your money for things that actually matter, like good coffee or a decent multi-tool.
- Frame it like you mean it. A mediocre piece of art looks like a masterpiece if it’s in a solid, clean frame. Even a simple piece of textured paper looks intentional and “designed” once you tuck it behind some glass.
- Play with texture, not just color. If your piece feels a bit flat, grab some sand, some old fabric, or even some thickened joint compound from the hardware store. Adding a little physical dimension makes it look way more expensive than it actually was.
- Test your color palette before you commit. I’ve definitely ruined a good mood by picking three colors that clash horribly. Grab a scrap piece of paper and swatch your colors together first—it takes two minutes and saves you from a very frustrating afternoon.
The Real Bottom Line on Making Your Own Art
Stop waiting for “talent” to show up; focus on the process and the materials you already have on hand rather than trying to create a masterpiece.
Functionality beats aesthetics every single time—if a piece of art makes your space feel more like you without draining your bank account, it’s a win.
Embrace the mess and the imperfections, because the most interesting pieces usually come from those “happy accidents” that happen when you stop overthinking.
My Philosophy on Decorating
“Stop waiting for the perfect ‘aesthetic’ to hit your living room; your walls don’t need to look like a curated showroom, they just need to look like they belong to you.”
Maya Sterling
Final Thoughts on Making It Your Own
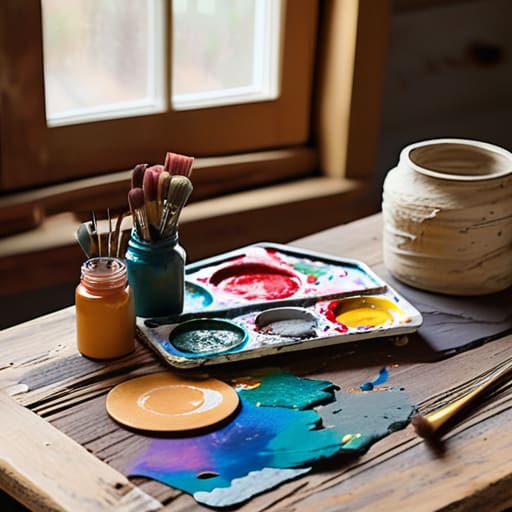
At the end of the day, whether you’re playing with messy abstract strokes or repurposing old scrap wood from a DIY project, the goal isn’t to create a museum-quality masterpiece. We’ve looked at how to ditch the expensive store-bought stuff in favor of low-stress, budget-friendly alternatives that actually fit your life. From using mixed media scraps to embracing the beautiful chaos of beginner-level abstraction, the main takeaway is that your walls don’t need to look like a curated Pinterest board to feel complete. It’s about finding those small, functional ways to express yourself without the pressure of being a “real artist.”
I know that sometimes the hardest part of any project is just getting started and dealing with the inevitable mess on your floor. But I promise you, once that first piece of art is hanging up—even if it’s a little lopsided or the colors aren’t quite what you planned—your space is going to feel so much more like home. Don’t let the fear of making a mistake stop you from creating something that actually means something to you. Just grab your tools, embrace the process, and remember that perfection is overrated; it’s the personality that counts.
Frequently Asked Questions
I’m worried about making a total mess—is there a way to do this without ruining my kitchen table or my living room rug?
I totally get it—the last thing I need after a long workday is to be scrubbing acrylic paint out of my rug. Trust me, I’ve learned that the hard way. Grab a cheap plastic tablecloth from the dollar store or even just some old newspapers to layer over your workspace. If you’re working on the kitchen table, a heavy-duty cutting mat or a large piece of cardboard works wonders. Just prep first so you can actually relax and create.
What do I do if I finish a piece and it just looks… weird? Is there a way to save a project that didn't turn out how I planned?
First off, take a deep breath. We’ve all been there—staring at a canvas that looks more like a mess than a masterpiece. When a project goes sideways, don’t toss it. Try the “layering trick”: add more texture or a bold wash of color to mask the mistake. If it’s still looking wonky, lean into the chaos and turn it into a collage or a mixed-media piece. Sometimes the “fails” actually end up having the most character.
I don't want to spend a fortune on frames; are there any cheap or even free ways to actually hang and finish these pieces so they look intentional?
Honestly, don’t let the “frame tax” stop you. I’ve found that using wooden magnetic hanger bars—or even just two strips of scrap wood clamped to the top and bottom—looks way more intentional than a cheap plastic frame. If you’re feeling extra scrappy, try mounting your pieces directly onto a piece of leftover plywood or even a sturdy cardboard sheet painted a matte neutral. It gives the art a “gallery” feel without the retail markup.
