
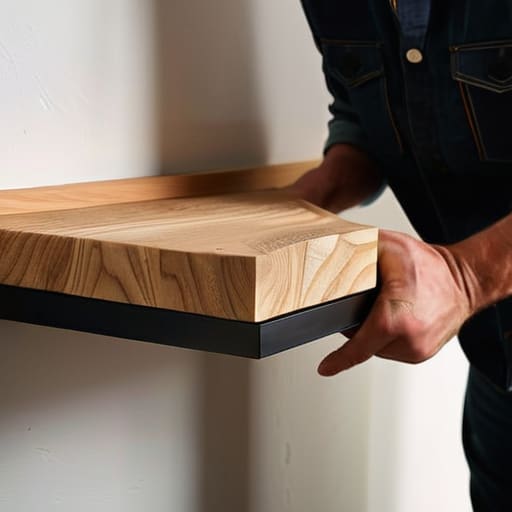
I was standing in my living room last Tuesday, staring at a pile of expensive, heavy oak planks and a drill that felt way too intimidating, wondering why I couldn’t just be that person who effortlessly pulls off a home renovation. We’ve all seen those perfectly curated living rooms where the decor looks like it was placed by a professional stylist, but let’s be real: most of those “minimalist” setups are a nightmare to actually live in. I spent way too much money trying to follow a tutorial that promised a “seamless look,” only to end up with shelves that sagged the moment I put a single ceramic mug on them. That’s when I realized that successful floating shelves diy isn’t about achieving some unattainable Pinterest aesthetic; it’s about the structural integrity that keeps your stuff from crashing to the floor.
In this guide, I’m stripping away the fluff and the fancy terminology to show you how to build shelves that actually work. I’ll walk you through the exact tools you need, how to find those pesky wall studs without losing your mind, and the little tricks I learned the hard way to ensure your project stays sturdy and functional. We aren’t chasing perfection here—we’re just making sure your books and plants have a safe, reliable place to sit.
Table of Contents
- Step-by-Step Instructions
- Finding Studs Without the Stress Using a Stud Finder for Wall Shelves
- Mastering Hidden Bracket Mounting for Shelves That Actually Last
- Five Reality Checks Before You Start Drilling
- The Real-World Bottom Line
- Forget the Perfectionism
- Final Thoughts Before You Hang
- Frequently Asked Questions
Guide Overview
Tools & Supplies
- Drill and bits for pilot holes and wall mounting
- Level to ensure shelves are straight
- Saw for cutting wood to size
- Sandpaper for smoothing edges
- Stud finder to locate wall supports
- Wood boards (shelves) 1-2 pieces
- Floating shelf brackets or hidden rods 1 set
- Wood screws 1 pack
- Wood glue 1 bottle
- Wood stain or paint 1 can
Step-by-Step Instructions
- 1. First things first, you need to grab your materials. I’m not a fan of the super expensive, pre-made floating shelf kits that cost a fortune, so I usually go with some solid wood boards from a local hardware store. You’ll also need some sturdy wood cleats (basically just thin strips of wood), a drill, some long screws, a level, and your multi-tool for those little adjustments. Make sure you pick a wood that actually feels heavy and substantial so your stuff doesn’t end up sagging in six months.
- 2. Once you have your wood, it’s time to cut your cleats to size. These are the pieces that will actually be screwed into your wall to hold the weight of the shelf. I like to cut them slightly shorter than the actual shelf board so they stay hidden from view once everything is assembled. If you don’t have a power saw, don’t panic—most big-box hardware stores will actually make a few basic cuts for you for a tiny fee, which is a total lifesaver when you’re working in a small apartment.
- 3. Now, grab your level and find your sweet spot on the wall. This is the part where most people mess up by just “eyeballing it,” but trust me, measure twice and drill once. Use a pencil to mark exactly where your cleats will go. I always recommend using a stud finder first; if you can screw those cleats directly into the wall studs, your shelf will be sturdy enough to hold even your heaviest cookbooks or ceramic planters.
- 4. Go ahead and screw those cleats into the wall. If you aren’t hitting a stud, you’ll need to use some high-quality drywall anchors, but please, don’t skimp on the quality here. You want these to feel rock-solid. Once the cleats are up, give them a quick check with your level to make sure they aren’t slanted. There is nothing more frustrating than finishing a project only to realize your coffee mug is slowly sliding toward the edge.
- 5. Next, you’re going to prep your main shelf board. If you bought a piece of wood that’s a bit rough, give it a quick sand with some medium-grit sandpaper. I usually like to apply a simple stain or even just a clear matte sealer to keep the natural look. It doesn’t have to look like a showroom piece; honestly, a few natural imperfections just give the wood some character and make it feel more “lived-in.
- 6. Now for the “floating” part: slide your shelf board over the cleats you installed on the wall. To keep the shelf from sliding forward or tipping, you’ll want to drive a couple of small finishing screws through the top of the shelf and into the wood cleats underneath. Just be careful to pre-drill small pilot holes first so you don’t crack the wood or have the screw head pop up through the surface where you can see it.
- 7. Finally, take a second to clean off any dust and decide what goes on it. I usually start with my herb garden setup or some books I’ve actually read. The goal here wasn’t to create a museum display; it was to create a functional spot to get things off my cluttered surfaces. If it looks a little bit messy or mismatched, that’s okay—it’s yours, and it works.
Finding Studs Without the Stress Using a Stud Finder for Wall Shelves
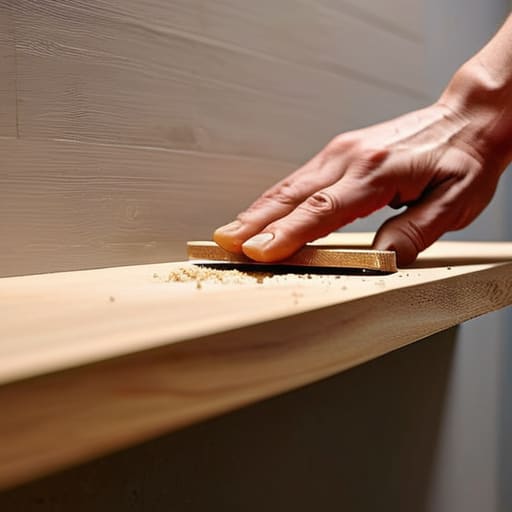
Look, I know the word “stud finder” sounds like something straight out of a home improvement nightmare, but please don’t skip this part. There is nothing more soul-crushing than spending an hour perfectly leveling your new shelves only to have them sag or—worse—rip right out of the drywall an hour later. When you’re working with hidden bracket mounting, you don’t have the luxury of a visible L-bracket to lean on for support. You are relying entirely on those wooden studs behind the plaster to do the heavy lifting.
If your stud finder is giving you wonky readings (which happens more often than people admit), don’t panic. I usually do a quick “knock test” first; a hollow sound means you’re in the gap, while a solid thud means you’re getting close to something real. Once you find them, mark your spots clearly with a pencil. Remember, your floating shelf weight capacity is almost entirely dependent on how many screws you actually sink into solid wood rather than just drywall anchors. It’s not about being perfect; it’s about making sure your books don’t end up in a pile on the floor.
Mastering Hidden Bracket Mounting for Shelves That Actually Last
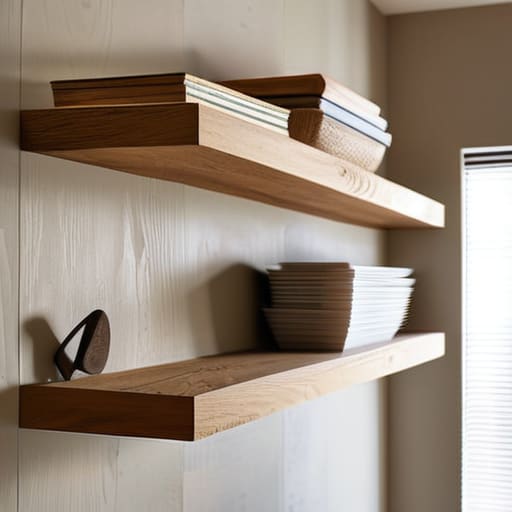
If you’ve ever tried to hang a heavy stack of cookbooks only to watch your shelf slowly tilt toward the floor, you know exactly why I’m so obsessed with this part. Most people think the “floating” look is just about the hardware, but the real secret lies in the hidden bracket mounting technique. Instead of relying on those flimsy little L-brackets you see in big-box stores, I always recommend using a heavy-duty internal bracket system. It’s a bit more work upfront, but it’s the difference between a shelf that looks like a temporary fix and one that feels like it’s actually part of the house.
One thing I learned the hard way is that you have to be realistic about your floating shelf weight capacity. If you’re planning on using these for heavy ceramics or thick hardcover books, don’t just aim for the studs—aim for the sturdiest part of the stud. I usually double-check my math before I even pick up the drill. It’s not about achieving that perfect, airy look you see on Instagram; it’s about making sure your stuff stays exactly where you put it.
Five Reality Checks Before You Start Drilling
- Don’t go overboard with the decor. I know those perfectly styled shelves look great on Instagram, but if you pack them with heavy ceramic vases and five different books, they’re going to sag. Leave some breathing room so the shelves actually do their job.
- Check your weight limits twice. If you’re planning to use these for a heavy collection of cookbooks in the kitchen, you can’t just rely on drywall anchors. Make sure your brackets are beefy enough for what you’re actually planning to put on them.
- Get a level, not just your eyes. I used to think I could “eye it” and it would look straight enough, but even a tiny tilt becomes painfully obvious once you put stuff on it. Use a real level so you aren’t constantly squinting at your work.
- Test your wood finish on a scrap piece first. There is nothing worse than staining your beautiful new shelf and realizing it looks way darker or more orange than you expected. Do a little test run on a leftover piece of wood to save yourself the headache.
- Keep your multi-tool handy. Seriously, between measuring, marking, and tightening things up, you’ll realize halfway through that you need something more versatile than just a screwdriver. Having a little tool on hand makes the “messy middle” of the project much smoother.
The Real-World Bottom Line
Forget the “perfect” look; focus on the studs. A shelf that looks like a magazine cover but isn’t anchored into something solid is just a future pile of broken ceramics on your floor.
Invest in the right hardware once. It’s tempting to grab the cheapest brackets at the big-box store, but spending an extra ten bucks on heavy-duty mounting gear saves you the headache of a mid-shelf collapse later.
Measure twice, drill once, and breathe. DIY is supposed to be about making your space work for you, not about achieving a level of perfection that leaves you feeling stressed and defeated.
Forget the Perfectionism
I used to spend hours scrolling through home decor feeds, thinking my shelves had to look like a museum exhibit. But honestly? A shelf is just a tool to hold your books and your plants. If it’s sturdy, level, and holds your stuff without wobbling, you’ve already won the battle.
Maya Sterling
Final Thoughts Before You Hang
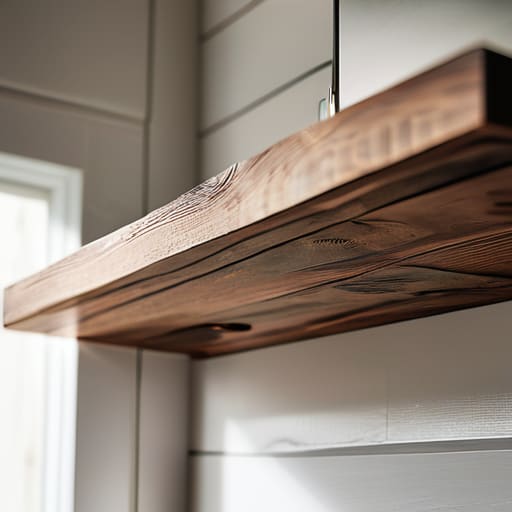
At the end of the day, building your own floating shelves comes down to three things: getting your measurements right, finding those studs so your heavy cookbooks don’t end up on the floor, and choosing a mounting method that actually holds the weight. It’s easy to get caught up in the technicalities of hidden brackets or the perfect wood finish, but don’t let the fear of a slightly crooked level line stop you from finishing the project. You’ve done the hard part by prepping the walls and doing the heavy lifting; now it’s just about trusting your process and letting the dust settle.
I know how it feels to look at a pile of lumber and a handful of screws and think, “What am I even doing?” But once those shelves are up and you’ve tucked your favorite plants or those mismatched mugs you love into place, you’ll realize it wasn’t about achieving a showroom look. It was about creating a space that works for your actual, busy life. Forget about the performative perfection you see on social media and just celebrate the fact that you built something functional with your own two hands. You’ve got this.
Frequently Asked Questions
What should I do if my stud finder is acting up and I can't find anything solid in the wall?
Ugh, the dreaded “phantom stud” situation. If your stud finder is giving you nothing but chaos, don’t just start drilling. First, check your batteries—I know, it sounds basic, but it’s usually the culprit. If that fails, try the old-school way: knock on the wall. A hollow sound means you’re in no-man’s-land; a solid thud means you’re close. You can also look for telltale signs like outlet covers or floorboard gaps to pinpoint where the wood actually lives.
Can I actually use these shelves to hold heavy stuff like a stack of cookbooks, or are they strictly for decor?
Honestly, this is my biggest pet peeve with those “aesthetic” DIYs—they look great until you try to actually live with them. If you followed my advice about finding the studs and using hidden brackets, you can absolutely load these up with your heavy cookbooks. Just don’t go overboard with a massive collection on a single shelf. Think of it as a balance: sturdy enough for your essentials, but not a structural engineering project.
How do I fix it if I accidentally drill a hole in the wrong spot or if the shelf ends up looking a little crooked?
Look, we’ve all been there. If you’ve drilled a hole in the wrong spot, don’t panic—just grab some wood filler or a bit of spackle, dab it in, and sand it smooth once it dries. It’s a five-minute fix. If the shelf is looking a little crooked, don’t force it. Loosen the brackets slightly, nudge it into place, and re-tighten. If it’s really off, you might need to relocate the whole setup, but usually, a little adjustment is all it takes.
