
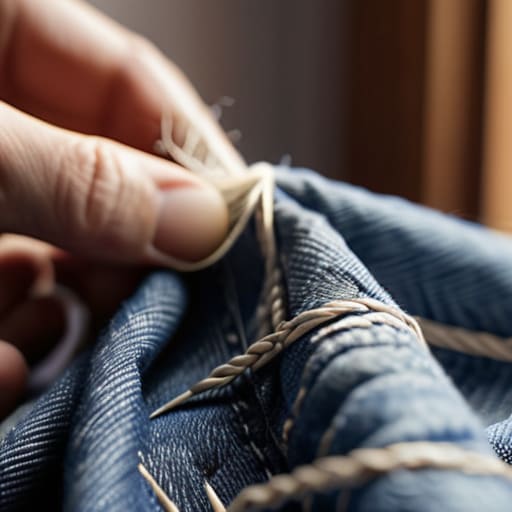
I was standing in front of my closet last Tuesday, staring at my favorite pair of high-waisted jeans with a gaping hole near the pocket, feeling that familiar, annoying urge to just throw them in the donation bin. We’ve been conditioned to believe that if a seam rips or a button goes rogue, the garment is officially dead, but that is such a waste of good fabric and even better money. Learning how to mend clothes isn’t about becoming a master tailor or making everything look like it just came off a boutique shelf; it’s about realizing that a visible stitch or a slightly mismatched patch is just a sign of a life well-lived.
I’m not here to show you those Pinterest-perfect embroidery tutorials that take six hours and a PhD in sewing. Instead, I’m going to walk you through the messy, functional fixes that actually work when you’re in a rush or working with a tight budget. We’re going to cover the bare essentials—from securing a loose hem to patching up denim—so you can stop tossing your wardrobe and start actually using it.
Table of Contents
Guide Overview
Tools & Supplies
- Hand sewing needles of various sizes for different fabric weights
- Fabric scissors for clean, precise cuts
- Seam ripper to carefully remove old, damaged stitching
- All-purpose polyester or cotton thread in various colors
- Sewing notions such as safety pins or fabric clips
- Patch fabric for repairing holes or tears
Step-by-Step Instructions
- 1. First things first, grab a basic sewing kit—and no, you don’t need that massive, expensive wooden box from a craft store. Just find a few sturdy needles, some thread that actually matches your garment (or a slightly darker shade if you can’t find a match), and a pair of sharp scissors. If you’re dealing with a heavy denim or a thick coat, make sure you have a heavier-duty thread so your hard work doesn’t just unravel the first time you sit down.
- 2. Clean up the mess before you start. If you’re fixing a hole, use your scissors to trim away any frayed, loose threads that are dangling around the edges. It’s tempting to just sew right over the mess, but if you don’t clear out those tiny little strings, your new stitches will just end up pulling the old damage apart instead of holding the fabric together.
- 3. If you’re tackling a simple tear or a seam that popped, you’ll want to use a running stitch. Basically, you’re just guiding the needle in and out of the fabric in a straight line. Don’t worry about making it look like a piece of fine art; the goal here is structural integrity. Just keep your stitches close together so there aren’t any big gaps where the hole can peek through again.
- 4. For those annoying little holes in your favorite t-shirt or sweater, I swear by the “darning” method. Think of it like weaving a tiny web over the hole. You run vertical threads across the gap first, and then you weave your needle horizontally through those vertical threads. It takes a little patience, but it creates a solid patch of thread that’s way stronger than just bunching up the fabric.
- 5. If you’re dealing with a button that’s decided to go on strike, don’t just sew it on loosely. You need to create a “shank,” which is just a fancy way of saying you leave a little bit of slack between the button and the cloth. Wrap the thread around the base of the button a few times after you’ve secured it; this gives the button room to sit comfortably when you’re actually buttoning your shirt up.
- 6. Once you’re finished, don’t just chop the thread and call it a day. Tie a couple of secure knots on the underside of the fabric to lock everything in place. I always double-knot my work because I’ve learned the hard way that a single knot is not a reliable plan when you’re washing that item in a heavy-duty cycle later.
- 7. Finally, give the area a quick tug to make sure everything feels secure. If it feels wonky or loose, don’t be afraid to add a few more stitches. It’s much easier to spend an extra two minutes reinforcing a repair now than it is to deal with a wardrobe malfunction in the middle of a meeting later.
Real Fabric Repair Tools That Actually Work
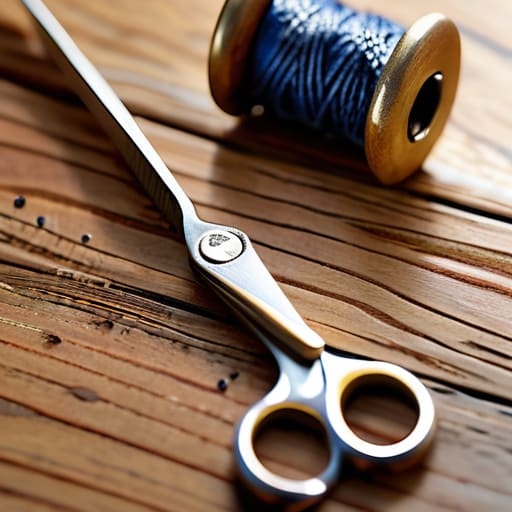
Look, you don’t need a heavy-duty sewing machine or a professional atelier setup to fix a snagged sweater or a ripped hem. I’ve learned the hard way that buying every gadget in the craft aisle is just a waste of money. For my personal toolkit, I stick to the sewing kit essentials that actually move the needle: a decent pair of small embroidery scissors, a handful of assorted needles, and high-quality thread that won’t snap mid-stitch. If you’re tackling something thicker, like a pair of jeans, grab a thimble. It’s one of those things you think you’ll never use until you’re halfway through patching denim holes and realize your fingertip is screaming at you.
I also swear by keeping a small stash of fabric scraps and a few safety pins on hand for those “emergency” moments. Sometimes, you don’t need a permanent fix right away; you just need something to hold the structural integrity together until you have the headspace to sit down and do it properly. Honestly, the best fabric repair tools are the ones that are already in your junk drawer, provided they aren’t rusted or blunt.
Hand Sewing Basics for People Who Hate Sewing
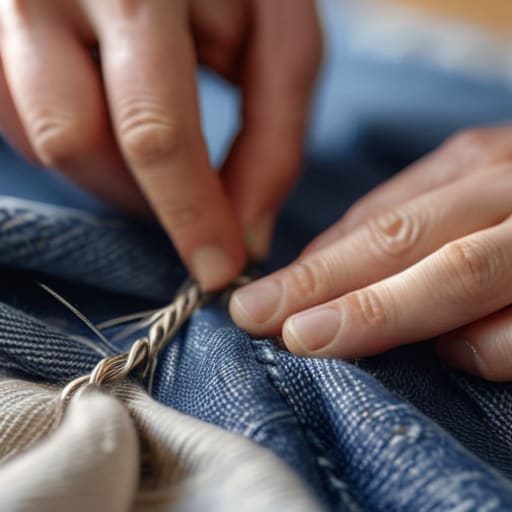
Look, I get it. The idea of sitting down with a needle and thread feels less like a “relaxing hobby” and more like a chore you’ve been procrastinating on for months. If you’re anything like me, you probably find the whole process a bit tedious. But here’s the secret: you don’t need to be a master tailor to get the job done. When it comes to hand sewing basics, your goal isn’t perfection; it’s just stability. If you can master a simple running stitch or a basic whipstitch, you can fix about 80% of the minor issues that usually land clothes in the donation bin.
Don’t let the complexity of a craft store intimidate you. You don’t need a massive machine or a hundred different colors of thread to make an impact. For most quick fixes, just having a few sewing kit essentials—like decent embroidery scissors, a handful of versatile needles, and some sturdy thread—is plenty. If you’re dealing with something a bit more serious, like a thinning heel, don’t stress about making it invisible. I actually love using visible mending techniques because they turn a flaw into a feature, making your favorite pieces feel a little more personal and a lot more lived-in.
Five Ways to Keep Your Clothes Out of the Trash
- Don’t aim for perfection. If you’re fixing a hole in a pair of work jeans, the goal isn’t to make it invisible; it’s to make the hole stop getting bigger. A slightly visible patch is a win if it means you aren’t buying new pants next month.
- Embrace the “visible mend.” If you have a tear in a favorite sweater, use a contrasting thread color instead of trying to find a perfect match. It turns a mistake into a design choice, and honestly, it looks way more intentional than a messy, mismatched repair.
- Keep a “repair kit” in a specific, easy-to-reach spot. I keep a small tin in my junk drawer with a few needles, some heavy-duty thread, and a couple of safety pins. If you have to dig through a massive sewing box every time a button falls off, you’re just never going to do it.
- Check your buttons before they actually fall off. If you feel a button wobbling while you’re getting dressed, stop right there and tighten it. It takes thirty seconds now, but it saves you the headache of a button rolling under the fridge later.
- Use iron-on interfacing for thin fabrics. If you’re dealing with something delicate like a silk blouse or a thin cotton tee, don’t just start sewing. Put a little piece of lightweight interfacing on the back of the tear first; it gives the fabric some structure so your stitches don’t just pull right through the weave.
The Bottom Line on Fixing Your Stuff
Don’t aim for perfection; if the seam is secure and the hole is covered, you’ve already won.
Keep a tiny, basic kit nearby so you actually use it instead of letting a tear turn into a reason to throw the whole shirt away.
Prioritize function over fashion—a visible patch is way better for your wallet and the planet than a brand-new replacement.
## A New Way to Look at Your Closet
“Don’t let a tiny hole or a loose thread convince you that a piece of clothing is garbage. Mending isn’t about making your clothes look perfect again; it’s about making them work for you for as long as possible.”
Maya Sterling
Don't Let a Small Tear Stop You
Look, I know the idea of sitting down with a needle and thread feels like a chore, but once you’ve got your basic kit ready and you understand that a few messy stitches can save a favorite sweater, the anxiety starts to fade. We’ve covered everything from picking the right thread to those quick hand-sewing hacks that don’t require a degree in textile engineering. The goal here isn’t to create a museum-quality restoration; it’s about functional survival. Whether you’re patching a hole in your jeans or securing a loose button, you’re choosing to extend the life of something you already love instead of just adding to the landfill.
At the end of the day, I want you to stop feeling guilty about those clothes sitting in the “to-fix” pile. Perfection is overrated, and honestly, a visible mend tells a much better story than a brand-new, fast-fashion replacement ever could. Embracing these small, slightly imperfect repairs is how we reclaim our time and our wallets. So, grab that multi-tool or your sewing kit, pick one item that’s been bugging you, and just start. You don’t need to be an expert; you just need to be willing to try, and I promise you’ll feel a lot more capable once that first stitch is in place.
Frequently Asked Questions
Is it even worth fixing an old shirt if the fabric feels super thin or worn out?
Honestly? If the fabric is so thin that it’s basically translucent or feels like it’ll disintegrate if you sneeze, let it go. I’ve been there—trying to save a favorite tee only to have the patch pull right through the worn-out fibers an hour later. It’s frustrating, but sometimes the most functional decision is just recycling it. Save your time and thread for the pieces that actually have some life left in them.
How do I stop a hole from getting bigger while I'm actually trying to sew it?
Honestly, I’ve been there—you start a tiny mend and suddenly it looks like a crater. The trick is to stop the “run” before you even start sewing. Grab some lightweight fusible interfacing (the iron-on kind) and patch it on the inside. It acts like a stabilizer so the fabric stops fraying while you work. If you don’t have that, just use a tiny bit of clear nail polish on the raw edges to freeze them in place.
What do I do if I totally mess up the first few stitches and make it look worse?
Deep breaths—we’ve all been there. I once tried to fix a seam on my favorite linen shirt and ended up making it look like a topographical map. If it’s looking like a disaster, don’t try to “fix” the bad stitches by sewing over them; that just creates a bulky, messy knot. Just snip the thread, pull the messy bits out, and start fresh. It’s not a failure, it’s just a practice run.
