
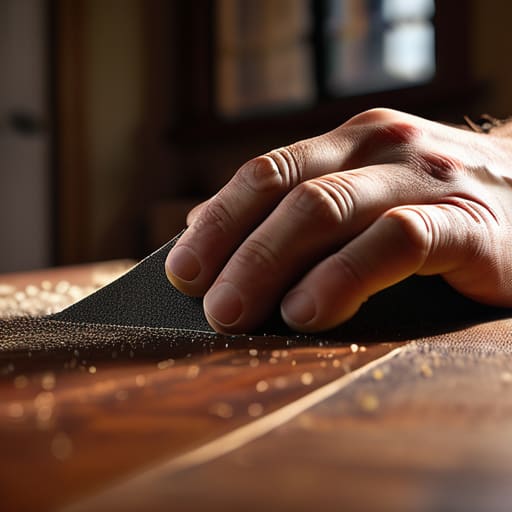
I was halfway through a much-needed cup of coffee yesterday when I saw it: a jagged, white gouge right across the center of my favorite thrifted walnut coffee table. My first instinct was to panic and Google “professional furniture restoration,” but let’s be real—I’m a freelance project manager, not a master carpenter, and my budget definitely doesn’t allow for a specialist. The truth is, you don’t need a workshop full of expensive machinery or a degree in woodworking to learn how to fix scratched wood. Most of the time, those annoying marks are just surface-level annoyances that can be tackled with things you probably already have in your junk drawer or a quick trip to the hardware store.
I’m not here to promise you that your furniture will look like it just rolled off a showroom floor, because perfection is overrated. Instead, I want to show you how to make those scratches disappear enough that you can actually enjoy your space again without feeling self-conscious. I’ve tested a few different methods—from the quick walnut trick to using actual wood filler—and I’m going to walk you through the most practical ways to handle different depths of damage. We’re going to focus on methods that are fast, cheap, and actually work in a real-life apartment.
Table of Contents
- Step-by-Step Instructions
- The Walnut Trick for Wood Scratches and Other Lazy Fixes
- Mastering Wood Filler Application Techniques Without the Heavy Lifting
- A few things I learned the hard way (so you don't have to)
- The TL;DR on keeping your wood looking decent
- ## A little perspective on the perfection trap
- Wrapping It All Up
- Frequently Asked Questions
Guide Overview
Tools & Supplies
- Sandpaper (various grits for smoothing)
- Microfiber cloth (for cleaning dust)
- Wood filler or wax stick (small container)
- Wood stain or touch-up marker (1 pen/bottle)
- Furniture wax or polish (1 small tin)
Step-by-Step Instructions
- 1. First things first, grab a clean, dry cloth and wipe down the area. You don’t want to be rubbing dust or old furniture wax into the scratch, because that’ll just mess up your progress later on. If the surface feels a bit tacky, a tiny bit of mild soap and water is fine, just make sure it’s bone-dry before you move to the next step.
- 2. Take a close look at the damage to see what we’re actually dealing with. If it’s just a light surface scuff, you might get away with something simple like a walnut kernel. Seriously—rub the meat of a walnut directly into the scratch; the natural oils tend to help mask the discoloration almost instantly. If it’s a deeper gouge, though, we’re going to need to get a little more tactical.
- 3. If the scratch is deep enough that you can actually feel it with your fingernail, it’s time to grab some wood filler. Don’t go buying the massive, expensive tubs; a small container is plenty for most of our “oops” moments. Use a putty knife (or even an old credit card if you’re in a pinch) to press the filler firmly into the gap, making sure there are no air bubbles hiding in there.
- 4. Once the filler is in, let it sit until it’s completely dry. This part is annoying because it requires patience, but don’t rush it. If you try to sand it while it’s still even slightly soft, you’ll just end up with a gummy mess that looks worse than the original scratch.
- 5. Now, grab some fine-grit sandpaper—I usually stick with something around 220 grit—and gently sand the area until it’s level with the rest of the wood. You aren’t trying to sand down the whole table; you’re just trying to smooth out that bump so your hand doesn’t catch on it when you’re passing by.
- 6. After sanding, wipe away all the fine dust with a damp cloth. If you leave any sawdust behind, your finish won’t stick, and you’ll end up with a patchy look that screams “I tried to fix this.” Once it’s clean, it’s time to bring the color back.
- 7. This is where you match your stain or use a furniture repair marker to blend the spot back in. I’m a big fan of the markers because they’re way less messy than liquid stains, especially if you’re working on a piece in a small apartment. Dab it on lightly, blend the edges with your finger, and once it’s dry, hit it with a little bit of furniture wax or polish to seal the deal.
The Walnut Trick for Wood Scratches and Other Lazy Fixes
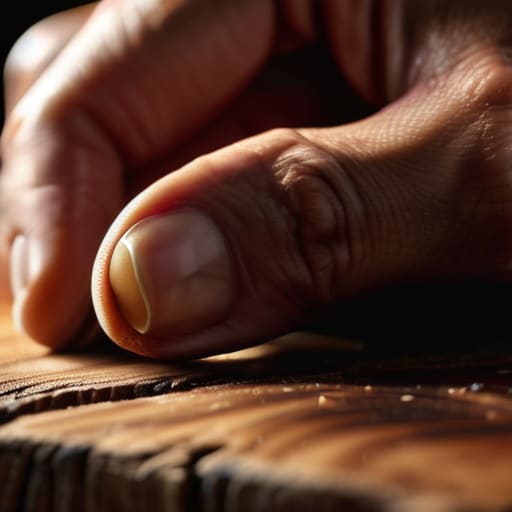
If you’re staring at a shallow scuff and feeling like a full-blown repair project is just too much for a Tuesday night, let’s talk about the walnut trick for wood scratches. It sounds like some weird internet myth, but it’s actually one of my favorite low-effort hacks. If you have a piece of furniture with a dark wood finish, just grab a raw walnut (not the roasted kind, please!) and rub the meat of the nut directly into the scratch. The natural oils and the soft nut meat act like a temporary filler, helping with removing surface scratches from furniture without needing a single tool. It won’t work for deep gouges, but for those annoying little marks from a stray key or a pet’s claw, it’s a total lifesaver.
Beyond the walnut, I’ve learned that sometimes “fixing” something is more about blending than rebuilding. If you find yourself needing more heavy-duty help, don’t go overboard with the sandpaper. I’ve definitely made the mistake of over-sanding a spot and creating a literal crater where a scratch used to be. Instead, focus on restoring wood finish by layering small amounts of stain or even a matching colored wax. It’s much easier to build up color slowly than it is to fix a patch that looks way too light compared to the rest of the piece.
Mastering Wood Filler Application Techniques Without the Heavy Lifting
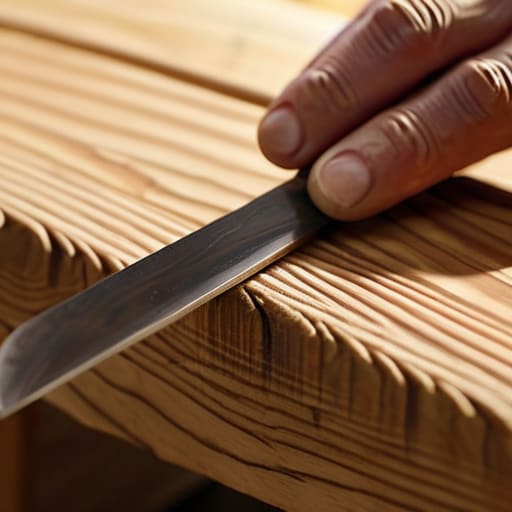
Now, if you’ve moved past the quick fixes and realized you actually need to fill a dent or a deep gouge, don’t panic. Using wood filler can feel a bit intimidating—like you’re one wrong move away from making it look worse—but it’s really just about patience. When you’re working on wood filler application techniques, the biggest mistake I see is trying to do too much at once. Instead of trying to pack the hole perfectly flush in one go, apply it in thin, slightly overfilled layers. It’s much easier to sand down a small bump than it is to try and scrape out dried, hardened filler that’s sunken too deep.
Once the filler is dry, your next move is all about the transition. You’ll want to grab a medium sandpaper grit for wood repair to level things out, but please, don’t go overboard. You aren’t trying to sand the entire piece of furniture down to the raw grain; you just want the filler to sit seamlessly with the surrounding surface. If you take too much off, you’ll end up fighting a losing battle with the surrounding finish, and that’s when things get messy.
A few things I learned the hard way (so you don't have to)
- Don’t overthink the “perfect” match. If you’re using a marker or a touch-up pen, test it on the underside of the table or a hidden leg first. It’s better to spend two minutes testing than twenty minutes trying to scrub off a dark streak that looks like a bruise.
- Less is always more with wood filler. I know it’s tempting to glob it on to fill a deep gouge, but you’ll just end up with a mountain of dried gunk that’s a nightmare to sand down. Apply it thin, level it off, and let it be.
- Sanding isn’t a race. If you’re working with a piece of furniture you actually care about, go easy on the grit. Start with something slightly coarser if it’s a deep scratch, but always finish with a fine-grit sandpaper so you don’t leave your own swirl marks behind.
- Clean the area properly before you start. I’ve seen people try to fix scratches over a layer of dust or furniture polish, and it’s a disaster. Grab a damp microfiber cloth and make sure the wood is bone-dry before you touch it with any repair products.
- Match the sheen, not just the color. There is nothing more frustrating than fixing a scratch only to realize you have a bright, shiny spot on a matte table. If your furniture has a dull finish, make sure your touch-up product isn’t way too glossy.
The TL;DR on keeping your wood looking decent
Don’t overthink it—if it’s just a light surface scratch, a walnut or a bit of furniture wax will do more for you than a full sanding session ever could.
Use wood filler for the actual gouges, but keep the application light; it’s much easier to add a little more later than it is to sand down a massive, messy mound.
Aim for “functional,” not “flawless.” The goal isn’t to make your furniture look brand new, it’s just to fix the distraction so you can get back to actually using your home.
## A little perspective on the perfection trap
“We spend so much time stressing over a tiny scratch on a side table like it’s a character flaw, but honestly? A few marks just mean the piece is actually being lived in. My goal isn’t to make your furniture look brand new and untouchable; it’s to make it look cared for, so you can stop staring at the flaw and get back to enjoying your home.”
Maya Sterling
Wrapping It All Up

At the end of the day, whether you went the route of the walnut trick for those tiny surface scuffs or rolled up your sleeves to tackle deeper gouges with wood filler, the goal was the same: making your furniture actually usable again. We covered everything from those quick, lazy fixes that save you a trip to the hardware store to the slightly more involved techniques that restore structural integrity without needing a professional workshop. Remember, you don’t need to be a master carpenter to get decent results; you just need to stop overthinking the imperfections and start working with what you’ve got.
I know it can feel a little intimidating to pick up a tool and try to “fix” something, especially when you’re worried about making it look worse. But honestly? Most of the things we stress over—the little scratches from a misplaced coffee mug or the nick in the dining table—are just signs that your home is actually being lived in. Don’t let a few marks make you feel like you need to replace your entire life. Take it one small repair at a time, embrace the imperfect process, and just be proud that you’re maintaining the things you love instead of just throwing them away.
Frequently Asked Questions
What if the scratch is actually a deep gouge that goes all the way through the finish?
Okay, if we’re talking a deep gouge that’s actually breached the finish, we’ve officially moved past the “lazy fix” stage. Don’t panic, though—you don’t need to sand the whole piece down. You’ll want to use a high-quality wood filler that matches your stain closely. Pack it in slightly overfilled, let it dry completely, and then sand it flush. It takes a little more patience, but it’ll look solid again.
Can I use these same methods on my IKEA furniture, or is this strictly for real wood?
Honestly, I’m so glad you asked because this is where things get tricky. If your IKEA piece is solid wood, go for it. But most of that stuff is actually particle board with a thin veneer or a printed laminate layer. If you go too heavy with sanding or liquid stains, you might actually peel the “wood” right off. For laminate, stick to wax sticks or even a matching permanent marker instead of heavy fillers.
How do I know if I’m about to make things worse by trying to fix it myself?
Look, I’ve been there—staring at a piece of furniture, tool in hand, wondering if I’m about to turn a tiny scratch into a permanent disaster. Here’s my rule of thumb: if the damage is structural (like a cracked leg) or if you’re looking at a high-end heirloom that’s irreplaceable, put the sandpaper down. If you feel that “panic-induced” urge to just start sanding everything, stop. Take a breath. If you can’t visualize the fix, call a pro.
