
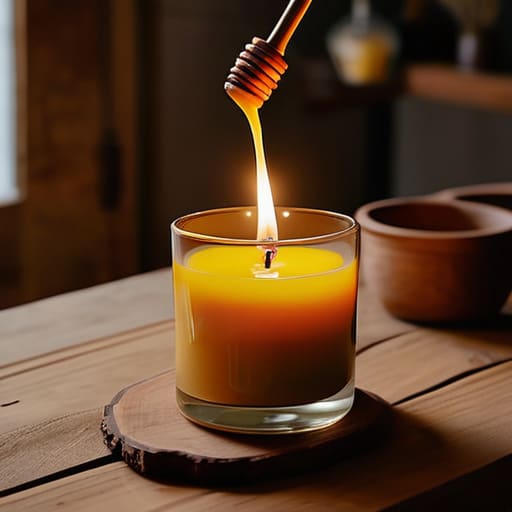
I was standing in my kitchen last Tuesday, staring at a half-melted, soot-covered mess that was supposed to be a “lavender dream,” feeling like a total failure. I had spent forty bucks on artisanal soy flakes and fancy essential oils, only to end up with a candle that smelled like a burnt forest and had a wick that refused to stay upright. If you’ve ever felt like learning how to make candles requires a chemistry degree and a massive budget, I am here to tell you that most of those “aesthetic” tutorials are lying to you. You don’t need a laboratory-grade setup or a mountain of expensive supplies to get a clean, decent burn in your own apartment.
In this guide, I’m stripping away the performative perfection and showing you the actual way to do this without breaking the bank. I’ll walk you through the messy, trial-and-error process I used to figure out which waxes actually work and which ones are just a waste of money. We’re going to focus on functional systems—simple ratios and reliable techniques—that ensure your candles actually smell good and burn evenly. No fluff, no overpriced nonsense, just the straightforward steps you need to create something that works.
Table of Contents
- Step-by-Step Instructions
- Ditch the Fluff Essential Soy Wax Candle Making Supplies
- Mastering the Mess a Real World Candle Pouring Temperature Guide
- 5 Things I Wish I Knew Before My First Messy Batch
- The Bottom Line: Making It Work Without the Stress
- Forget the Perfectionism
- The Bottom Line on DIY Candles
- Frequently Asked Questions
Guide Overview
Tools & Supplies
- Double boiler or heat-proof bowl and pot for melting
- Thermometer to monitor wax temperature
- Pouring pitcher for controlled pouring
- Scale for precise ingredient measurement
- Soy or paraffin wax (approx. 1-2 lbs)
- Candle wicks (set of cotton wicks)
- Fragrance oils (1-2 oz)
- Candle containers or glass jars (2-4 units)
Step-by-Step Instructions
- 1. First things first, you need to gather your supplies, and please don’t go overboard buying a “professional candle maker’s kit.” All you really need is some soy wax (it’s easier to clean up than paraffin), cotton wicks, a couple of heat-safe glass jars you already have in your kitchen, and a thermometer. I always keep a cheap digital thermometer handy because if you overheat the wax, you’ll ruin the scent, and nobody wants a candle that smells like burnt disappointment.
- 2. Once you’ve got your gear, start by melting your wax. I use a double boiler method because it’s safer and gives you way more control. If you don’t have a double boiler, just put a glass bowl over a pot of simmering water. Keep the heat on medium-low and resist the urge to rush this part; you want a slow, steady melt to avoid any weird texture issues later on.
- 3. While the wax is melting, prep your jars. This is the part most people skip, but it’s the secret to a candle that doesn’t look wonky. Take your wicks and use a tiny bit of melted wax or a glue dot to secure them to the exact center of the bottom of your jar. If your wick is leaning, use a clothespin or even a popsicle stick across the top of the jar to hold it perfectly upright while everything sets.
- 4. Now, here is where the science (and the frustration) usually happens: adding the fragrance. Once your wax is fully liquid, take it off the heat and let it cool slightly—around 185°F is the sweet spot. Add your fragrance oils and stir them in very gently but thoroughly for at least two full minutes. If you don’t stir enough, the oil will just sink to the bottom, and you’ll end up with a jar of plain wax and a scent that only appears when the candle is almost gone.
- 5. Pouring is the moment of truth. Slowly pour the wax into your prepared jars, leaving about half an inch of space at the top. Don’t pour too fast, or you’ll trap air bubbles against the glass, which looks messy. If you see any bubbles forming, just give the jar a tiny tap on the counter to help them rise to the top and pop.
- 6. Finally, you have to play the waiting game. This is the hardest part for me because I want to light it immediately, but you actually need to let them sit undisturbed for at least 24 hours. For the best scent throw, I actually recommend letting soy candles “cure” for a full week before lighting them. It takes patience, but it’s the difference between a candle that barely smells like anything and one that actually fills your entire apartment with a cozy vibe.
Ditch the Fluff Essential Soy Wax Candle Making Supplies
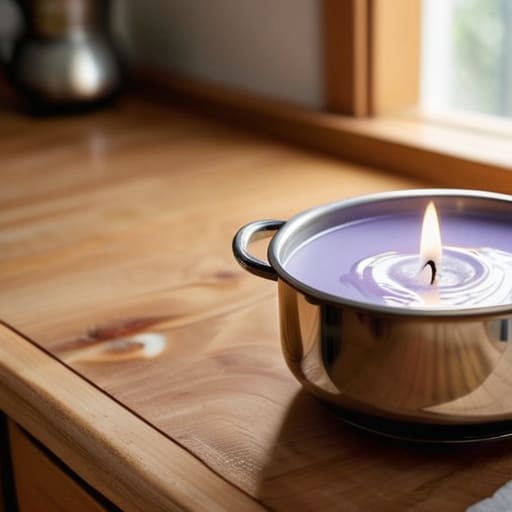
Look, when you first start searching for soy wax candle making supplies, you’re going to be hit with a tidal wave of “aesthetic” kits that cost a fortune. Please, don’t fall for it. You don’t need a gold-plated melting pot or designer jars to get a clean burn. My advice? Stick to the basics. Grab a decent double boiler (or just a heat-safe glass bowl over a pot of simmering water) and some reliable containers you already have in your kitchen. The goal here is functionality, not a Pinterest-perfect setup that you’re too afraid to actually use.
When it comes to the actual components, focus your budget on the things that affect the quality of the scent. While you can find cheap fragrance oils, if you want that clean, cozy vibe, I highly recommend investing in quality essential oils for scented candles. Also, don’t skimp on the wicks. Using the best wick types for candles—usually cotton core wicks—is the difference between a beautiful glow and a candle that just sootily smokes all night. Keep it simple, keep it practical, and skip the unnecessary glitter.
Mastering the Mess a Real World Candle Pouring Temperature Guide
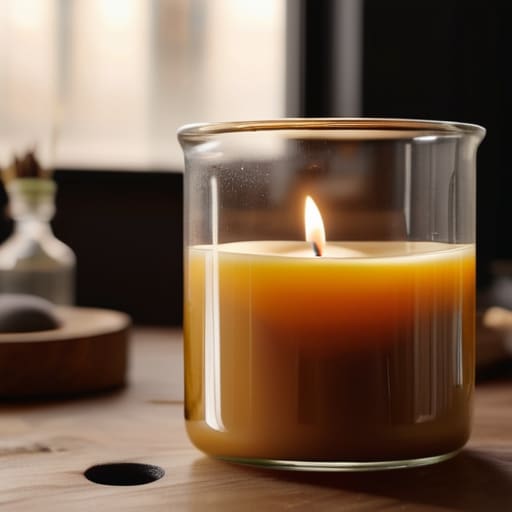
Look, I know the thermometer can feel like a high-stakes science experiment, but let’s take the pressure off. If you’re just starting out with candle making for beginners, you’re going to obsess over these numbers, and that’s okay. The truth is, if you pour your wax while it’s too hot, you’ll end up with those annoying sinkholes or a surface that looks like a cracked desert floor. If it’s too cool, the wax might struggle to adhere to the glass. I usually aim for that sweet spot around 135°F to 140°F for soy, but honestly, don’t sweat the tiny fluctuations.
The real trick is managing your environment. If your kitchen is freezing, your wax is going to crash in temperature faster than you can grab your stirring spoon. I’ve learned the hard way that if you’re using high-quality essential oils for scented candles, adding them at the wrong temperature can actually “burn off” the scent before the candle even sets. Wait until the wax has cooled slightly after melting, but before it starts getting cloudy. It’s all about finding your rhythm in the middle of the mess.
5 Things I Wish I Knew Before My First Messy Batch
- Don’t go overboard with the fragrance oils. I learned the hard way that if you dump in half a bottle thinking it’ll smell better, you’ll end up with a candle that smokes like a chimney and won’t even burn properly. Less is actually more.
- Test your wicks on something cheap first. There is nothing more frustrating than spending twenty bucks on fancy jars only to realize your wick is too thin to melt the wax or so thick it looks like a bonfire. Spend ten minutes testing a few cheap testers before you commit.
- Get a dedicated thermometer. I tried “eyeballing” the temperature once because I thought I was being efficient, and it was a disaster. If you don’t hit that sweet spot for adding scent and pouring, your candle will either have zero smell or a weird, pitted surface.
- Give your candles a “cure” period. I know, I know—you want to light it immediately because your apartment smells like vanilla heaven, but if you don’t let them sit for at least a week (two is better), the scent throw is going to be pretty pathetic. Patience is part of the process.
- Prep your workspace like you’re expecting a spill, because you will. Line your counters with old newspapers or a silicone mat. I used to get so stressed about wax drips on my table, but once I realized it’s just part of the DIY life, I stopped sweating the small stuff and just focused on the pour.
The Bottom Line: Making It Work Without the Stress
Stop chasing perfection; if your first candle looks a little wonky, just trim the wick and relight it—it’s about the scent and the savings, not a Pinterest-perfect finish.
Invest in decent wax and reliable wicks, but skip the “luxury” branding; the basic, functional stuff works just as well and keeps your budget intact.
Watch your temperatures like a hawk, because getting the pour right is the difference between a smooth candle and a frustrating, expensive mess.
Forget the Perfectionism
“Stop worrying if your first candle looks like a Pinterest board; if it smells good and actually burns clean, you’ve already won the battle.”
Maya Sterling
The Bottom Line on DIY Candles
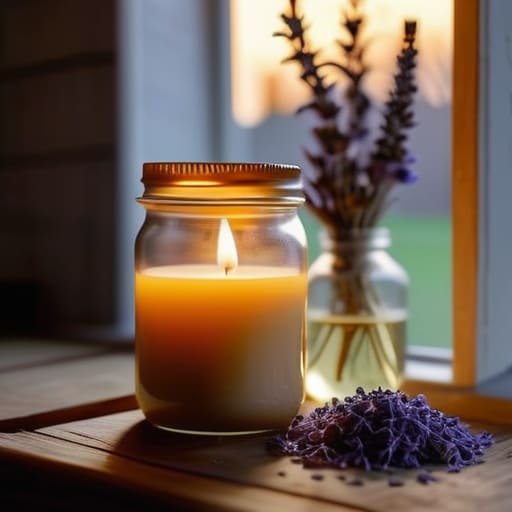
At the end of the day, making your own candles isn’t about achieving some Pinterest-perfect masterpiece on your first try. It’s about knowing that you’ve got the right supplies, you aren’t overthinking the temperature, and you aren’t throwing money away on unnecessary gadgets. We covered the essentials, from picking a reliable soy wax to mastering that finicky pouring window, so now you have the actual framework to succeed. Just remember: if your first batch looks a little uneven or the scent isn’t quite as strong as you hoped, it’s not a failure. It’s just data for your next attempt, and honestly, it’ll still smell better than anything you’d pick up at a big-box retailer.
I know that starting a new DIY project can feel like just one more thing on an already overflowing to-do list, but I promise the payoff is worth the initial mess. There is something incredibly grounding about lighting a candle that you built from scratch with your own two hands. It’s a small, functional win that turns your living space into something truly yours. So, don’t wait for the “perfect” moment or a fully organized craft room to start. Just grab the basics, embrace the learning curve, and enjoy the process of making something useful. You’ve totally got this.
Frequently Asked Questions
Why does my candle have those weird little sinkholes or cracks on top once it cools down?
Ugh, the dreaded sinkholes. I’ve been there, staring at a cracked surface and feeling like I totally failed. Honestly? It’s usually just physics. If your wax cools down too fast—like if you leave it near an open window or an AC vent—the top shrinks unevenly and creates those craters. It’s also a sign that your wax might have shrunk while setting. Don’t toss them! Just melt the top layer down and re-pour it. It’s an easy fix.
Is it actually safe to use essential oils instead of fragrance oils, or am I just setting myself up for a scentless candle?
Here’s the truth: you can definitely use essential oils, but don’t expect them to throw scent across the whole room like those heavy-duty fragrance oils do. Essential oils are much more delicate; they’re safer and “cleaner,” but they tend to burn off quickly. If you want a subtle, spa-like vibe, go for the oils. But if you want your apartment to actually smell like lavender, you might need to supplement with a high-quality fragrance oil.
How do I stop the wick from drowning in the wax or, even worse, creating a massive smoky flame?
This is the part that always stressed me out when I started. To keep your wick from drowning, you need a centering tool—or honestly, just some clothespins and a chopstick to wedge it in place while the wax sets. As for that smoky, angry flame? Your wick is likely too big for your jar. If it’s drowning, go smaller; if it’s smoking, trim it down to about 1/4 inch every single time you burn it.
