
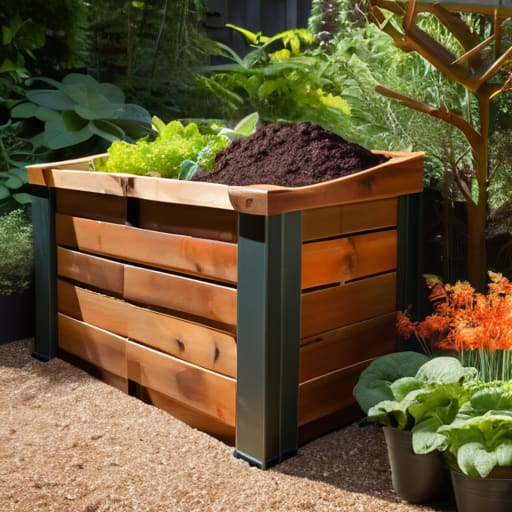
I used to think that if I wanted to start composting, I needed a massive backyard, a high-tech rotating drum, and a serious commitment to “aesthetic” gardening. I spent way too much time scrolling through perfect, beige-toned outdoor setups, feeling like my tiny apartment balcony or small patio just wasn’t enough. But here is the truth: you don’t need a designer setup to turn your kitchen scraps into black gold. Learning how to make a compost bin doesn’t require a huge budget or a degree in environmental science; it just requires a little bit of grit and some basic materials you probably already have in your garage or recycling bin.
In this guide, I’m skipping the expensive, store-bought kits and showing you how to build something that actually works for real life. We’re going to talk about the messy, unglamorous side of decomposition—the parts people usually leave out of the pretty tutorials—so you can build a system that is functional, not fancy. Whether you’re working with a tiny container on a windowsill or a simple wooden crate in the yard, I’ll show you how to get it done without the headache.
Table of Contents
- Step-by-Step Instructions
- Choosing the Best Wood for Outdoor Compost Bins Without Overspending
- Functional Compost Bin Dimensions and Design for Real Backyards
- Five Real-World Rules for Not Making a Total Mess
- The Bottom Line: Keeping It Simple and Effective
- ## The Real Goal of Composting
- Let’s Get That Dirt Moving
- Frequently Asked Questions
Guide Overview
Tools & Supplies
- Drill with 1/2 inch bit for aeration holes
- Measuring tape for sizing components
- Screwdriver for assembly
- Plastic storage bin (approx. 18-30 gallons)
- Drill bits for ventilation
- Hardware cloth or mesh (optional for base)
- Sack of coco coir or aged manure (to start the pile)
Step-by-Step Instructions
- 1. First, let’s talk about your bin. You don’t need a high-tech rotating drum from a garden center; honestly, a sturdy plastic storage bin (the kind you’d use for seasonal clothes) works perfectly. Just make sure it’s opaque—if light gets in too easily, it can mess with the temperature—and that it has a lid to keep the critters out.
- 2. Once you have your bin, grab a drill and some heavy-duty hardware. You need to drill several holes in the bottom for drainage and a series of holes all around the sides for airflow. If your bin can’t breathe, it’s just going to turn into a stinky, anaerobic mess, and nobody wants that in their backyard.
- 3. Now, we need to build the foundation. Before you toss in a single coffee ground, grab a handful of dry leaves, shredded cardboard, or even some old newspaper. Lay this at the bottom to create a “brown” base layer about two or three inches deep; this helps soak up excess moisture and keeps things from getting soggy.
- 4. Time to start layering. The golden rule I live by is the 2:1 ratio: you want two parts “browns” (carbon-rich stuff like dried leaves or cardboard) for every one part “greens” (nitrogen-rich stuff like fruit scraps, veggie peels, or coffee grounds). I usually just keep a small container on my kitchen counter to collect the scraps so I’m not running back and forth to the bin every single time I peel a carrot.
- 5. Every time you add a fresh layer of kitchen scraps, toss a handful of dried leaves or shredded paper right on top. This is a crucial step because it acts as a natural lid, preventing fruit flies from making a home in your compost and keeping the odors down.
- 6. Don’t just “set it and forget it.” Every week or so, take a small garden trowel or even a sturdy stick and give the pile a good stir. You’re basically just introducing oxygen to the mix, which helps the microbes do their job faster. If it looks too dry, sprinkle in a little water; if it looks like a swamp, add more shredded cardboard.
- 7. Finally, be patient with yourself. You’ll know it’s working when the bottom of the pile starts looking like dark, crumbly soil that smells like a forest floor. It won’t happen overnight, but seeing that actual magic turn your trash into garden gold is incredibly satisfying.
Choosing the Best Wood for Outdoor Compost Bins Without Overspending
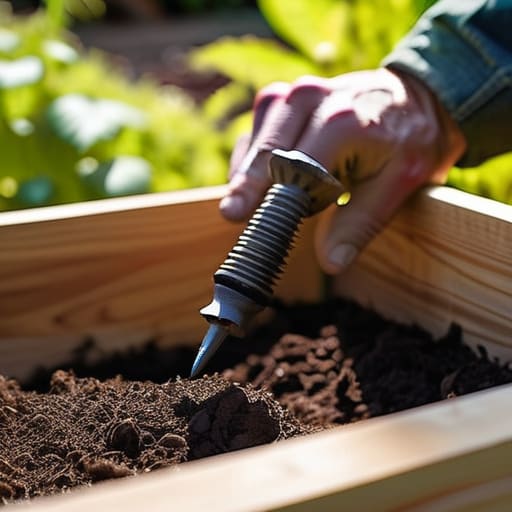
Look, I know the hardware store aisles can feel like a minefield of expensive, “weather-resistant” lumber that’s really just a fancy way of saying “overpriced.” You don’t need to drop a fortune on premium cedar to get your pile started. While cedar is often cited as the best wood for outdoor compost bins because it naturally resists rot, it can definitely wreck a tight budget. If you’re looking to save a few bucks, untreated pine is a solid, budget-friendly alternative. Just keep in mind that it won’t last quite as long in the rain, so you might need to swap a board out in a couple of years.
My personal rule of thumb? Avoid anything pressure-treated that contains harsh chemicals. Since we’re dealing with organic matter that eventually ends up near your food or garden, I’d rather not risk leaching toxins into my soil. If you can find some old, untreated shipping pallets behind a local business, grab them! They are essentially free, sturdy, and perfect for creating the natural gaps needed for effective aeration methods for compost. Just give them a quick check to ensure they aren’t crumbling before you start building.
Functional Compost Bin Dimensions and Design for Real Backyards
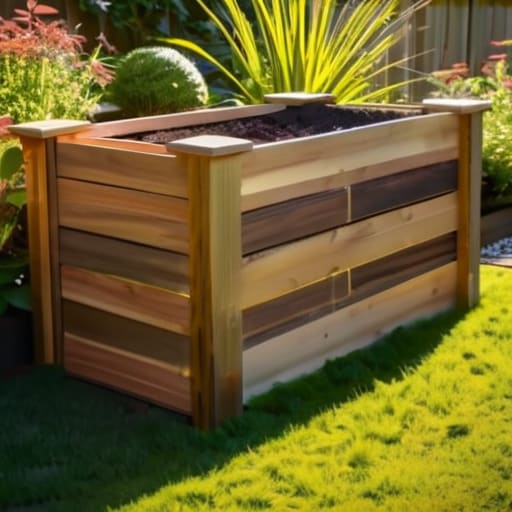
When you’re looking at compost bin dimensions and design, it’s easy to get sucked into the idea that you need a massive, industrial-sized structure. Honestly? Unless you’re running a small farm, that’s just overkill. For most of us with standard backyards or even just a small patio, I recommend aiming for a bin that is roughly 3x3x3 feet. This size is the “Goldilocks zone”—it’s large enough to retain the heat needed for decomposition, but small enough that you won’t feel like you’re fighting a giant pile of rot every time you want to turn it.
The design matters just as much as the size. You don’t need a sealed vault; in fact, you definitely don’t want one. You need airflow. I always suggest leaving gaps between your slats to allow for better aeration methods for compost, which prevents that dreaded “stinky pile” scenario. If you’re working with a tight space, you might even consider a tiered design or a smaller bin specifically for your kitchen scraps. Just remember: build for your actual space, not the space you see in a magazine.
Five Real-World Rules for Not Making a Total Mess
- Don’t overthink the location. You want it close enough to the kitchen that you’ll actually walk out there with your scraps, but far enough away that you aren’t staring at a pile of decomposing veggie peels while you’re trying to enjoy your morning coffee.
- Air is your best friend. If your bin is a solid, airtight box, you’re just building a stinky, wet pit. Make sure you leave gaps in your design or poke some holes; your compost needs to breathe just as much as we do.
- Keep a “browns” stash nearby. The biggest mistake I see is people just tossing green kitchen scraps in and wondering why it smells like a swamp. Keep a bag of dried leaves or even shredded cardboard right next to the bin so you can balance the moisture instantly.
- Size matters, but don’t go overkill. If you build a massive, industrial-sized bin but only live alone, it’s never going to get hot enough to actually break things down. Build for the amount of waste you actually produce, not the amount you think you’ll produce in a perfect world.
- Embrace the “ugly” phase. Your bin is going to look a little chaotic, and it might attract a few curious bugs. That’s okay. It’s a living system, not a piece of living room furniture. If it’s working, it’s working.
The Bottom Line: Keeping It Simple and Effective
Don’t go broke trying to build a masterpiece; pick a sturdy, affordable wood and focus on airflow rather than looking like a garden center display.
Size matters more than you think, so build something big enough to actually hold a decent amount of scraps but small enough that you can actually turn it without a workout.
Perfection is the enemy of progress—if your bin looks a little rugged or mismatched, it’s working just fine as long as it’s doing its job of turning waste into gold.
## The Real Goal of Composting
“At the end of the day, your compost bin doesn’t need to look like a piece of high-end patio furniture; it just needs to do the dirty work of turning your kitchen scraps into something useful. If it’s functional and it’s working, you’ve already won.”
Maya Sterling
Let’s Get That Dirt Moving
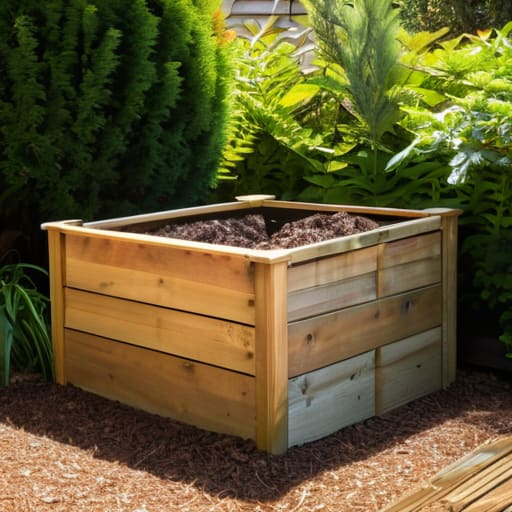
At the end of the day, building your compost bin doesn’t require a degree in landscape architecture or a massive budget. We’ve covered how to pick wood that won’t rot the second it touches a raindrop, how to size your bin so it’s actually manageable for your space, and how to keep things simple enough that you won’t abandon it after two weeks. Remember, it doesn’t have to look like something out of a high-end garden magazine to be successful. As long as you have the right dimensions and a sturdy enough structure to handle the moisture, you are already ahead of the game. Just focus on the function, keep your materials practical, and let the biology do the heavy lifting for you.
I know that starting something new—especially something that involves getting your hands a little dirty—can feel like just another overwhelming task on your to-do list. But there is something so incredibly grounding about turning your kitchen scraps into something that actually feeds your garden. It’s one of those rare, small systems that actually pays off in both time and money. Don’t worry about making it perfect; just make it work. Once you see that first handful of rich, dark soil, I promise you’ll realize that all this little bit of effort was worth every single second.
Frequently Asked Questions
Will this DIY bin actually attract pests like raccoons or rats, and how do I stop them?
Look, I’ll be real: if you toss scraps of cooked pasta or meat in there, you’re basically sending out a dinner invitation to every raccoon in the neighborhood. To keep the critters away, stick to “green” and “brown” veggie scraps only. If you’re worried about rats, skip the fancy wooden slats and use hardware cloth—that metal mesh—to line the bottom. It’s not as pretty, but it’s the only way to keep them digging.
How much work is this really going to be on a weekly basis—do I need to turn it constantly?
Honestly? It’s not a full-time job, but you can’t just set it and forget it either. If you want it to actually break down instead of just becoming a smelly pile of trash, you’ll need to give it a quick turn with a pitchfork once every week or two. If you’re feeling lazy, once a month works, but it’ll take longer. Just think of it as a five-minute weekly chore—like taking out the recycling.
What do I do if my bin starts smelling like something died in my backyard?
Don’t panic—your bin isn’t cursed, it’s just out of balance. Usually, a bad smell means things are getting too wet or you’ve added too much “green” (like food scraps) without enough “brown” (dried leaves or shredded cardboard). Think of it like a recipe: you need more carbon to soak up that moisture. Stir the pile to get some air in there, toss in a handful of torn-up brown paper bags, and let it breathe.
