
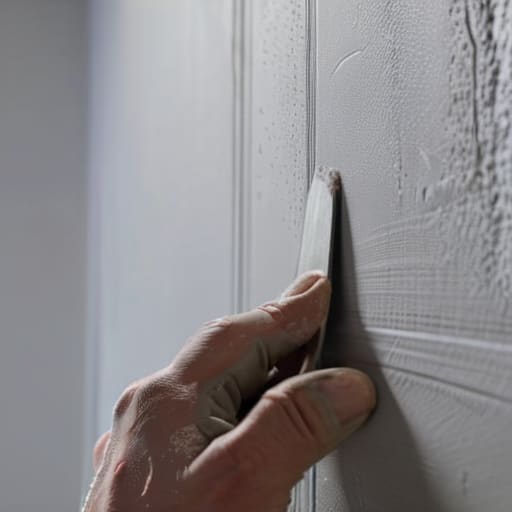
I was staring at that gaping, jagged crater in my hallway for three days, convinced that I’d eventually have to call a professional and pay a small fortune just to fix my own mistake. We’ve all been there—you’re moving a heavy bookshelf or just being a little too ambitious with a command hook, and suddenly, your pristine drywall is ruined. Most DIY blogs make it seem like you need a specialized workshop and a degree in construction to handle it, but honestly? Learning how to patch a hole in the wall doesn’t require a massive budget or a perfect aesthetic. It just requires a little bit of patience and the right, simple tools.
I’m not here to give you a lecture on professional masonry; I’m here to show you the messy, functional reality of getting it done. In this guide, I’m breaking down the exact, no-nonsense steps I use to fix everything from tiny nail pricks to those annoying “oops” moments from moving day. I’ll walk you through which cheap supplies are actually worth your money and how to sand things down so the repair becomes completely invisible. Let’s stop staring at that hole and just get it fixed so you can get back to your life.
Table of Contents
- Step-by-Step Instructions
- Ditch the Fancy Tools for a Reliable Drywall Patch Kit for Small Holes
- Mastering Spackling Compound Application Without the Massive Cleanup
- Five ways to keep this from becoming a weekend-long disaster
- The "Keep It Simple" Summary
- ## The Real Goal of DIY
- The Finish Line
- Frequently Asked Questions
Guide Overview
Tools & Supplies
- Putty knife for spreading compound
- Sandpaper (fine grit) for smoothing surfaces
- Spackle knife for small repairs
- Spackle or joint compound (1 small tub)
- Wall patch kit or mesh tape (1 pack)
- Matching interior paint (1 small can)
Step-by-Step Instructions
- 1. First, take a look at the size of the damage. If it’s just a tiny little ding from a door handle or a stray nail, you can probably skip the heavy lifting. But if it’s a real hole, you’ll need to clean up the edges first. Grab a utility knife or even just a screwdriver and scrape away any loose bits of drywall or peeling paint that are hanging around the crater. You want a clean, relatively flat surface so your patch doesn’t look like a lumpy mountain later on.
- 2. Next, grab some mesh adhesive patch tape. This is the stuff that makes the whole process actually work without needing a degree in construction. Center the patch over the hole and press it firmly against the wall. If the hole is particularly large, don’t be afraid to use a slightly bigger piece of mesh than you think you need; it’s much easier to sand down excess later than it is to try and stretch a tiny piece of tape across a gap.
- 3. Now, it’s time to get messy with the spackle. Take a putty knife and spread a thin layer of joint compound over the mesh. My rule of thumb is to aim for thin layers. If you try to glob it all on at once to “save time,” you’re just going to end up with a massive, uneven mess that takes forever to dry. Spread it out past the edges of the patch so it feathers into the existing wall, making the transition as seamless as possible.
- 4. Let it dry completely. This part is annoying because it requires patience, but don’t rush it. Depending on the humidity in your apartment, this could take anywhere from an hour to a few hours. If you try to sand it while it’s still even slightly damp, you’ll just end up tearing up the drywall instead of smoothing it out.
- 5. Once it’s dry, grab a sanding sponge and lightly sand the area. You aren’t trying to sand the whole wall down; you just want to buff out those ridges and make the patch feel flush with the rest of the surface. If you run your hand over it and it still feels bumpy, just apply one more thin layer of spackle and repeat the process. It’s all about layers, not thickness.
- 6. After a final light sanding, wipe the area down with a damp cloth to get rid of all that fine white dust. If you leave the dust there, your paint won’t stick, and you’ll be back at square one. Once it’s bone dry and clean, you’re ready to dab on a little bit of matching paint and finally call it a day.
Ditch the Fancy Tools for a Reliable Drywall Patch Kit for Small Holes
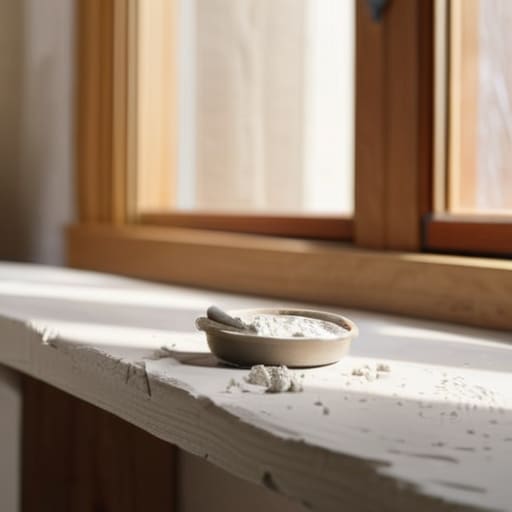
Look, I’ve seen those massive, professional-grade repair kits at the hardware store that look like they belong in a construction zone, and honestly? Save your money. Unless you’re remodeling an entire wing of your house, you really just need a basic drywall patch kit for small holes. I usually grab a small tub of lightweight spackle and a single putty knife. It’s less clutter in my utility drawer, and it gets the job done without the “pro” price tag.
The secret isn’t in the gear, though—it’s in the patience. When you’re working on the spackling compound application, don’t try to make it perfect in one go. I’ve learned the hard way that if you pile it on too thick, you’ll end up with a mountain of sanding later. Instead, do a thin layer, let it dry completely, and then assess. If it looks a little wonky, don’t sweat it; just add another light layer. It’s much easier to build up the surface than it is to fix a massive, dried-on mess.
Mastering Spackling Compound Application Without the Massive Cleanup
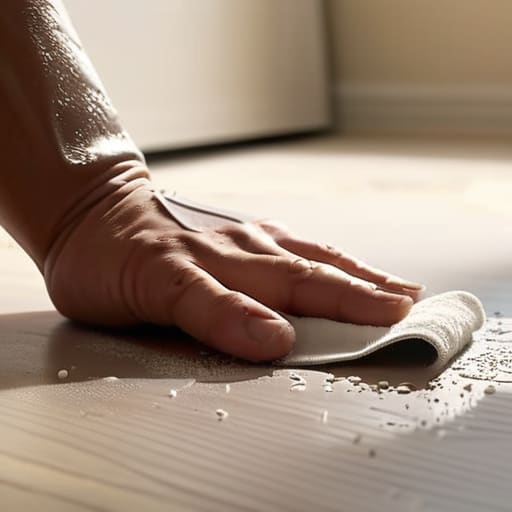
The biggest headache with spackling compound application isn’t actually the patching itself—it’s the fine white dust that ends up in your coffee, your rug, and your soul. To avoid a massive cleanup, I always keep a damp rag or a handful of baby wipes right next to my workspace. As soon as you finish smoothing the patch, wipe down the immediate area. It’s much easier to clean a wet smudge now than it is to vacuum drywall dust out of your floorboards later.
When it comes to the actual finish, don’t try to get it perfect on the first pass. It’s tempting to keep adding more goop to get it level, but that just leads to more sanding later. I’ve learned that it’s better to apply a slightly thin layer, let it dry completely, and then sand drywall smooth with a fine-grit sanding sponge. If you’re dealing with something a bit more stubborn, like fixing dents in plaster, you might need a second pass, but keep your sanding localized by holding a piece of cardboard behind your sponge to catch the stray particles before they drift across the room.
Five ways to keep this from becoming a weekend-long disaster
- Don’t skip the sanding, but don’t overdo it either; just smooth out the edges enough so you don’t feel a bump when you run your hand over it later.
- Keep a damp rag in your back pocket to wipe up any stray spackle immediately, because once that stuff dries on your floor or your favorite rug, you’re in for a fight.
- If you’re dealing with a hole larger than a nick, don’t try to just glob on more compound; you’ll end up with a mountain of mess that’ll never dry properly.
- Lightly sand between coats if you’re doing more than one, otherwise you’re just layering texture on top of texture and it’ll look like a topographical map.
- Test your paint patch on a hidden corner first, because sometimes the new layer looks a little “off” compared to your old, slightly faded wall.
The "Keep It Simple" Summary
Don’t let the hardware store intimidate you; a basic, inexpensive patch kit is all you really need to get the job done.
Focus on getting the compound smooth and level in one go so you aren’t stuck sanding for an hour later.
Remember that perfection is overrated—if the patch is flat and the paint matches, you’ve won.
## The Real Goal of DIY
“We don’t patch these holes because we’re trying to turn our apartments into showroom galleries; we do it so we can stop noticing the damage and finally feel at home again.”
Maya Sterling
The Finish Line
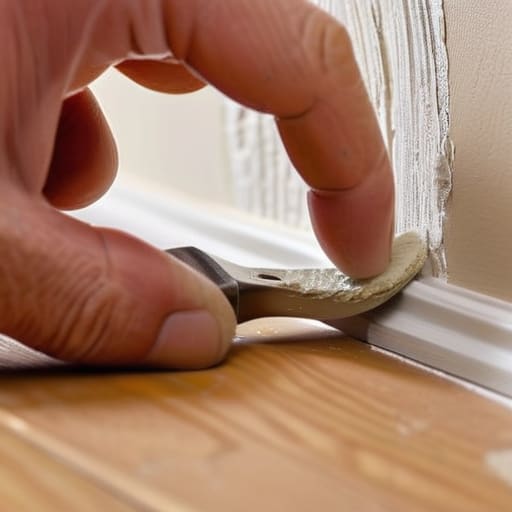
At the end of the day, patching that hole doesn’t require a degree in construction or a garage full of professional-grade equipment. We’ve covered the essentials: grab a decent, no-frills patch kit, keep your spackle application lean and intentional to avoid a mountain of cleanup, and don’t stress about making it look like a museum wall on the first pass. The goal isn’t a flawless architectural masterpiece; it’s simply about closing that gap so the room feels whole again. Once you’ve sanded it down and a bit of paint does its magic, you’ll realize that small, functional fixes are much more rewarding than letting a tiny imperfection nag at you for months.
I know that staring at a damaged wall can sometimes feel like another thing on an already overflowing to-do list, but I promise you can handle this. My philosophy has always been that we don’t need to wait for “perfect” conditions or expensive renovations to reclaim our spaces. Taking twenty minutes to fix something yourself is a way of taking ownership of your home, one small patch at a time. So, grab your multi-tool, get that spackle moving, and give yourself credit for being the kind of person who just gets things done. You’ve totally got this.
Frequently Asked Questions
What if I accidentally applied too much spackle and now there's a huge, ugly bump on my wall?
Don’t panic—we’ve all been there. I once turned a tiny nail hole into a mountain of spackle. If it’s still wet, grab a damp sponge and wipe away the excess immediately. If it’s already dried into a stubborn bump, don’t try to sand it while it’s crusty; you’ll just create a dust cloud. Wait for it to be completely dry, then use a fine-grit sanding sponge to level it out. Just take it slow.
Can I just use some leftover white paint to cover it, or do I actually need to sand it down first?
I get the temptation—I’ve definitely tried to “paint over” my problems before—but honestly? If you skip the sanding, you’re just going to end up with a weird, bumpy shadow where the patch is. Even if the color matches, the texture won’t. Take five minutes to sand it smooth first. It’s a tiny bit of extra work now that saves you from staring at a lumpy wall for the next six months.
How do I know if the hole is too big for a simple patch kit and if I'm looking at a much bigger, more expensive project?
Look, I’ve been there—staring at a hole and wondering if I’m about to accidentally demolish my entire living room. Here’s the rule of thumb: if the hole is smaller than a doorknob, you’re probably fine with a patch kit. But if you’re looking at something the size of a fist or larger, or if you can see through the wall into the next room (hello, electrical wires!), stop. That’s when it’s time to call a pro or invest in some actual drywall sheets.
