
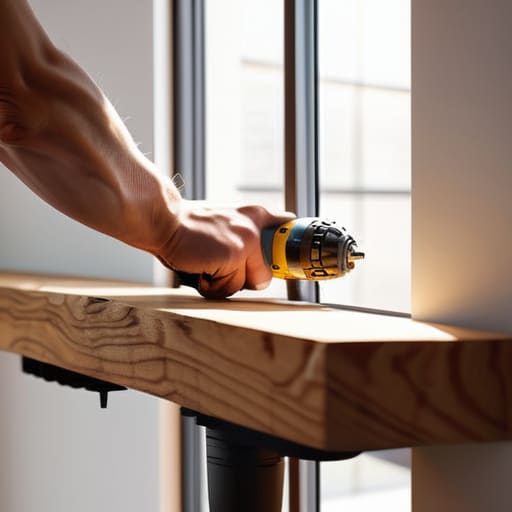
I was staring at a pile of heavy ceramic planters and a half-empty box of screws last Tuesday, wondering why I felt like I needed a degree in structural engineering just to reclaim some wall space. We’ve all been there—staring at a blank wall and feeling that sudden, overwhelming wave of “I can’t do this” because the internet makes how to install a shelf look like a high-stakes construction project involving laser levels and professional-grade power tools. But here’s the truth: you don’t need a workshop full of expensive gear to get things off your floor and onto your walls. You just need a solid plan and the right kind of confidence.
In this guide, I’m skipping the fluff and the “aesthetic” perfectionism to show you the gritty, functional reality of getting things mounted. I’ll walk you through exactly how to find your studs, which anchors won’t fail you when you actually put weight on them, and how to avoid that heart-sinking moment of a crooked bracket. We aren’t aiming for a museum display here; we’re just making sure your stuff actually stays where you put it.
Table of Contents
Guide Overview
Tools & Supplies
- Drill/Driver for making pilot holes and driving screws
- Level to ensure the shelf is straight
- Measuring tape for accurate placement
- Pencil for marking drill points
- Shelf unit/plank 1 unit
- Shelf brackets 2-3 units
- Wall anchors and screws 1 set
- Wall screws 1 set
Step-by-Step Instructions
- 1. First things first, clear a little space on your floor and lay out your gear. You’re going to need a drill, a level (this is non-negotiable unless you want your books sliding off), a pencil, a stud finder, and whatever hardware came with your shelf. If your shelf didn’t come with screws, don’t panic—just grab some heavy-duty anchors from the hardware store. I always keep a small kit of extras in my junk drawer because trust me, you’ll eventually need them.
- 2. Grab your stud finder and run it along the wall where you want the shelf to live. I know, I know, it feels like a chore, but finding a stud is the difference between a sturdy shelf and a sudden pile of debris on your floor. Mark the spots where the stud finder gives you a solid hit with your pencil. If you can’t find a stud, don’t sweat it; we’ll just use anchors in the next step, but aiming for a stud is always the gold standard for stability.
- 3. Now, take your shelf and hold it up against the wall to decide on the perfect height. This is where most people mess up by being too impulsive. I like to stand back, look at the room, and imagine where my actual stuff—like my herb pots or cookbooks—will sit. Once you’re happy, use your pencil to mark the exact spots where the bracket holes need to go. Double-check that your marks are actually level by holding your level tool against the marks before you touch the drill.
- 4. Time to get a little dusty. Using your drill, go ahead and make your pilot holes. If you’re hitting a stud, you can drill straight in, but if you’re in plain drywall, you’ll need to use those anchors I mentioned earlier. Pro tip: don’t drill too deep or too wide, or the anchor won’t have anything to grip. If the drill starts to feel like it’s struggling, take a breath and adjust your pressure; you don’t need to muscle it, just be steady.
- 5. Push your anchors into the holes until they are flush with the wall. If they’re being stubborn, a gentle tap with a hammer usually does the trick. Once the anchors are set, line up your shelf brackets with the holes and start driving in your screws. I like to tighten them halfway first to make sure everything is still aligned, then go back and give them a final tighten once you’re sure the whole thing isn’t tilting to one side.
- 6. The moment of truth: set your shelf on top of the brackets and give it a little wiggle. It shouldn’t budge. If it feels wobbly, something is off—either a screw is loose or you missed the stud. Once it feels solid, go ahead and load it up with your stuff. Don’t try to put your entire collection of heavy ceramics on it all at once; start light and build up as you gain confidence in how the shelf is holding.
The Real Tools Needed for Shelf Mounting Without the Fluff
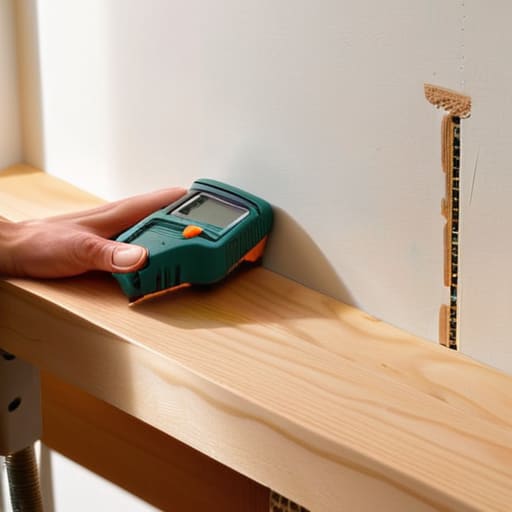
Look, you don’t need a professional workshop to get this done, but you also shouldn’t try to wing it with a butter knife and a dream. Before you even touch the drill, you need to know what’s hiding behind your paint. I always tell myself that finding wall studs for shelving is the single most important step; if you can hit a stud, you’re golden. If you can’t, don’t panic—that’s exactly what those little plastic bits come in handy for.
When it comes to the actual hardware, you’ll likely run into the classic debate of drywall anchors vs wall plugs. If you’re just hanging a light succulent or a single photo, a standard anchor is fine, but if you’re planning on stacking heavy cookbooks, you need something beefier. Check your package carefully to see which tools needed for shelf mounting are actually required for the specific anchors you bought. Trust me, there is nothing more frustrating than getting halfway through a project only to realize you’re missing one specific screwdriver or a level to keep things from looking crooked.
Finding Wall Studs for Shelving Before You Make a Mess
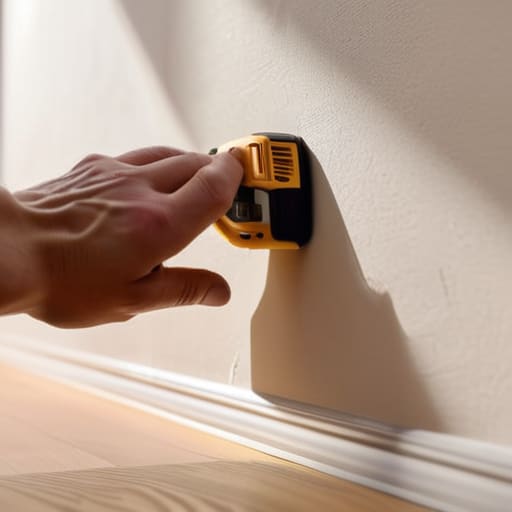
Before you even think about picking up that drill, we need to talk about the most important part: what is actually behind your drywall. I’ve learned the hard way that if you just start drilling blindly, you’re either going to hit a wire or, even worse, end up with a shelf that slowly slides down the wall like a sad piece of melting cheese. Finding wall studs for shelving is the difference between a shelf that holds your heavy cookbooks and one that ends up in a pile on the floor.
If you have a stud finder, great—use it. But if you don’t, don’t panic. You can actually find them by tapping on the wall; a hollow sound means you’re in the open, while a solid, dull thud usually means you’ve found a stud. If you can’t find a stud exactly where you want your shelf, that’s when you’ll need to look into different drywall anchors vs wall plugs to ensure your hardware can actually handle the weight. Just remember: aim for the wood whenever possible. It’s much more reliable than relying on plastic bits alone.
Five Things I Wish I Knew Before I Started Drilling Holes
- Double-check your weight limits. It’s tempting to pile every heavy cookbook you own onto a new shelf, but if you haven’t checked the bracket capacity, you’re just asking for a midnight disaster.
- Use a level, even if you think you have a “good eye.” I’ve learned the hard way that “almost straight” looks incredibly wonky once you actually put things on it.
- Don’t skip the painter’s tape trick. If you’re worried about marking up your walls, put a strip of blue tape where you’re planning to drill; it gives you a clean surface to mark your pencil lines and prevents the drywall from crumbling.
- Keep your hardware organized. There is nothing more frustrating than being halfway through a project and realizing you’ve lost the tiny screws that actually hold the bracket to the wall.
- Plan for the “oops” factor. If you mess up a hole, don’t panic. Keep a little bit of spackle and a sanding sponge on hand so you can patch it up quickly and move on without it becoming a whole thing.
The Bottom Line: Just Get It Done
Don’t obsess over perfection; as long as your anchors are secure and your level is straight, the shelf is doing its job.
Always, always double-check for studs or use heavy-duty anchors—nothing ruins a productive afternoon like a shelf (and your books) crashing to the floor.
Keep your tool kit simple and functional, because you don’t need a professional workshop to make a few smart, lasting upgrades to your space.
The Perfectionism Trap
“Forget about that perfectly curated, magazine-ready floating shelf for a second. If it’s level, it’s sturdy, and it actually holds your books without wobbling, you’ve already won. Functional beats aesthetic every single time.”
Maya Sterling
You’ve Got This
At the end of the day, installing a shelf isn’t about achieving some flawless, magazine-ready look; it’s about making your space work for you. We’ve covered the essentials: getting the right tools, locating those elusive studs so your stuff doesn’t end up on the floor, and actually following the steps without getting overwhelmed. If you hit a snag or your level looks a little wonky at first, don’t sweat it. The goal is to move from a cluttered surface to a functional system that actually holds your life together. As long as those anchors are secure and the shelf is level enough to hold your favorite mugs, you have officially won the battle against that empty, daunting wall.
I know that staring at a pile of hardware and a blank wall can feel like a massive hurdle when you’re already juggling a million other things. But I promise, once that first shelf is up and actually holding something meaningful, the sense of accomplishment is huge. You don’t need a professional contractor or a perfectly curated workshop to make progress. You just need to show up, use what you have, and embrace the mess of the learning process. Go ahead, grab that drill, and make your space yours—one sturdy shelf at a time.
Frequently Asked Questions
What should I do if I can't find a stud exactly where I want my shelf to go?
Don’t panic—this happens to me all the time. If your dream shelf spot is a “stud desert,” don’t just wing it with random screws. You have two solid options: either grab some heavy-duty drywall anchors (the toggle bolt kind is my go-to for extra security) or shift your design slightly. Sometimes, adding a vertical support or a wider bracket can bridge that gap. It’s not as “perfect” as hitting a stud, but it’s functional and safe.
How much weight can these things actually hold before they start sagging or pulling out of the wall?
Look, I’ve definitely learned this the hard way by watching a “decorative” shelf buckle under a single heavy cookbook. If you hit a stud, you’re golden—you can usually trust it with 30-50 lbs easily. But if you’re using drywall anchors, be careful. Most plastic anchors are only rated for about 10-20 lbs. If you’re planning on stacking heavy ceramics or books, don’t skimp; go for the heavy-duty metal toggle bolts instead.
Are there specific types of anchors I should use for drywall versus plaster so I don't end up with a giant hole in my wall?
Honestly, this is where most people panic, but don’t sweat it. If you’re dealing with drywall, skip the cheap plastic plugs that come in those random kits; grab some heavy-duty toggle bolts instead. They grip the back of the wall so your stuff actually stays put. For older plaster walls, it’s a bit trickier—you’ll want specialized plaster anchors or even just find a stud if you can. Just go slow so you don’t crack the surface.
