
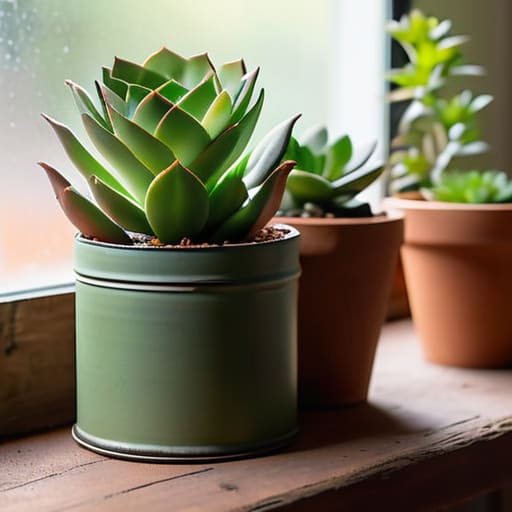
I was standing in the middle of a big-box garden center last weekend, staring at a row of overpriced, ceramic pots that cost more than my weekly grocery budget, and I just couldn’t do it. It felt so performative—like I needed a curated, “aesthetic” collection of vessels just to grow a little bit of basil on my windowsill. The truth is, your plants don’t actually care if they’re sitting in a hand-thrown stoneware pot or a repurposed sour cream container. I’ve spent years perfecting my indoor herb garden, and I can tell you firsthand that the best diy planters aren’t the ones that look good on a lifestyle blog; they’re the ones that actually work and don’t drain your bank account.
In this guide, I’m stripping away the fluff and showing you how to build functional, budget-friendly greenery setups using stuff you probably already have in your recycling bin. We aren’t aiming for Pinterest perfection here; we’re aiming for systems that work. I’ll walk you through how to prep your containers, ensure proper drainage (the most important part!), and choose materials that won’t rot after a month. Let’s get your hands a little dirty and make some real-world gardening happen.
Table of Contents
- Step-by-Step Instructions
- Upcycled Container Gardening Without the Expensive Aesthetic
- Recycled Plastic Bottle Planters for Real World Results
- 5 Real-World Rules for Not Killing Your New DIY Planters
- The Bottom Line: Keep It Functional, Not Fancy
- ## The Reality of Growing Things
- The Bottom Line on Budget Gardening
- Frequently Asked Questions
Guide Overview
Tools & Supplies
- Drill with spade bit for drainage holes
- Measuring tape for accurate sizing
- Sandpaper for smoothing edges
- Upcycled container (tin can, wooden crate, or plastic bucket) 1 unit
- Potting soil 1 bag
- Small pebbles for drainage 1 small bag
- Decorative paint or twine 1 set
- Plants or seeds 1-3 units
Step-by-Step Instructions
- 1. First things first, you need to go on a little scavenge around your kitchen or recycling bin. I’m talking about those empty yogurt tubs, large coffee tins, or even those plastic takeout containers that usually just clutter up the bin. The goal isn’t to find something that looks like it belongs in a museum; you just want something sturdy and deep enough to hold a decent amount of soil for your specific plant.
- 2. Once you’ve picked your vessel, grab a drill or a hammer and a thick nail to create drainage holes. This is the part people usually skip because it feels “un-aesthetic,” but trust me, if you don’t let the excess water escape, your herbs will literally rot within a week. Just aim for three or four small holes at the bottom of whatever container you’ve chosen.
- 3. If you’re using something metal, like an old soup or coffee tin, take a second to check for any sharp edges around the rim. I usually grab a piece of sandpaper or even just a bit of duct tape to smooth them out so you don’t end up with a tiny kitchen injury while you’re potting your plants. It’s a small step, but it makes the whole process way more practical for daily use.
- 4. Now, let’s talk about the mess—grab a cheap tray or even just an old cookie sheet to catch the overflow. I like to line the bottom of my containers with a thin layer of pebbles or even some broken-up terracotta bits if I have them lying around. This creates a little buffer zone between the soil and the drainage holes, which helps keep the roots from getting too soggy.
- 5. Fill your container with a good quality potting mix, but don’t just pack it down like you’re making a snowball. You want the soil to be airy and loose so the roots can actually breathe. I usually fill it about three-quarters of the way up, leaving enough room at the top so that when you water it, the dirt doesn’t just spill over the sides and make a mess on your counter.
- 6. Gently tuck your plant into the center of the soil, loosening the root ball slightly if it looks too tightly wound from the nursery pot. Press the soil down just enough to stabilize the plant, but keep it light. If you’re feeling particularly ambitious, this is where you could wrap some twine around the container to give it a bit of character, but honestly, a plain tin looks just as good once the greenery takes over.
- 7. Finally, give your new little guy its very first watering. I like to do this right away to help the soil settle into all those tiny air pockets. If you see water trickling out of the holes you made in step two, you’re doing it right—that’s the sign of a functional, healthy system that’s going to keep your plants alive much longer than a fancy, expensive ceramic pot would.
Upcycled Container Gardening Without the Expensive Aesthetic
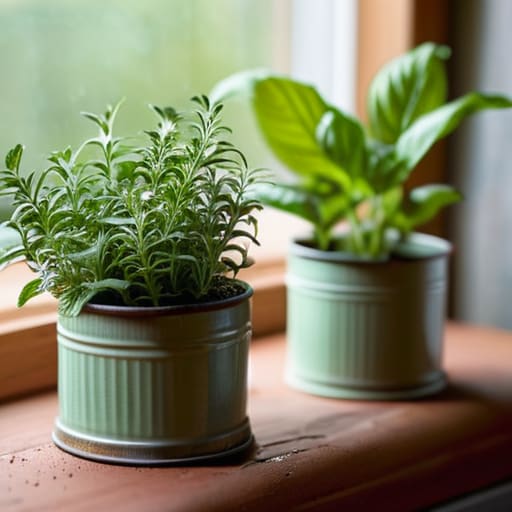
Look, I get it. You scroll through Instagram and see these perfectly curated, terracotta-everything gardens that look like they belong in a magazine. But let’s be real: those high-end pots are expensive, and honestly, they’re just more things to break. If you want to dive into upcycled container gardening, you have to give yourself permission to use what you already have. I’ve spent more time repurposing old tin cans and cracked ceramic mugs than I care to admit, and my herbs couldn’t care less if their home is “aesthetic” as long as they get sunlight and water.
If you’re feeling a bit more ambitious, you can try some recycled plastic bottle planters by cutting them horizontally and adding a few drainage holes. It’s not going to win any design awards, but it’s a zero-cost way to expand your greenery. For those of us living in smaller spaces, I also love using old colanders or even sturdy wooden crates I found on the curb. The goal isn’t to create a showroom; it’s to build a system that works for your life and your wallet.
Recycled Plastic Bottle Planters for Real World Results
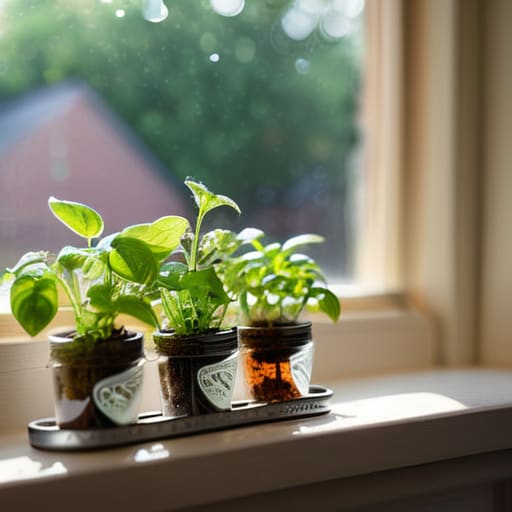
Look, I know the first thing you think when you see a plastic water bottle is “trash,” but if you’re trying to build an indoor herb garden diy style without spending forty bucks at a garden center, these are gold. I started doing this when I moved into my tiny apartment and realized I didn’t have room for heavy ceramic pots. The trick isn’t just cutting them in half; it’s about the drainage. If you don’t poke at least three or four decent-sized holes in the bottom, you’re basically just giving your basil a tiny, unintentional drowning pool.
If you want to get a little more creative with your recycled plastic bottle planters, try the horizontal method. Cut a large rectangular window out of the side of a two-liter soda bottle, lay it on its side, and use it as a trough. It’s incredibly stable on a windowsill. I usually tie some sturdy twine around the neck to hang them, which is a lifesaver when counter space is non-existent. It’s not going to look like a professional botanical garden, but it keeps my mint alive, and honestly, that’s the only metric that actually matters to me.
5 Real-World Rules for Not Killing Your New DIY Planters
- Don’t skip the drainage holes. I know it feels “cleaner” to just use a solid yogurt tub, but unless you want a swampy root situation, grab my multi-tool or a heated nail and poke some holes in the bottom. Your plants will thank you.
- Forget the fancy pebbles. A lot of people tell you to put rocks at the bottom for drainage, but that actually creates a water table that can rot roots. Just use decent potting mix and focus on those drainage holes instead.
- Size matters more than looks. It’s tempting to use a cute, tiny espresso cup for a herb, but those roots are going to get cramped and stressed fast. Always aim for a container that gives the roots some actual breathing room.
- Check your weight limits. If you’re repurposing heavy ceramic bowls or wooden crates, make sure your windowsill or shelf can actually handle it once you add heavy, wet soil. I learned that the hard way with a heavy terracotta pot last spring.
- Be realistic about the material. If you’re using plastic containers outside, keep in mind they can bake in the sun and cook your roots. If they’re going on a sunny balcony, try to tuck them in the shade or look for thicker, more durable recycled plastics.
The Bottom Line: Keep It Functional, Not Fancy
Don’t let the lack of a “Pinterest aesthetic” stop you from starting; a cracked yogurt tub or an old tin can holds soil just as well as a ceramic pot from a boutique shop.
Prioritize drainage above all else—no matter how cool the container looks, if you don’t poke holes in the bottom, you’re just asking for root rot.
Focus on what works for your space and your budget, because the best planter is simply the one that’s already sitting in your recycling bin.
## The Reality of Growing Things
“Your herbs don’t care if they’re living in a hand-thrown ceramic pot or a repurposed yogurt container; they just want good soil and a little bit of light. Stop waiting for the ‘perfect’ setup and just start planting.”
Maya Sterling
The Bottom Line on Budget Gardening
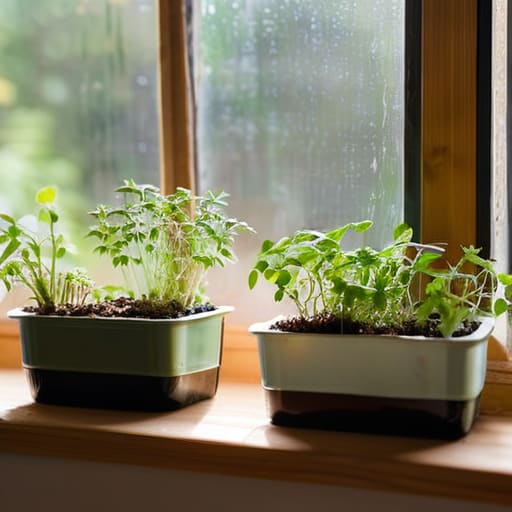
At the end of the day, whether you’re repurposing an old yogurt tub or cutting up a plastic soda bottle, the goal is the same: getting something green to grow without draining your bank account. We’ve looked at how upcycled containers can provide a sturdy home for your herbs and how plastic bottles can serve as clever, low-cost vessels for small seedlings. You don’t need a curated collection of ceramic pots from a high-end boutique to have a successful little garden on your windowsill. It really just comes down to finding what you already own and making it work for you, rather than waiting for the “perfect” setup that never actually arrives.
If you’re feeling a little intimidated by the idea of starting a garden, please just start messy. Your first planter might look a little clunky, and your repurposed containers might not match your living room decor, but that is perfectly okay. Gardening is about the process of nurturing something, not about performing for an audience. Once you see that first tiny sprout poking through the soil in a container you rescued from the recycling bin, you’ll realize that functionality always beats aesthetics. So, grab those scissors, find a container, and just give it a shot. You’ve totally got this.
Frequently Asked Questions
How do I stop my DIY planters from rotting or leaking all over my floor?
Look, I’ve definitely been there—waking up to a puddle of muddy water and a ruined floorboard. It’s frustrating, but it’s usually a simple fix. First, you must drill drainage holes; don’t skip this just because it looks messy. Second, if you’re using containers without holes, you need a saucer underneath. I usually just repurpose an old Tupperware lid or a shallow ceramic plate. It’s not pretty, but it keeps your floors dry.
Do I really need to use specific soil, or can I just use whatever I have lying around?
Look, I get the temptation to just grab whatever bag is sitting in the garage, but please don’t do that. If you use random backyard dirt or old potting mix from three years ago, you’re basically asking for root rot or a sudden infestation of gnats. Stick to a basic, decent quality potting mix. It’s lightweight and actually lets the roots breathe. It’s a small upfront cost that saves you a massive headache later.
What’s the best way to keep these upcycled containers from looking like actual trash on my windowsill?
Look, I get it. There’s a fine line between “eco-friendly chic” and “my windowsill looks like a recycling bin exploded.” To keep things looking intentional rather than accidental, I usually lean into a cohesive color palette. Grab a can of matte spray paint—black, terracotta, or even a soft sage—and give your containers a uniform coat. It hides the labels and makes mismatched yogurt tubs look like a curated set. Simple, cheap, and much easier on the eyes.
