
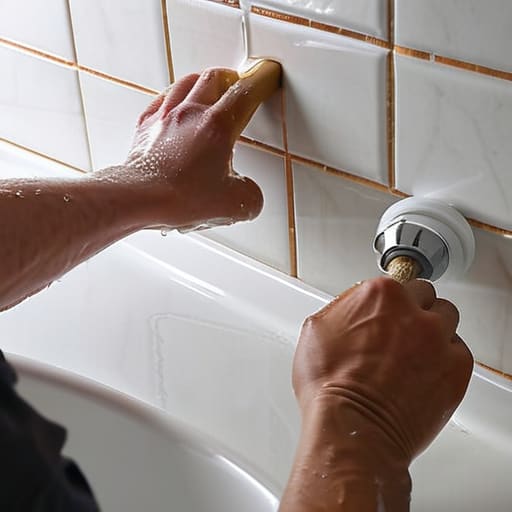
I was standing in my tiny bathroom last Tuesday, staring at a jagged, blackened crack between my tub and the tile, feeling that familiar surge of “adulting dread.” I had spent twenty minutes watching hyper-polished DIY videos where the person applies a perfect, surgical line of sealant in one fluid motion, and honestly? It felt like a lie. Most of those tutorials make you think you need a steady hand like a neurosurgeon just to learn how to caulk a simple seam. But here’s the truth: your first attempt is probably going to look a little wonky, and that is completely fine.
I’m not here to teach you how to create a masterpiece for an interior design magazine; I’m here to help you seal that gap so mold doesn’t take over your life. In this guide, I’m breaking down the messy, real-world steps to getting the job done without the expensive specialized tools or the perfectionist anxiety. We’re going to cover the right supplies to grab, how to actually clean the surface so the stuff sticks, and my favorite trick for smoothing it out when you inevitably get a little too much on the nozzle. Let’s just get it done and move on with our day.
Table of Contents
- Step-by-Step Instructions
- Ditch the Junk Removing Old Caulk Without Losing Your Mind
- Silicone vs Acrylic Caulk Picking What Actually Works
- Pro-Tips for When You’re Tired of Looking at That Gap
- The "Don't Sweat the Small Stuff" Summary
- ## The Perfectionism Trap
- You’ve Got This
- Frequently Asked Questions
Guide Overview
Tools & Supplies
- Caulking gun to apply the sealant
- Caulk removal tool or utility knife to strip old material
- Small bucket or container for cleaning solutions
- Caulk tube (Silicone or Acrylic depending on surface)
- Cleaning agent (Isopropyl alcohol or soapy water)
- Paper towels or rags for cleanup
Step-by-Step Instructions
- 1. First things first, you have to get rid of the old stuff. I know, scraping at a dried-up line of old silicone feels tedious, but if you don’t, your new bead is going to look like a total disaster. Grab a putty knife or even a sturdy screwdriver from your junk drawer and just dig it all out. You want the gap to be as clean and empty as possible before we even think about the new stuff.
- 2. Once you’ve cleared the debris, give the area a good wipe down with some rubbing alcohol or a damp cloth. You need to make sure there isn’t a single speck of dust, old soap scum, or grease left behind. If the surface isn’t completely dry and clean, that new caulk isn’t going to stick, and you’ll be back here doing this again in three months.
- 3. Now, let’s talk about the dreaded caulk gun. If you’re using a cheap one, it might feel a little jumpy, so just take it slow. Cut the tip of the tube at a slight angle—not too big, just enough to let a small amount through. I usually aim for a hole about the width of the gap I’m trying to fill. It’s a learning curve, so don’t get frustrated if the first squeeze is a bit wonky.
- 4. This is where most people panic, but here is my secret: don’t try to be perfect. Hold the gun at a steady angle and pull it toward you in one continuous motion. Try to keep the pressure even so you don’t end up with those weird, bulging blobs. I always tell myself to just keep moving; it’s much easier to fix a slightly uneven line than it is to fix a massive, accidental puddle.
- 5. Once you’ve laid down your bead, it’s time for the “smoothing” phase. You don’t need fancy professional tools for this; honestly, a wet finger works just fine. Dip your finger in a little bit of water (or a mix of water and a drop of dish soap if you want to be extra fancy) and lightly run it along the line. This pushes the caulk into the gap and flattens everything out so it looks intentional rather than messy.
- 6. Finally, step away. This is the hardest part for me because I want to poke at it to see if it’s dry, but you really need to let it cure. Check the tube for the recommended drying time—usually, you want to avoid getting it wet for at least 24 hours. Just leave it alone and let the chemistry do its thing while you go grab a coffee.
Ditch the Junk Removing Old Caulk Without Losing Your Mind
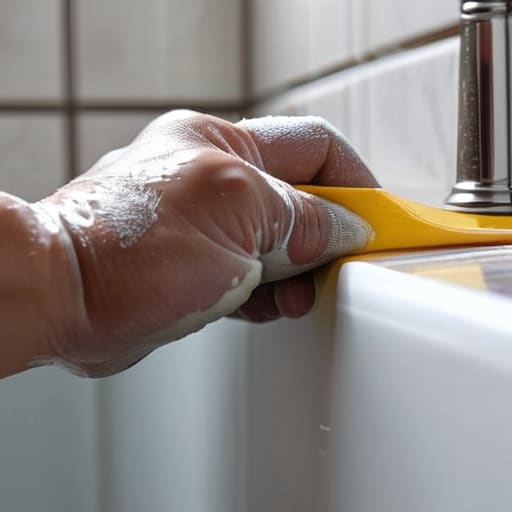
Look, I’m going to be real with you: the most annoying part of this entire process isn’t the actual application; it’s the cleanup. If you try to layer new material over the old stuff, you’re basically asking for a peeling, moldy disaster in six months. Removing old caulk is the unglamorous, slightly tedious prerequisite that determines whether your project actually lasts or just looks okay for a week. I used to try to just scrape it away with a kitchen knife (don’t do that, please), but I eventually learned that a dedicated caulk removal tool or even a simple utility knife makes a world of difference.
Once you’ve got the bulk of the old gunk out, don’t just jump straight into the new stuff. You need to really scrub that gap. I usually grab a rag with a bit of rubbing alcohol to clear out any lingering residue or soap scum. If you’re caulking bathroom seams, this step is non-negotiable because moisture loves to hide in those tiny crevices. You want a surface that is bone-dry and completely smooth. It feels like extra work, but trust me, a clean slate is the only way to ensure your new bead actually sticks.
Silicone vs Acrylic Caulk Picking What Actually Works
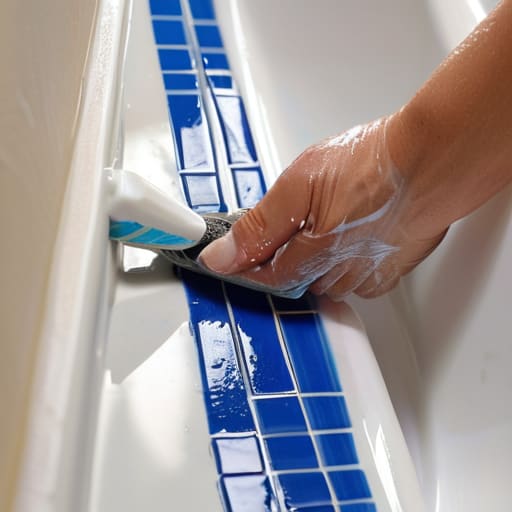
I used to think all tubes of caulk were basically the same, but trust me, grabbing the wrong one is a fast track to a DIY headache. If you’re caulking bathroom seams or anything around a sink where water is constantly splashing, you absolutely want silicone. It’s waterproof, flexible, and won’t crack when things shift slightly. The only catch? It’s a bit messier to work with and much harder to clean up if you slip up, so don’t skip the painter’s tape if you’re feeling nervous.
On the flip side, acrylic caulk is your best friend for sealing window gaps or baseboards. It’s way easier to apply, much more forgiving for beginners, and you can actually paint over it once it dries. It’s not as water-resistant as silicone, but for dry areas of the house, it’s a total lifesaver. Just remember: once you pick your fighter, stick to it. Trying to layer one over the other is a recipe for a peeling, flaky disaster that you’ll just end up having to scrape off later.
Pro-Tips for When You’re Tired of Looking at That Gap
- Don’t skip the painter’s tape. If you aren’t confident in your steady hand (and let’s be real, most of us aren’t), run two lines of tape along the edges of the gap. It makes the cleanup a breeze and keeps your lines looking crisp even if you’re a little messy with the tube.
- Use a wet finger for the smoothing phase. Once you’ve laid down your bead, dip your finger in a little bit of water (or a tiny drop of dish soap if you want to be extra) and run it along the caulk. It flattens the bead and gives you that smooth finish without it sticking to your skin.
- Temperature matters more than you think. If you’re trying to caulk something outside in the middle of a heatwave or a freezing morning, it’s going to be a nightmare. Wait for a mild, dry day so the caulk actually settles the way it’s supposed to.
- Practice on a scrap piece first. I know it feels silly, but grab a piece of leftover trim or even just a cardboard box to test the pressure of your caulk gun. You don’t want to realize halfway through your bathroom renovation that you’re squeezing way too hard and making a massive, uncontrollable glob.
- Clean the surface like your life depends on it. Even if it looks clean, wipe the area down with rubbing alcohol first. If there’s even a microscopic layer of dust or old soap scum, that new caulk is going to peel off in a few months, and then you’re right back where you started.
The "Don't Sweat the Small Stuff" Summary
Don’t obsess over a perfect line; as long as the seal is continuous and thick enough to block water, you’ve won the battle.
Spend the extra time cleaning the old residue properly, because even the best new caulk won’t stick to a messy, old surface.
Buy the right stuff the first time—silicone for the wet stuff like tubs, and acrylic for everything else—so you aren’t stuck fixing it again in a month.
## The Perfectionism Trap
“Look, your bathroom doesn’t need to look like a showroom to be waterproof. Forget about getting that perfectly smooth, professional bead on your first try; just focus on sealing the gap so the water stays where it belongs and stays out of your walls.”
Maya Sterling
You’ve Got This
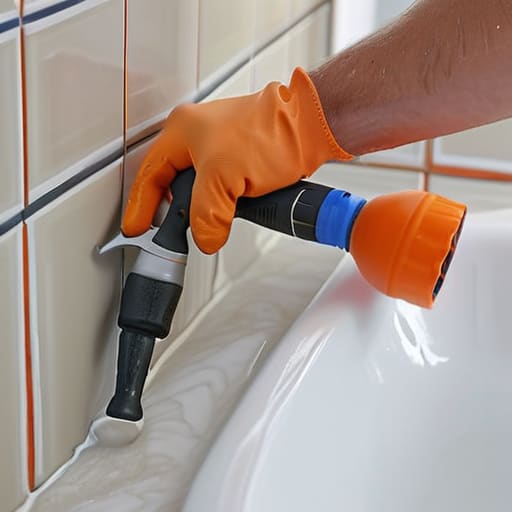
Look, I know that staring at a half-finished tub of silicone can feel a little daunting, but you’ve already done the hardest parts. You scraped away the old, crusty residue, you picked the right material for the job, and you actually sat down to do the work. At the end of the day, it’s not about having a perfectly smooth, professional-grade bead that looks like it belongs in a luxury showroom. It’s about ensuring that water isn’t seeping behind your tiles and causing a massive headache down the road. If your line is a little wavy or you missed a tiny spot in the corner, just remember that functionality always wins over perfection.
My biggest piece of advice as you wrap this up is to give yourself some grace. We live in this weird world where every home project has to be a curated “aesthetic moment” for social media, but real life is much more about the small, quiet wins. You just saved yourself a massive repair bill and a weekend of stress, and honestly? That is a huge victory. So, wipe your hands, put your multi-tool back in your bag, and go enjoy your space. You didn’t just caulk a gap; you maintained your home, and that is exactly how we keep things running smoothly.
Frequently Asked Questions
How do I know if I've actually messed up and need to scrape it all off and start over?
Look, I’ve been there—staring at a bead of caulk and wondering if I’ve ruined my bathroom forever. If it’s just a little uneven or looks a bit wonky, let it dry. It’ll still do its job. But if there are huge gaps where water can seep in, or if it’s pulling away from the surface immediately, yeah, you’ve gotta scrape it. Better to redo it now than deal with mold later.
Can I just paint over the old caulk if it looks ugly, or is that a total waste of time?
Honestly? It’s a total waste of time. I’ve tried the “quick fix” approach before, and it never ends well. Paint doesn’t actually bond to silicone, so you’ll just end up with a peeling, flaky mess that looks even worse than the original problem. If it’s ugly, you really have to scrape it out and start fresh. It’s a bit more work upfront, but trust me, it saves you from doing it twice.
Is there a trick to getting those smooth, professional-looking lines without spending an hour cleaning up a smeared mess?
Honestly, the “secret” isn’t some fancy professional tool—it’s just a spray bottle with soapy water. Once you lay your bead, don’t try to fix it with your finger immediately. Lightly mist the line with a mix of water and a tiny drop of dish soap. It prevents the caulk from sticking to your skin and helps you glide through it smoothly. It’s much faster, way less messy, and saves you from that frantic scrubbing later.
