
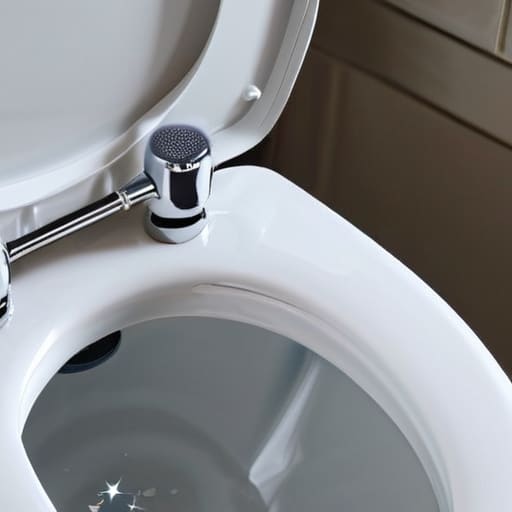
There is this pervasive myth that a running toilet is a sign you’ve officially failed at adulting and need to call an expensive plumber immediately. I used to believe that, too, until I sat on my bathroom floor last Tuesday, listening to that relentless, ghostly hissing sound and staring at a water bill that looked more like a phone number. Honestly, most of the time, you don’t need a professional with a van; you just need to know how to fix a running toilet without losing your mind or your entire weekend.
I’m not going to give you a lecture filled with complex plumbing jargon or tell you that you need a specialized toolkit to get the job done. Instead, I’m going to walk you through the messy, real-world steps to identify the culprit—whether it’s a faulty flapper or a finicky fill valve—and swap it out yourself. My goal is to help you stop that constant money drain and get your bathroom back to being a quiet, functional part of your home using nothing more than a little patience and a few basic tools.
Table of Contents
Guide Overview
Tools & Supplies
- Adjustable wrench for tightening bolts
- Screwdriver for securing components
- Sponge or towel for absorbing excess water
- Replacement flapper (1)
- Replacement fill valve (1)
- Replacement toilet tank repair kit (1)
Step-by-Step Instructions
- 1. First things first, let’s get a clear view of what we’re dealing with. Go ahead and lift the heavy tank lid off and set it somewhere safe (like your bed or a rug) so you don’t crack it on the floor. Once the lid is off, take a second to just look inside. Is the water constantly pouring into the overflow tube, or is it just trickling out from the bottom? This little observation will tell us exactly which part is acting up.
- 2. If the water is spilling over the top of that open tube in the middle, your float is likely set too high. This means the tank never actually stops filling. Reach in and find the float—it’s usually that ball on a metal rod or a plastic cylinder that slides up and down the side. Try to adjust the screw on top of the fill valve to lower the float level. If it’s an old-school ball float, you can actually just bend the metal rod slightly downward so it stops the water sooner.
- 3. Now, if the water isn’t overflowing but you still hear that constant, ghostly hissing, it’s almost certainly a faulty flapper. The flapper is that rubber plug at the bottom that lifts when you flush. Reach in and feel the rubber; if it feels slimy, warped, or brittle, it’s not creating a tight seal anymore. This is the most common culprit, and honestly, it’s the easiest fix on this list.
- 4. Before you run to the hardware store, check the chain. Sometimes the little metal chain connecting the handle to the flapper gets too long and gets caught underneath the seal, or it’s so tight that it keeps the flapper slightly propped open. If it’s tangled, just untangle it and adjust the slack so there’s just a tiny bit of wiggle room. It should be long enough to move freely but not so long that it creates a mess.
- 5. If the flapper looks fine but it’s still leaking, it’s time for a quick trip to the store. Don’t overthink it: just take the old flapper with you to ensure you get an exact match. While you’re there, grab a cheap pack of replacement bolts if yours look rusty. Once you’re back, pop the old one off the pegs and snap the new one into place. It’s literally designed to just click in.
- 6. If you’ve replaced the flapper and adjusted the float but you’re still hearing water run, the problem might be the fill valve itself. If the valve is old and crusty, it’s probably just done its job and reached the end of its life. You can buy a universal fill valve kit for about fifteen bucks. It looks intimidating, but it’s really just a plug-and-play situation once you shut off the water supply at the wall.
- 7. Once you think you’ve nailed it, give the handle a few test flushes. Watch the water level closely to make sure it rises to the correct height and then completely stops. If you don’t hear that annoying trickle anymore, you’ve officially saved yourself a headache (and a hefty water bill) without needing to call an expensive plumber.
Quick Fixes for Toilet Water Leaking Into Bowl
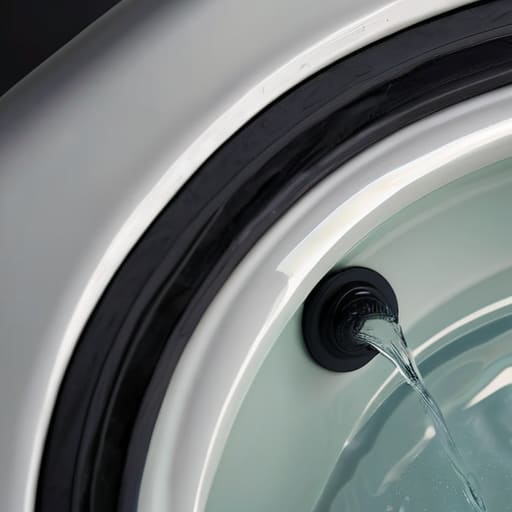
Sometimes, you’ll notice the water isn’t just running loudly; it’s slowly trickling into the bowl even when you haven’t flushed. If you’re seeing toilet water leaking into bowl constantly, it’s usually a sign that the seal isn’t airtight. Most of the time, this isn’t a massive plumbing disaster, just a sign that it’s time to replace toilet flapper because the rubber has finally gotten brittle or slimy from years of use. It’s a five-minute fix that saves you a ridiculous amount on your monthly water bill.
If the flapper looks okay, take a peek at the float level. If the water level is set too high, it’ll constantly spill into the overflow tube, making it seem like the whole system is broken. A quick toilet fill valve adjustment can usually settle things down without you having to buy a single new part. I always tell myself: before you go out and spend money on a whole new kit, just check the alignment of the chain and the water level first. It’s often just a tiny tweak rather than a total overhaul.
The Messy Truth About Toilet Tank Parts Replacement
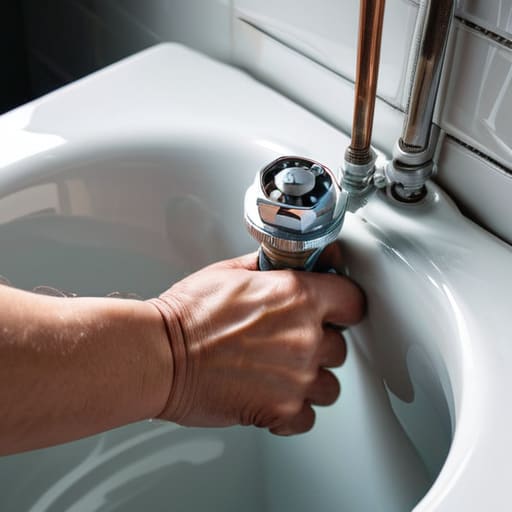
Look, I’m going to be real with you: sometimes you can tinker with the settings all day and nothing will change. If you’ve tried every little trick in the book and you’re still hearing that ghostly hiss, you’ve likely hit the point where a toilet tank parts replacement is unavoidable. It’s frustrating because it feels like a bigger project than it actually is, but honestly, most of these components are designed to be swapped out by anyone with a basic wrench and a little patience.
Don’t let the hardware store aisles intimidate you. You don’t need to buy the most expensive, high-tech kit on the shelf; you just need parts that actually fit your specific model. I’ve learned the hard way that trying to force a generic part to work is a recipe for a flooded bathroom. If you need to replace toilet flapper or the fill valve, just take a quick photo of your current setup before you head out. It saves so much time and prevents that “why doesn’t this fit?” meltdown mid-repair.
My Pro-Tips for Keeping Your Toilet (and Your Sanity) in Check
- Don’t just buy the most expensive replacement parts at the big-box store; usually, a $5 rubber flapper from the hardware aisle is all you actually need to stop that constant trickling.
- Before you start unscrewing everything, take a quick photo of the inside of your tank with your phone; it’s way easier to put it back together when you have a visual reference of where the chain and valves belong.
- If you notice the water level is constantly too high, check your float adjustment first—you can usually fix it with a quick turn of a screw rather than tearing the whole mechanism apart.
- Keep a small towel or an old rag right next to you while you work; toilet tanks are surprisingly messy, and I’ve learned the hard way that “just a quick fix” often ends with a puddle on the bathroom floor.
- If you’re replacing the flapper, make sure you clean the rim of the flush valve where the rubber sits; if there’s any old grime or buildup there, even a brand-new part won’t create a tight enough seal to stop the leak.
The Bottom Line
Don’t let a small leak turn into a massive water bill; most running toilets are just a cheap, five-minute fix away from being sorted.
You don’t need a plumber’s degree to do this, just a little patience and a willingness to get your hands a bit damp.
Prioritize function over aesthetics—it doesn’t matter if your tank looks a little worn as long as the parts are working correctly and saving you money.
The Real Cost of "Doing It Later"
“That constant, phantom sound of a running toilet isn’t just a nuisance; it’s literally your hard-earned money circling the drain. Don’t wait for a massive water bill to force your hand—grab your multi-tool, pop the lid, and tackle the small fix now so you aren’t paying for a problem that only takes ten minutes to solve.”
Maya Sterling
You've Got This
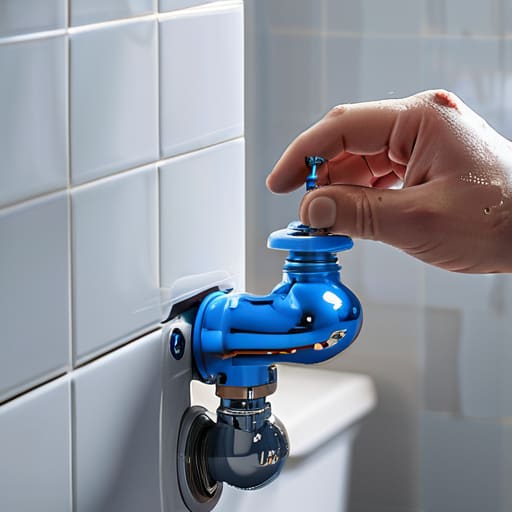
At the end of the day, fixing a running toilet usually boils down to one of three things: a worn-out flapper, a misaligned float, or a faulty fill valve. Whether you were just tightening a nut or actually getting your hands dirty replacing a whole assembly, I hope you feel a little more confident about the process. It’s easy to let these little household hiccups snowball into a massive, expensive headache, but most of the time, it’s just a matter of identifying the culprit and swapping out a cheap part. You don’t need a degree in plumbing or a fancy toolkit to stop the money from literally going down the drain.
I know that staring at a tank full of water and mystery parts can feel intimidating, especially if you aren’t used to DIYing your home maintenance. But honestly? Once you realize that these systems are just simple mechanics, the “scary” stuff starts to feel a lot more manageable. My goal isn’t for you to become a master plumber, but to help you realize that you don’t have to be at the mercy of a repairman for every minor inconvenience. Take a breath, grab your multi-tool, and remember that small wins like this are exactly how you build a home that actually works for you.
Frequently Asked Questions
Is it actually worth buying a whole new toilet, or can I just keep swapping out parts every few months?
Honestly? It depends on how old your toilet is. If it’s a modern model and you’re just swapping a $5 flapper every few months, it’s likely just a seating issue or a worn-out handle. But if you’re constantly fighting with the tank and the porcelain looks questionable, stop throwing good money after bad. At that point, a new, high-efficiency toilet pays for itself in water savings and sheer sanity.
I fixed the flapper, but now the tank won't stop refilling—did I mess something else up?
Don’t panic—you haven’t broken anything, you’ve likely just run into a classic “domino effect” situation. If the water keeps running even after a new flapper, your fill valve might be set too high, or the float is getting stuck against the tank wall. Check if the float is actually rising; if it’s hitting something, it won’t tell the water to shut off. It’s a tiny adjustment, not a total disaster.
Do I really need to turn off the water supply before I start poking around in there, or can I just work around it?
Look, I know it feels like an extra step when you just want to get this over with, but please, turn the water off. I’ve learned the hard way that “working around it” is a recipe for a flooded bathroom floor and a very stressed-out me. Just twist that silver valve behind the toilet clockwise until it stops. It takes ten seconds, saves you a massive headache, and keeps your apartment (and your sanity) dry.
