
I was standing in the middle of my tiny living room last Saturday, staring at a half-empty can of “eggshell white” and a pile of plastic drop cloths, feeling completely defeated. I had watched three different interior design videos that made the whole process look like a meditative, aesthetic ritual involving linen aprons and perfectly staged brushes, but my reality was just a sticky mess and a mounting sense of dread. The truth is, most tutorials make you feel like you need a professional setup to succeed, but I’ve learned that knowing how to paint a room isn’t about having a designer’s budget; it’s about having a solid, repeatable system that doesn’t leave you broke or exhausted.
In this guide, I’m skipping the fluff and the “perfect” Pinterest setups to give you the actual, gritty logistics of getting the job done. I’ll walk you through the specific tools that are worth the splurge and the ones you can totally skip, how to prep your space without losing an entire weekend, and my personal trick for getting clean lines without a steady hand. We aren’t aiming for a magazine cover here; we are aiming for a functional, refreshed space that you can actually live in.
Table of Contents
Guide Overview
Tools & Supplies
- Paintbrush for edges and corners
- Roller and tray for large surfaces
- Painter's tape for protecting trim
- Drop cloths to protect flooring
- Interior paint (1-2 gallons per room)
- Painter's tape (1 roll)
- Sandpaper (1 pack for smoothing walls)
- Spackle (1 small tub for filling holes)
Step-by-Step Instructions
- 1. First things first, we need to clear the deck. I know, moving furniture is the absolute worst, but you don’t need to haul everything out of the room to make this work. Just push your heavy pieces to the center and cover them with old sheets or cheap plastic drop cloths from the hardware store. The goal here is to create a buffer zone so you aren’t spending your entire weekend scrubbing dried speckles out of your rug.
- 2. Next, we’re going to tackle the prep work, which is honestly the most important part if you don’t want the paint to peel in six months. Grab a damp rag and wipe down the walls to get rid of any dust or cobwebs. If there are any annoying little holes from old picture frames, don’t overthink it—just grab a small tub of spackle, fill them in, and wipe away the excess once it dries. You aren’t aiming for a museum-grade finish; you just want a smooth surface so the color looks even.
- 3. Now, grab your painter’s tape. This is where most people get frustrated, but here is my little trick: don’t try to be a perfectionist with the edges. Just lay the tape along the baseboards, the ceiling line, and around window frames. If you want to be extra sure you don’t get paint bleeding under the tape, run your fingernail (or my trusty multi-tool) along the edge to seal it down tight. It takes five minutes more now but saves you hours of tedious touch-ups later.
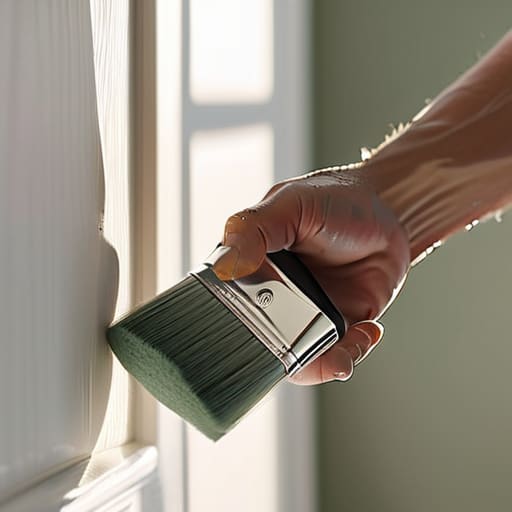
- 4. Before you even touch a roller, you have to “cut in.” This basically means using a brush to paint the edges and corners where a big roller can’t reach. I usually start at the top of the wall and work my way down around the trim and outlets. Don’t try to do the whole room at once; just do one wall at a time so the edge stays slightly damp when you move to the next step. This prevents those weird, visible lines where the brush strokes meet the roller marks.
- 5. Once the edges are set, it’s time for the heavy lifting with the roller. I like to use the “W” technique—draw a large letter W on a section of the wall, then fill it in without lifting the roller. It sounds a bit strange, but it ensures you’re distributing the paint evenly instead of just leaving thick clumps in one spot. Work in small sections and try to keep a consistent rhythm; it’s actually kind of therapeutic once you get into the zone.
- 6. For the second coat, you’re going to want to wait. Check the lid of your paint can for the drying time, but generally, give it at least four hours before even thinking about going back in. A second coat is what really makes the color pop and hides any uneven patches from the first round. Remember, it’s better to do two thin, even coats than one thick, messy one that ends up dripping down the wall.
- 7. Finally, the most satisfying part: the cleanup. Don’t wait until the next morning to deal with your brushes, or you’ll be spending your afternoon scrubbing dried bristles. Wash your tools immediately with warm soapy water and peel the tape off while the paint is still slightly tacky. If you wait until the paint is bone-dry, the tape might actually pull chunks of your beautiful new color right off the wall.
The Essential Painting Supplies Checklist for Real Life
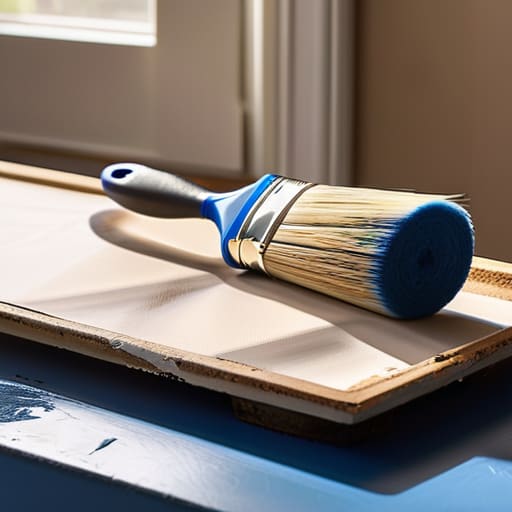
Look, I’ve learned the hard way that nothing kills my momentum faster than being halfway through a wall and realizing I’m out of painter’s tape or that my roller cover is so cheap it’s just shedding fuzz everywhere. You don’t need a professional-grade warehouse of equipment, but you do need a solid essential painting supplies checklist so you aren’t making three frantic trips to the hardware store. Grab a decent quality brush for the edges, a sturdy tray, and a medium-nap roller. If you’re on a budget, don’t skimp on the tape; cheap tape is a nightmare to peel off later and usually ends up taking chunks of your dried paint with it.
Also, please, for the love of your sanity, prioritize protecting furniture while painting. I used to think a thin sheet would do the trick, but one accidental splash of navy blue on a light fabric rug will ruin your entire week. Use heavy-duty drop cloths—canvas is king if you can swing it—and tuck them tightly under the baseboards. It’s a little extra work upfront, but it saves you from that frantic, “how do I get this out of the carpet?” panic later.
How to Prep Walls for Painting Without the Drama
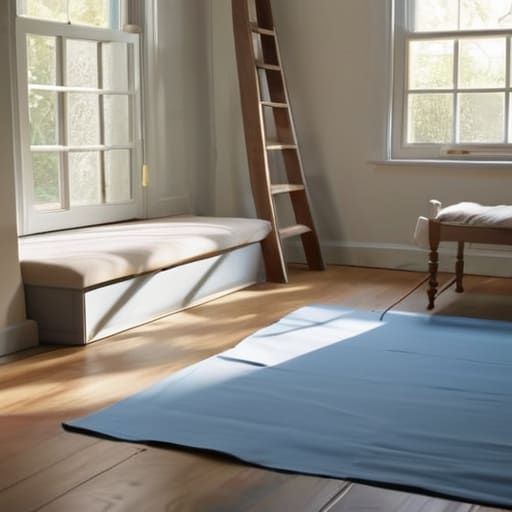
Look, I know the temptation to just grab a brush and dive in is real, especially when you’re staring at a blank wall on a Saturday morning. But if you skip the prep, you’re basically setting yourself up for a headache that lasts much longer than the actual painting. When I’m figuring out how to prep walls for painting, my first move isn’t grabbing a sponge; it’s clearing the decks. I grab every bit of tape I can find and move my heavy stuff to the center of the room. If you’re worried about the mess, focus on protecting furniture while painting by using old sheets or cheap drop cloths—don’t go out and buy expensive canvas covers unless you actually plan on keeping them.
Once the floor is safe, it’s time to deal with the walls themselves. You don’t need a professional crew to get a smooth finish; you just need to get rid of the dust and those annoying little bumps. Take a damp cloth and wipe down the surfaces, and if there are any tiny holes from old nails, just slap some spackle in there. It doesn’t have to be perfectly seamless, but it needs to be clean. If you leave grease or dust behind, your new coat is going to peel, and nobody has time for that.
Five Things I Wish I Knew Before I Picked Up a Roller
- Don’t buy the cheapest paint just to save five bucks. I learned the hard way that the “budget” stuff requires three coats to cover a single dark wall, and by then, you’ve spent more on labor and time than if you’d just bought the decent stuff from the jump.
- Test your colors on actual wall space, not just little paper scraps. Lighting in a store is nothing like the weird afternoon sun in your living room, and a color that looked like a soft sage in the aisle might end up looking like a swampy green once it’s on your walls.
- Invest in a decent angled brush for the edges. You can skip the fancy stuff for the big sections, but if you’re trying to cut in around baseboards with a cheap, scratchy brush, you’re going to end up with jagged lines and a massive headache.
- Keep a damp rag in your back pocket at all times. Whether it’s a drip on the floor or a smudge on the trim, you want to catch it immediately before it dries into a permanent part of your home’s new “aesthetic.”
- Embrace the “good enough” mindset with your taping. If a tiny bit of paint bleeds under the tape, don’t panic and scrap the whole project. Just let it dry, lightly sand it, and move on—life is too short to spend four hours obsessing over a millimeter of imperfection.
The "No-Stress" Summary
Don’t get paralyzed by the gear; you don’t need a professional setup to get a decent job, just the basics that actually work.
Prep is where the real work happens, so don’t skip the cleaning or patching just because you’re in a rush to see the color.
Aim for functional, not flawless—if there’s a tiny drip or a spot you missed, just keep moving and don’t let it ruin your momentum.
A Quick Reality Check
“Look, your walls aren’t going to be perfect, and that’s okay. Don’t let the fear of a missed spot or a messy edge stop you from actually finishing the project; a lived-in room with a fresh coat of paint is always better than a perfect room that’s still half-empty because you were too intimidated to pick up the brush.”
Maya Sterling
The Finish Line (And Why It Matters)
At the end of the day, painting a room isn’t about achieving some flawless, showroom-ready masterpiece on your first try. It’s about the prep work you did to save your floors, the smart tools you picked out to save your wrists, and the patience you showed when the first coat looked a little patchy. If you followed the steps, cleaned up your mess, and didn’t end up with more paint on the carpet than the walls, you’ve already won. Remember, a few tiny imperfections are just proof that you actually did the work yourself, rather than paying someone else to pretend it was easy.
Once the tape is pulled and the rollers are soaking in the sink, take a second to actually sit in the space. This room might not look like a staged photo from a high-end catalog, but it looks like your home, and that is infinitely more valuable. You tackled a project that felt overwhelming, you managed your budget, and you created something functional and fresh. Don’t let the pursuit of perfection rob you of the pride that comes with a job well done. Now, grab a coffee, sit in your newly colored space, and just enjoy the quiet win.
Frequently Asked Questions
How much paint do I actually need to buy so I'm not stuck halfway through a wall or wasting money on five extra gallons?
The “math” part of DIY always stresses me out, but don’t let it paralyze you. A good rule of thumb is that one gallon covers roughly 350 to 400 square feet. Grab a measuring tape, multiply your wall’s width by height, and subtract the windows. Always aim for two coats—that’s where the real magic happens. If you’re close to the limit, buy one extra quart. It’s way cheaper than a mid-project hardware store run.
Is it worth it to splurge on the expensive brushes, or can I just grab the cheap ones from the grocery store and get the job done?
Look, I get the temptation to grab the $2 pack from the grocery store, but save your sanity and spend the extra few bucks on a decent brush. Cheap brushes are notorious for shedding bristles into your wet paint—and trust me, fishing tiny hairs out of a fresh wall is a nightmare I wouldn’t wish on anyone. Grab one good brand-name brush for the heavy lifting; it’ll make the job faster and much less frustrating.
How long do I really have to wait between coats before I'll end up ruining the whole thing?
Look, I know the temptation to rush is real, especially when you just want to sit on the couch and be done with it. But if you apply a second coat while the first is still tacky, you’ll end up pulling the paint right off the wall in clumps. Check the can, but generally, give it at least two to four hours. If it feels even slightly damp to the touch, walk away and grab a coffee.
