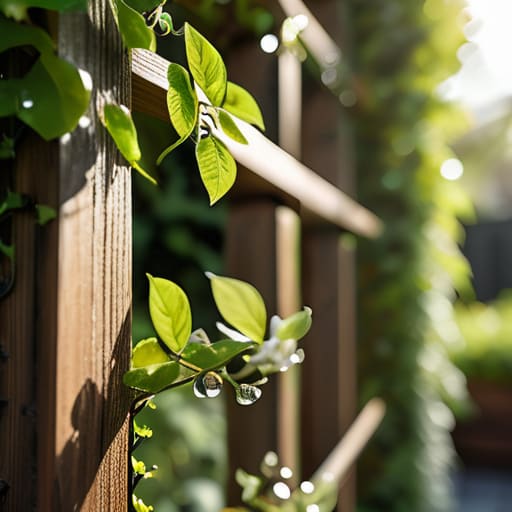
I was standing in my small garden patch last summer, staring at a heap of expensive, wrought-iron trellis kits that had already buckled under the weight of my heavy climbing peas. It was so frustrating; I had spent a fortune trying to make my balcony look like a professional botanical garden, only to realize that nothing actually worked. That was the moment I realized that learning how to build a garden trellis shouldn’t require a degree in architecture or a massive bank account. You don’t need those flimsy, overpriced plastic structures that snap the second a breeze picks up; you just need something that stays upright when the plants start getting heavy.
In this guide, I’m skipping the complicated blueprints and the “aesthetic-only” designs that fall apart in a month. Instead, I’m going to show you the rugged, low-cost methods I use to keep my vines climbing and my budget intact. We’re going to talk about using basic scrap wood, twine, and simple tension to create a structure that is actually functional. Whether you have a sprawling backyard or just a few pots on a sunny windowsill, I promise you can build something sturdy without the performative perfection.
Table of Contents
- Step-by-Step Instructions
- Practical Wooden Trellis Design Ideas for Real Gardens
- A No Fluff Garden Trellis Materials List
- Five Things I Wish I Knew Before I Started Building
- The Bottom Line: Making It Work for You
- ## The Real Goal of Gardening
- Final Thoughts Before You Get Your Hands Dirty
- Frequently Asked Questions
Guide Overview
Tools & Supplies
- Measuring tape for accurate cuts
- Handsaw or miter saw for timber
- Drill/driver for assembly
- Sandpaper to smooth rough edges
- Wooden stakes or 2×2 lumber (4-5 pieces)
- Garden twine or wire (1 roll)
- Wood screws (1 small box)
- Wood sealant or stain (1 can)
Step-by-Step Instructions
- 1. First things first, head to your local hardware store and grab some untreated cedar or redwood. I know, it’s tempting to grab the cheapest pressure-treated wood you can find, but since we’re growing things we might actually eat—like tomatoes or cucumbers—you want to avoid those nasty chemicals leaching into your soil. Pick up a handful of 2×2 stakes for the frame and some thinner bamboo poles or even sturdy twine if you want a more flexible grid.
- 2. Next, let’s get your measurements sorted. Don’t just eyeball it; grab a tape measure and decide how tall your plants are going to get at their peak. If you’re growing heavy climbers like pole beans, you’ll want a structure that’s at least six feet tall so they don’t just flop over onto the dirt once they get heavy.
- 3. Now, it’s time to set your corner posts. Dig two holes about a foot deep at the edges of your planting area. I usually use my multi-tool to clear out any stubborn roots before I start, but honestly, a simple garden trowel works fine too. Push your thickest wooden stakes into these holes, making sure they are straight and sturdy before you move on.
- 4. Once your posts are in the ground, it’s time to connect them. You can use horizontal wooden slats to create a ladder-style look, or if you’re feeling a bit more low-key, just wrap some heavy-duty jute twine between the posts in a diamond pattern. I personally prefer the twine method because it’s way faster and much easier to adjust as your plants grow and shift.
- 5. If you went with the wooden slat method, grab a hammer and some galvanized nails (they won’t rust in the rain) to secure your horizontal pieces to the vertical stakes. Make sure you leave enough space between the slats—about 6 to 8 inches—so your plants have plenty of room to find their grip without getting tangled in a giant, messy knot.
- 6. Finally, give your new trellis a little “stress test.” Grab the top of the frame and give it a firm shake. If it wobbles like crazy, you might need to pack some more soil around the base of your posts or add a third stake for extra support. Once it feels solid and secure, you’re officially ready to start tucking your seedlings in.
Practical Wooden Trellis Design Ideas for Real Gardens
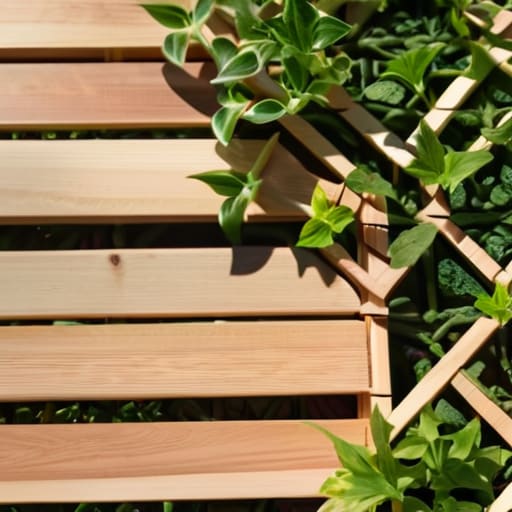
When you’re looking at different wooden trellis design ideas, it’s easy to get distracted by those elaborate, arched willow structures you see in high-end landscaping magazines. But let’s be real: unless you have a professional landscaper on speed dial, those are a nightmare to maintain. For most of us, I find that simple, geometric patterns—like a basic square grid or even just a series of vertical slats—work much better. These provide reliable climbing plant support structures without requiring a degree in carpentry. Plus, if a piece of wood rots or a slat breaks, you aren’t rebuilding an entire monument; you’re just swapping out one small piece.
If you’re working with a smaller space, like my little balcony or a narrow side yard, lean into vertical gardening solutions. Instead of a massive freestanding unit, try attaching a slim wooden lattice directly to a fence or a wall. It saves precious ground space and keeps your heavy vines from leaning into your walkway. Just remember that even the most “easy DIY garden structures” need to be anchored well; don’t let a heavy load of ivy knock your hard work over during the first summer storm.
A No Fluff Garden Trellis Materials List
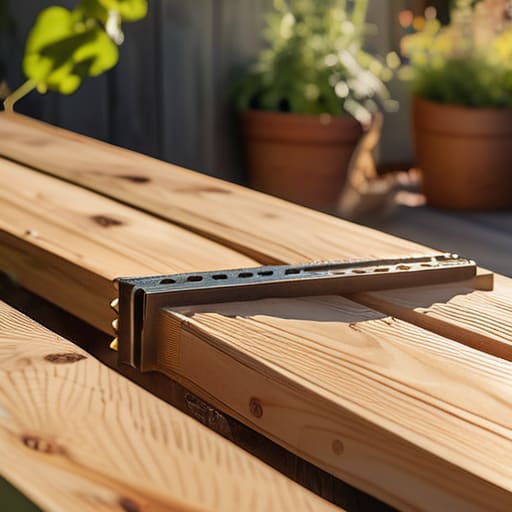
Before you head to the hardware store, let’s get real about what you actually need. I’ve learned the hard way that buying “pre-made” kits often means paying a premium for thin, flimsy wood that snaps the first time a heavy vine hits it. For a reliable garden trellis materials list, I always stick to the basics: cedar or pressure-treated lumber is your best friend here because they actually stand up to the rain and soil without rotting in a single season. If you’re on a tight budget, don’t sleep on leftover scraps from a neighbor’s deck project—just make sure they’re sturdy enough to handle the weight.
When it comes to the hardware, skip the decorative screws and grab some galvanized or stainless steel fasteners. There is nothing more frustrating than seeing rust streaks running down your beautiful plants because you used cheap nails. For those looking into vertical gardening solutions, I also recommend keeping a roll of heavy-duty twine or some thick garden wire on hand. You’ll want these for extra reinforcement as your plants begin to climb and settle into their new home.
Five Things I Wish I Knew Before I Started Building
- Don’t skimp on the fasteners. I used to think any old screw would do, but if you want a trellis that doesn’t wobble the second a heavy vine hits it, you need galvanized or stainless steel screws that can handle the moisture without rusting out in a month.
- Test your weight capacity first. If you’re planning on growing something heavy like squash or cucumbers, a flimsy little twig structure won’t cut it; you need thick, sturdy uprights that can handle the literal weight of your harvest.
- Give your plants some breathing room. It’s tempting to pack everything in tight, but if you don’t leave enough space between the slats or wires, you’ll end up with a tangled, moldy mess that’s impossible to prune.
- Think about your future self when choosing the height. There is nothing more frustrating than building a beautiful trellis only to realize in mid-July that your climbing peas have already outgrown the top of it.
- Skip the expensive decorative finishes. Honestly, a trellis is a tool, not a centerpiece; if you use untreated wood, it’ll weather naturally over time, and you’ll save a chunk of change that you can spend on better soil or more seeds.
The Bottom Line: Making It Work for You
Don’t get hung up on the “perfect” look; if the structure is sturdy and holds your plants upright, you’ve already won the battle.
Always prioritize durability over aesthetics by choosing materials that can actually handle the weight of your heavy climbers and the reality of the weather.
Start small and use what you have on hand—you can always upgrade your setup later, but getting your plants supported now is what matters most.
## The Real Goal of Gardening
“At the end of the day, your climbing vines don’t care if your trellis is made of reclaimed cedar or some leftover scrap wood from your garage—they just need something solid to hold onto while they grow.”
Maya Sterling
Final Thoughts Before You Get Your Hands Dirty
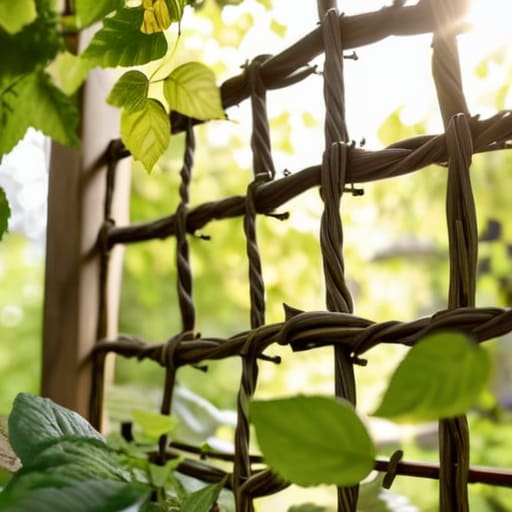
At the end of the day, building a trellis doesn’t require a degree in architecture or a massive budget. We’ve covered the essentials—from picking out the right scrap wood to choosing a design that actually fits your space—and the goal was always the same: function over fashion. Whether you went with a simple twine setup or a more robust wooden frame, the most important thing is that it’s sturdy enough to handle the weight of those heavy vines once they start climbing. You don’t need a professional-grade structure; you just need something that actually holds up when the summer heat hits and your plants start growing like crazy.
Don’t let the fear of a crooked line or a slightly uneven post stop you from starting. Your garden isn’t a showroom, and it certainly doesn’t need to look like a magazine spread to be successful. There is something incredibly satisfying about looking out at your backyard and knowing that you built that support yourself with your own two hands. So, grab your multi-tool, head out to the garden, and just start building. Your plants will thank you, and honestly, so will you.
Frequently Asked Questions
Will my trellis actually hold up if I decide to plant something heavy like pole beans or cucumbers?
Honestly, this is where most people trip up. If you’re planning on heavy hitters like pole beans or cucumbers, you can’t just lean a few sticks against a fence and hope for the best. You need to prioritize stability over style. Make sure your main vertical supports are driven deep into the ground or securely anchored to something solid. If it feels a little wobbly now, it’ll definitely collapse once those vines start getting heavy and hungry.
Do I really need to treat the wood, or can I just use whatever scrap I find in the garage?
Honestly, you can use whatever scrap you find, but there’s a catch. If it’s untreated pine or something that rots easily, you’ll be rebuilding your trellis every single season, which is a massive waste of time. I’m all about saving money, but I’m also about not doing the same job twice. If you use scrap, just give it a quick coat of sealant or use cedar if you can find it. It’s worth the extra five minutes.
How do I keep the whole thing from leaning or tipping over once the plants start getting heavy?
This is exactly where most people run into trouble once those heavy tomato vines or cucumbers start taking over. To keep things from leaning, don’t just rely on the trellis itself; you need to anchor it. I always recommend driving a sturdy rebar stake or a thick wooden garden stake into the ground right next to the base, then lashing the trellis to it with some heavy-duty twine. It’s not the prettiest fix, but it works.