
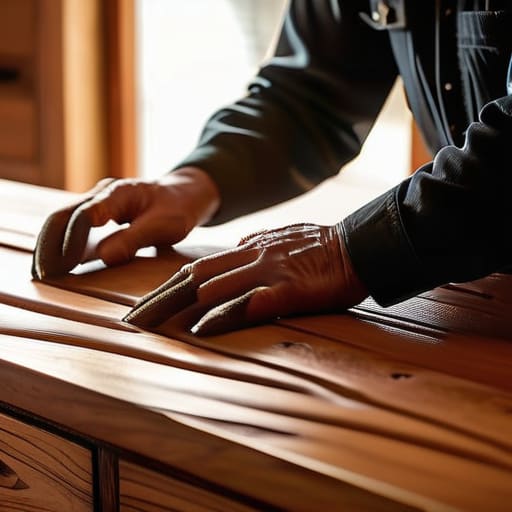
I was staring at a thrift store coffee table last Tuesday, covered in that hideous, thick orange-tinted varnish, thinking about how much I wanted to throw it out. My first instinct was to scroll through Pinterest and weep at the sight of someone sanding a mid-century modern credenza in a sun-drenched, spotless studio. But let’s be real: most of those tutorials are totally unrealistic for anyone living in a small apartment or working a full-time job. You don’t need a professional workshop or a pristine white aesthetic to learn how to refinish furniture; you just need a little grit and a plan that doesn’t involve spending a fortune on specialized equipment you’ll never use again.
In this guide, I’m stripping away the performative perfection and giving you the actual, messy steps to breathe life into old wood. I’ll walk you through the essential tools, the sanding stages that actually matter, and how to pick a finish that survives real life. We aren’t aiming for a showroom masterpiece here; we are aiming for functional, beautiful pieces that fit your budget and your home. Let’s get into the practical side of how to refinish furniture without losing your mind (or your security deposit).
Table of Contents
- Step-by-Step Instructions
- Ditch the Fancy Kits for Essential Furniture Restoration Tools
- Smart Wood Stripping Techniques That Actually Work
- Five Little Things That’ll Save Your Sanity (and Your Furniture)
- The Bottom Line: Keeping It Simple and Functional
- My Philosophy on the Process
- The Final Polish (And Why It Matters)
- Frequently Asked Questions
Guide Overview
Tools & Supplies
- Sandpaper (various grits for stripping and smoothing)
- Screwdriver (for removing hardware)
- Paintbrush or foam roller (for applying finish)
- Tack cloth (for removing fine dust)
- Wood stripper or sandpaper (enough for surface area)
- Primer (1 quart for sealing)
- Paint or stain (1 quart for color)
- Clear topcoat (1 quart for protection)
Step-by-Step Instructions
- 1. First things first, you need to clear some space and get your supplies ready. I know, a mountain of sandpaper and brushes looks intimidating, but don’t overcomplicate it. Grab a screwdriver to remove any hardware—knobs, pulls, or hinges—because trying to paint around them is a recipe for frustration. Toss those pieces into a small Ziploc bag so they don’t go missing in the chaos of your living room.
- 2. Next, we have to deal with the old finish. If you’re working with something particularly stubborn, you might need a chemical stripper, but for most of my projects, I just go straight in with sandpaper. Start with a coarser grit to strip away the old, peeling varnish or deep scratches. You don’t need to get it down to the raw wood grain unless it’s absolutely necessary; you just want a smooth, even surface so the new layer actually adheres.
- 3. Once you’ve finished sanding, this is the part everyone skips, but please don’t. You have to wipe down the entire piece with a tack cloth or a slightly damp microfiber rag to get every single speck of dust off. If you leave that grit behind, your final finish will feel like sandpaper under your fingertips, and nobody wants that.
- 4. Now it’s time for the primer. I used to think this was an extra, unnecessary step, but I was wrong. A good primer acts as the glue between the old wood and your new color. Apply a thin, even coat and let it dry completely. If you’re working with a dark wood and want to go light, this is your secret weapon for preventing those annoying dark blotches from bleeding through.
- 5. Time for the fun part: the actual paint or stain. I usually recommend using a high-quality cabinet paint if you’re doing a color change, as it dries harder and handles daily wear and tear better than standard wall paint. Use a small foam roller for large flat areas to avoid brush marks, and keep your strokes light. It’s much better to do three thin coats than one thick, gloopy one that takes forever to dry.
- 6. While you’re waiting for the paint to dry, take a moment to clean those hardware pieces you set aside earlier. Sometimes a quick scrub with some soapy water makes them look brand new again. It’s a small win that makes the whole project feel way more professional without any extra cost.
- 7. Finally, once the paint is bone-dry (and I mean really dry, so give it a full day), screw your hardware back on. If you’re using a stain, this is when you’d apply a clear topcoat like polyurethane to protect the wood from spills and scratches. Don’t worry if it doesn’t look like a magazine cover immediately; just give it a few days to cure, and you’ll be amazed at the difference a little bit of elbow grease makes.
Ditch the Fancy Kits for Essential Furniture Restoration Tools
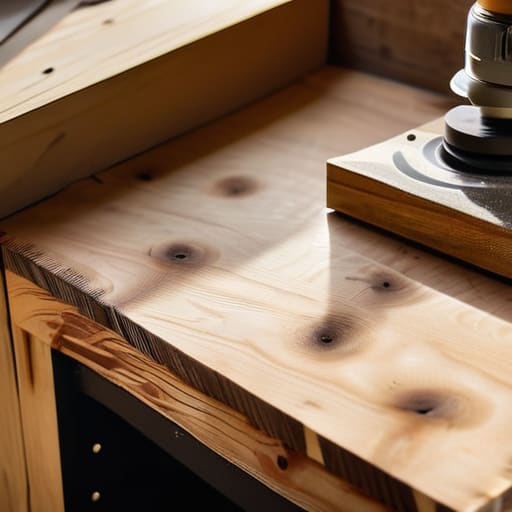
Look, I’ve walked into those big-box hardware stores and felt completely paralyzed by the “professional” aisles. They want you to believe you need a $300 specialized kit just to breathe life back into a thrifted nightstand. You really don’t. Most of the time, you can skip the overpriced bundles and just focus on a few high-quality furniture restoration tools that actually do the heavy lifting. I always tell my friends: invest in a decent orbital sander and a solid set of sandpaper rather than a “complete starter set” that includes half things you’ll never touch.
When you’re actually in the thick of it, your biggest hurdle isn’t the fancy equipment; it’s knowing how to handle the prep. If you’re dealing with something heavily layered, don’t stress about finding the perfect chemical—just focus on effective wood stripping techniques that won’t leave your hands feeling like they’ve been in acid. Once you’ve cleared the surface, keep a simple furniture sanding grits guide bookmarked on your phone. You don’t need a workshop full of gear, just the right progression of grit to make sure your finish lays down smooth.
Smart Wood Stripping Techniques That Actually Work
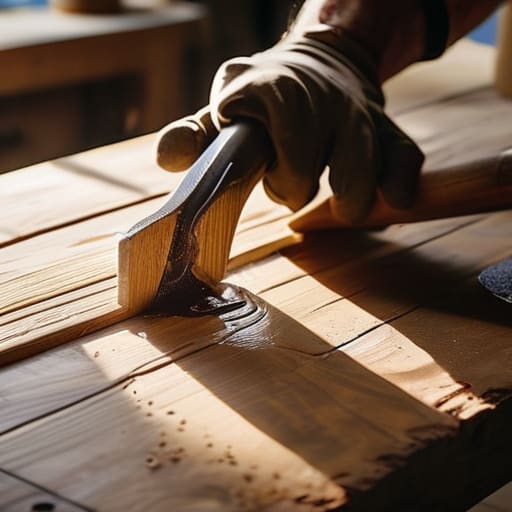
Look, I know the thought of chemical strippers sounds intimidating, but honestly, it’s often much easier than spending three days straight sanding. If you’re dealing with a piece that has layers of thick, old paint or heavy lacquer, trying to sand it all off is a recipe for a sore back and a dusty apartment. Instead, I like to use a gel stripper; it sits on the surface and does the heavy lifting for you. When you’re removing old varnish, just let it sit for the time recommended on the can—don’t rush it. If you try to scrape it too early, you’ll just end up with a gummy mess that’s even harder to clean up.
Once the finish is soft, use a plastic scraper to lift the sludge. I always keep a small brass brush handy for those tricky, carved details where a flat scraper can’t reach. Just a heads up: don’t skip the cleaning step afterward. You’ll need to wipe the wood down with mineral spirits to get rid of any residue, otherwise, your new stain won’t take properly. It’s a bit of a process, but it saves you so much frustration in the long run.
Five Little Things That’ll Save Your Sanity (and Your Furniture)
- Don’t go overboard with the sandpaper. I know it’s tempting to sand everything until it’s baby-smooth, but if you go too aggressive, you’ll end up gouging the wood and spending twice as much time trying to fix the damage you just caused.
- Test your stain on a hidden spot first. Seriously. I once thought I was picking a “warm oak” only to find out it looked like dark chocolate on my specific piece of wood. Check the underside of a table leg or the back of a chair before you commit.
- Keep a “junk drawer” of rags nearby. You’re going to spill more stain and stripper than you think, and trying to hunt for a clean rag while your hands are covered in chemicals is a one-way ticket to a massive headache.
- Accept that it won’t be perfect. If you find a tiny knot or a slight swirl in the grain, just leave it. That’s the character of the piece. If you try to chase absolute perfection, you’ll end up frustrated and halfway through a project you’ll never finish.
- Work in a well-ventilated space, even if it’s just cracking a window. I’ve learned the hard way that “just a little bit of stripper” can turn your apartment into a chemical cloud real quick, and nobody wants to deal with that lightheadedness.
The Bottom Line: Keeping It Simple and Functional
Don’t get caught up in the “perfect” finish; focus on a smooth, clean surface so your new stain or paint actually lasts and doesn’t peel in six months.
Save your money by skipping the expensive, specialized kits and just invest in a few solid, multi-purpose tools that you can actually use for other projects around the apartment.
Patience is your best tool—rushing the stripping or sanding process is the fastest way to ruin a piece of furniture and end up wasting both time and cash.
My Philosophy on the Process
“Don’t get hung up on making it look like something straight out of a high-end showroom; the goal isn’t perfection, it’s just giving a piece of furniture a second life that actually fits your real, messy, beautiful home.”
Maya Sterling
The Final Polish (And Why It Matters)
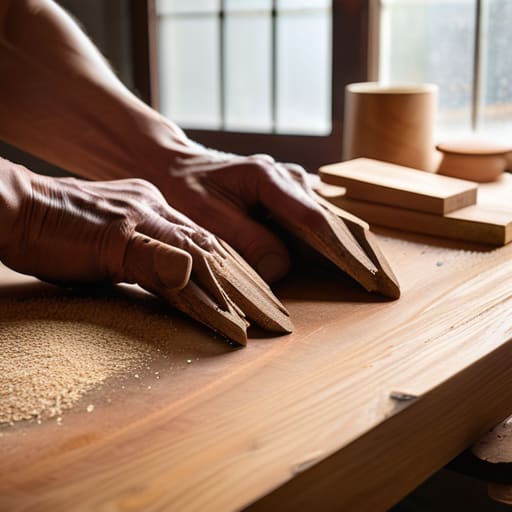
At the end of the day, refinishing furniture isn’t about achieving some flawless, magazine-ready masterpiece on your first try. It’s about the process of stripping away the old, tired layers and replacing them with something that actually serves your life. We’ve covered everything from choosing the right basic tools to using smart stripping methods that won’t leave you scrubbing for hours. Just remember: if you hit a snag or the grain looks a little wonky, it’s not a failure. It’s just a part of the learning curve. As long as you’ve prepped the surface well and didn’t overcomplicate the tool kit, you’ve already done the hard part. You’ve successfully turned a piece of “junk” into something functional and uniquely yours.
I know how intimidating it feels to stare at a piece of old wood and wonder if you’re about to ruin it, but I promise you, the payoff is so worth the mess. There is a specific kind of quiet satisfaction that comes from sitting in a chair you saved from a landfill, knowing you did the work yourself. Don’t let the fear of a little dust or a messy workspace stop you from trying. Life is too short to live around furniture that doesn’t inspire you, so just grab that sandpaper and get started. You’ve totally got this.
Frequently Asked Questions
Is it worth it to refinish an old piece if it's made of particle board or veneer, or am I just wasting my time?
Honestly? If it’s pure particle board, I’d skip it. You can’t really “refinish” something that’s basically compressed sawdust, and heavy sanding will just turn it into a pile of dust. However, if it’s a thin veneer, you can definitely save it—just be incredibly gentle with the sandpaper so you don’t sand right through to the ugly stuff. If it’s high-quality veneer, go for it; if it’s cheap IKEA-style board, your time is better spent elsewhere.
How do I know if I should go with a matte finish or something shiny without it looking like a cheap DIY project?
Honestly, this is where most people trip up and end up with that “plastic-y” look. If you want to avoid the cheap DIY vibe, lean toward matte or satin. High-gloss is incredibly unforgiving; it highlights every single sanding scratch or imperfection you missed. A satin finish gives you a soft, intentional glow that feels high-end and lived-in, rather than looking like you just slapped a layer of cheap varnish over a mistake.
What’s the best way to deal with that weird, lingering smell of wood stripper that seems to hang around my apartment for days?
Ugh, I know that smell—it’s heavy, chemical, and feels like it’s stuck in your hair. Honestly, the best thing you can do is stop trying to “clean” it and just focus on airflow. Open every window you have, even if it’s chilly, and set up a box fan facing outward to pull the air through. If you have an air purifier with a HEPA filter, now is its time to shine.
