
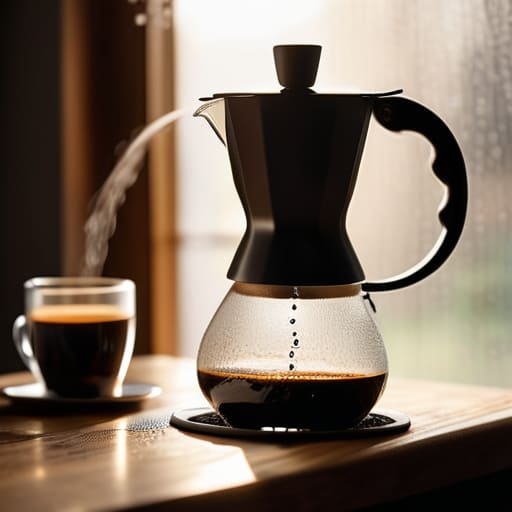
I am so over the “aesthetic” coffee culture that makes you feel like you need a $500 espresso machine and a chemistry degree just to get through a Tuesday morning. Honestly, if I see one more influencer spending twenty minutes meticulously weighing beans to the milligram just for a social media reel, I might lose it. We don’t need more expensive gadgets or performative rituals; we just need a caffeine fix that doesn’t taste like battery acid. If you’ve been feeling intimidated by all the gear-heavy tutorials online, let me simplify things: learning how to make coffee at home shouldn’t feel like a second job.
I’m not here to sell you on a lifestyle or a specific brand of artisanal beans that cost more than my grocery bill. Instead, I’m going to share the actually functional methods I’ve tested in my own tiny kitchen—the ones that save you money and won’t leave you scrubbing complicated parts for half an hour. We’re going to focus on the low-maintenance, high-reward setups that deliver a great cup without the headache. This is about real-world brewing that fits into a busy schedule, not a curated Pinterest board.
Table of Contents
- Essential Coffee Brewing Equipment for Beginners That Actually Works
- Why Freshly Ground Coffee Beans Are Your Only Real Priority
- 5 Small Tweaks That’ll Make Your Morning Cup Way Better
- The Bottom Line: Keep It Simple and Tasteful
- ## My Golden Rule for Morning Caffeine
- Stop Overthinking Your Morning Brew
- Frequently Asked Questions
Essential Coffee Brewing Equipment for Beginners That Actually Works
Look, you don’t need a $500 espresso machine sitting on your counter to feel like a professional, and honestly, most of those gadgets just end up collecting dust. When I first started trying to save money, I realized that the most important piece of coffee brewing equipment for beginners isn’t actually a machine at all—it’s a decent grinder. If you want to see a massive jump in quality, skip the pre-ground stuff and invest in a simple burr grinder. Using freshly ground coffee beans right before you brew is the single easiest way to stop that bitter, stale taste from ruining your morning.
Once you’ve got your beans sorted, I recommend starting with one of two paths: a French press or a simple pour-over. If you like your coffee heavy and bold, a French press is your best friend; it’s basically foolproof and incredibly easy to clean. If you prefer something cleaner and more nuanced, a basic pour-over setup is the way to go. Just remember, regardless of the method, don’t use boiling water straight off the stove. Letting it sit for a minute helps you hit that sweet spot for extraction without scorching the grounds.
Why Freshly Ground Coffee Beans Are Your Only Real Priority
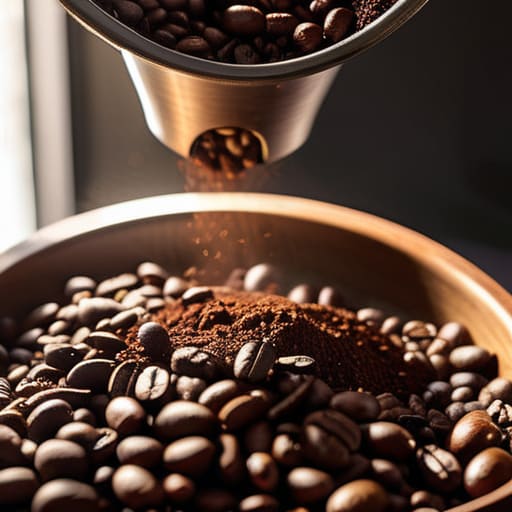
Look, I’ve been there—buying those pre-ground tins because they’re convenient and they sit in the pantry for months without any fuss. But if you’re wondering why your morning cup tastes more like burnt cardboard than a cafe treat, this is usually the culprit. Once I started investing in a decent burr grinder, it was a total game-changer. Using freshly ground coffee beans is the single most impactful way to stop settling for mediocre caffeine and actually start enjoying your ritual.
The science is pretty simple: as soon as those beans are cracked open, they start losing their aromatic oils to the air. When you buy pre-ground, you’re essentially drinking “stale” coffee that’s been sitting in a bag since last month. If you want to focus on improving coffee flavor profile without spending a fortune on high-end gadgets, just prioritize the freshness of the bean. It’s the one area where you shouldn’t cut corners; everything else—the temperature, the technique, the gear—matters much less if your base ingredient has already given up the ghost.
5 Small Tweaks That’ll Make Your Morning Cup Way Better
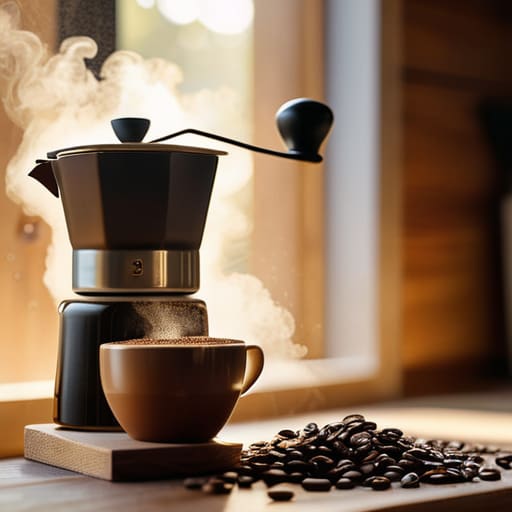
- Stop using boiling water straight off the kettle; it scorches the grounds and makes everything taste bitter. Let it sit for about a minute after it whistles so you’re hitting that sweet spot around 200°F instead.
- Get yourself a decent digital scale. I know, it feels a little extra, but measuring by “scoops” is a total guessing game. If you use the same ratio of water to coffee every time, you won’t be stuck wondering why Tuesday’s brew tasted like battery acid compared to Monday’s.
- Keep your beans in a dark, airtight container—not the bag they came in if it has that little plastic valve. Light and air are the enemies of flavor, and I’ve learned the hard way that leaving them on the counter is just asking for stale coffee.
- Clean your gear more often than you think you need to. Those oily residues from last week’s brew build up and turn rancid, which is a quick way to ruin even the most expensive beans you just bought.
- Don’t get hung up on the “perfect” technique. If a French press works for your chaotic morning routine, use it. The goal is a reliable cup that gets you moving, not a complicated ritual that feels like a second job.
The Bottom Line: Keep It Simple and Tasteful
Don’t let the gear-head obsession scare you off; you don’t need a $500 espresso machine to have a decent morning, just a reliable brewer and decent beans.
If you only spend money on one thing, make it high-quality, freshly roasted beans—everything else is secondary to the actual flavor.
Prioritize function over aesthetics; a slightly clunky manual grinder is worth it if it actually makes your coffee taste better than the pre-ground stuff.
## My Golden Rule for Morning Caffeine
“Look, you don’t need a $500 espresso machine or a degree in chemistry to enjoy a good cup; you just need decent beans and a method that doesn’t make you feel like you’re performing a science experiment before you’ve even had your first sip.”
Maya Sterling
Stop Overthinking Your Morning Brew
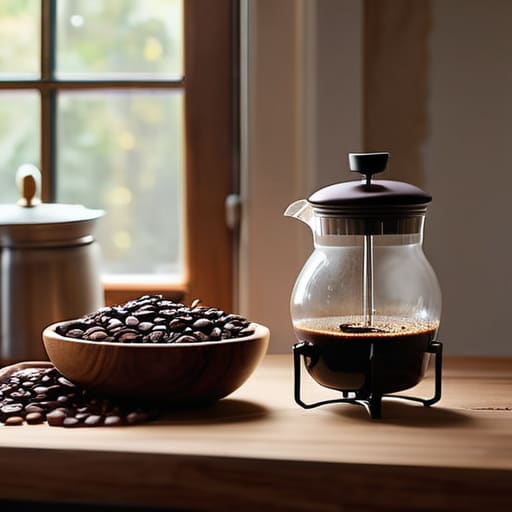
At the end of the day, you don’t need a laboratory-grade setup or a collection of expensive gadgets to enjoy a decent cup of coffee. We’ve covered the essentials: get yourself a reliable piece of gear—whether it’s a simple French press or a basic drip machine—and, most importantly, stop buying pre-ground bags. If you invest in decent beans and a way to grind them, you’ve already done 90% of the work. It’s about building a functional routine that serves your morning, rather than turning your kitchen into a high-stress cafe competition every single day.
I know how easy it is to get caught up in the “perfect” aesthetic you see on social media, with those perfectly staged pour-overs and minimalist glass carafes. But please, let go of that pressure. Your coffee doesn’t have to look like a magazine spread to taste good, and it certainly doesn’t have to be complicated to be rewarding. Just find a method that works for your schedule and your budget. Once you nail down a system that actually sticks, you’ll realize that the best part isn’t the fancy equipment—it’s that quiet, reliable moment of caffeine-fueled peace before the chaos of the day begins.
Frequently Asked Questions
Is it really worth spending the extra cash on a burr grinder, or can I just get by with a cheap blade one?
Look, I get it. A blade grinder is cheap and fits in a drawer, but it’s basically just a tiny blender that hacks your beans into uneven chunks. You end up with some dust and some boulders, which makes your coffee taste both bitter and sour at the same time. If you can swing it, get a burr grinder. It’s a one-time investment that actually makes the coffee taste consistent, rather than a guessing game.
How do I know if my water is actually making my coffee taste bad?
Honestly, if your coffee tastes weirdly flat, metallic, or just straight-up bitter despite having great beans, your tap water is likely the culprit. Most city water is treated with chemicals that kill the subtle notes in your brew. A quick test? Try brewing a cup with bottled spring water. If that tastes significantly smoother, your tap water is sabotaging you. It’s a small tweak, but it’s a total game-changer for your morning routine.
What’s the easiest way to clean all this gear without it becoming a massive chore every morning?
Look, I get it. The last thing I want to do at 7:00 AM is scrub a carafe. My rule is simple: clean as you go. While your coffee is actually brewing, rinse your scoop and wipe down the counter. For the gear itself, a quick rinse with hot water immediately after use prevents those stubborn oils from hardening. If you let it sit overnight, you’re looking at a real chore. Keep it moving, and it stays easy.
