
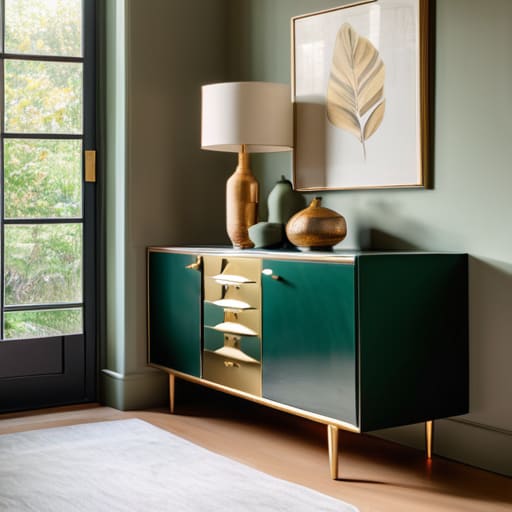
I was staring at my thrifted nightstand last Tuesday—a chipped, heavy piece of particle board that looked more like a relic from a dorm room than something I’d actually want in my apartment—and I felt that familiar wave of decision fatigue. We’ve all been there: you see something with good bones, but it’s so ugly it makes you want to walk the other way. Most people think you need a massive budget or a professional workshop to breathe new life into your space, but honestly, that’s just not true. I’ve spent way too much time learning that the best upcycling furniture ideas aren’t about achieving some untouchable, magazine-ready look; they’re about making your stuff work for your actual, messy life.
In this post, I’m skipping the complicated woodworking tutorials that require a degree in engineering and focusing on what actually works. I’ve narrowed it down to five specific, low-stress projects that you can tackle this weekend without losing your sanity or your entire paycheck. I’m going to walk you through exactly how to transform five common household items into functional pieces that fit your vibe, proving that you don’t need perfection to have a home you actually love.
Table of Contents
- Swap the Hardware for an Instant Upgrade
- The Power of a Good Sand and Stain
- Add Function with Contact Paper
- Give Old Chairs New Life with Fabric
- Use Paint to Mask Imperfections
- The Bottom Line: Keep It Simple and Functional
- My Philosophy on Giving Old Pieces New Life
- Final Thoughts Before You Grab the Sandpaper
- Frequently Asked Questions
Swap the Hardware for an Instant Upgrade
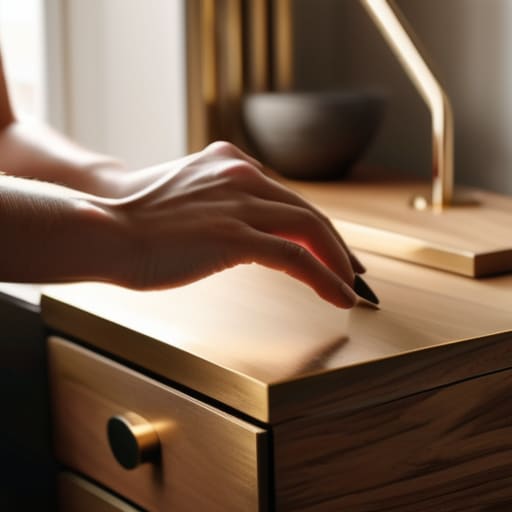
We’ve all been there: you find a solid wood nightstand at a thrift store, but the brass handles look like something straight out of a 1980s hotel. Instead of getting overwhelmed by the thought of sanding and repainting the whole thing, just swap the hardware. It is honestly the lowest effort, highest reward move in my entire DIY toolkit. I usually keep a stash of matte black or brushed gold pulls in my junk drawer just for this exact reason.
The Power of a Good Sand and Stain
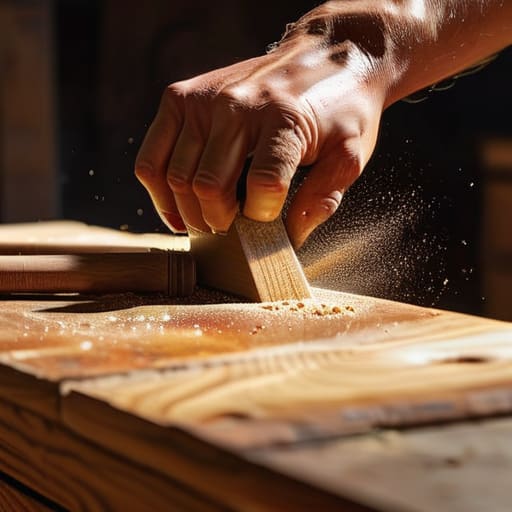
I used to think that if a piece of furniture had a weird color, it was basically trash, but that’s just not true. Most of the “ugly” stuff people donate is just covered in a thick, cheap layer of dark varnish that has aged poorly. If you have the patience to spend a Saturday morning sanding down the old finish, you can reveal the beautiful, natural wood grain hiding underneath. It’s a bit dusty and a little messy, but the results are so much more authentic than any factory-painted finish.
Add Function with Contact Paper
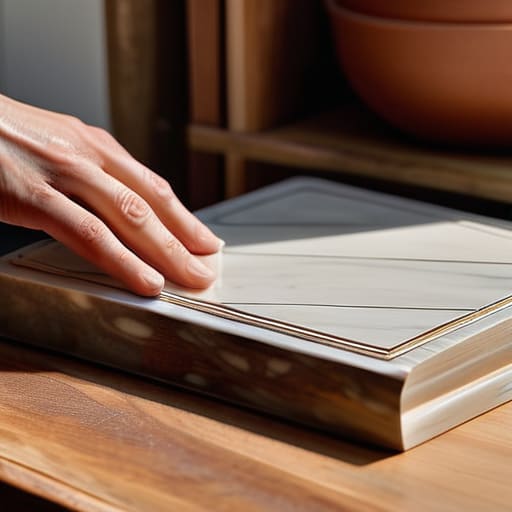
Let’s talk about the “ugly interior” problem. You know that bookshelf where the outside looks fine, but the back panel or the inside of the shelves is scratched up and depressing? Don’t toss it. I’ve found that using removable contact paper is a total game-changer for brightening up dark corners. I love using a subtle marble pattern or a textured linen look to line the back of a bookshelf or the inside of a drawer.
Give Old Chairs New Life with Fabric
Most people ignore dining chairs because they think reupholstering is some high-level skill reserved for professionals. Honestly? It’s mostly just about managing tension and staples. If you have a chair with a removable seat cushion, you are halfway there. I started by replacing the fabric on a single kitchen chair that was looking a bit sad, and now I realize how much of a difference it makes for the whole room’s energy.
Use Paint to Mask Imperfections
Sometimes, a piece of furniture is just too far gone for a simple hardware swap or a light sanding. If there are deep scratches, water rings, or weird dents that you just can’t ignore, it’s time to embrace the paint method. A solid coat of high-quality chalk paint or a specialized furniture paint can act like a magic eraser for all those surface-level flaws. It covers the “ugly” and gives you a clean slate to work with.
The Bottom Line: Keep It Simple and Functional
Don’t get caught up in the “Pinterest Trap”—if a project feels like it’s going to cost more in stress and supplies than the piece is actually worth, just walk away.
Focus on utility over aesthetics; a piece of furniture is only “upcycled” if it actually serves a purpose in your daily routine, not just because it looks cute in a photo.
Start small with the tools you already have, and remember that a little bit of sandpaper and some new hardware can do wonders without requiring a total overhaul.
My Philosophy on Giving Old Pieces New Life
“We don’t need more ‘perfect’ decor filling up our space; we just need pieces that actually work for us. Upcycling isn’t about chasing a specific Pinterest trend—it’s about taking something sturdy that’s already in your house and making it useful again so you can stop spending money you don’t have on stuff you don’t need.”
Maya Sterling
Final Thoughts Before You Grab the Sandpaper
At the end of the day, whether you’re just swapping out some dated hardware, giving a tired chair a fresh coat of paint, or finally tackling that bigger sanding project, the goal is the same: making your space work for you. We’ve looked at how small tweaks can change the entire vibe of a room and how a little bit of elbow grease can save you a ridiculous amount of money compared to buying something brand new from a big-box retailer. You don’t need a professional workshop or a massive budget to make these changes; you just need to stop overthinking it and start using what you already have.
I know it can feel intimidating to take a tool to something you actually care about, but I promise that the “perfect” result is overrated. If the paint drips a little or the alignment isn’t 100% factory-standard, it doesn’t mean you failed—it just means you actually lived in your home. My biggest piece of advice is to embrace the process and enjoy the fact that you’re creating something unique. Your home should be a collection of things that tell your story, not a showroom of mass-produced pieces that lack any soul. Now, go grab that multi-tool and get to work!
Frequently Asked Questions
I've tried painting a wooden chair before and it ended up peeling within a month—how do I actually make sure the finish sticks?
Ugh, I have been there. There is nothing more frustrating than spending a whole Saturday on a project only to have it flake off by next month. The secret isn’t the paint; it’s the prep. You can’t just slap color on bare wood. You have to sand it down to break the surface tension, wipe it clean of every speck of dust, and—this is the non-negotiable part—use a primer. It’s the glue that holds everything together.
Is it actually worth spending money on new hardware and handles, or should I just focus on the paint job to keep costs down?
Honestly, it depends on your budget, but if you can swing it, go for the hardware. I’ve learned that a fresh coat of paint does the heavy lifting, but new handles are like jewelry for your furniture—they make the whole thing look intentional rather than just “repainted.” If you’re tight on cash, stick to the paint, but if you want that “I actually bought this” feel, those little knobs make a massive difference.
How do I know if a piece of furniture is "good bones" worth saving, or if it's just a piece of junk that's going to be a headache to fix?
Honestly, I used to fall for the “it just needs a little love” trap, only to realize I’d bought a literal pile of sawdust. Here’s my rule of thumb: check the weight and the joints. If it’s heavy and the drawers slide without a screech, it’s likely solid wood. But if you see particle board or the joints wobble like a loose tooth, run. Save your time for pieces with real, sturdy bones.
