
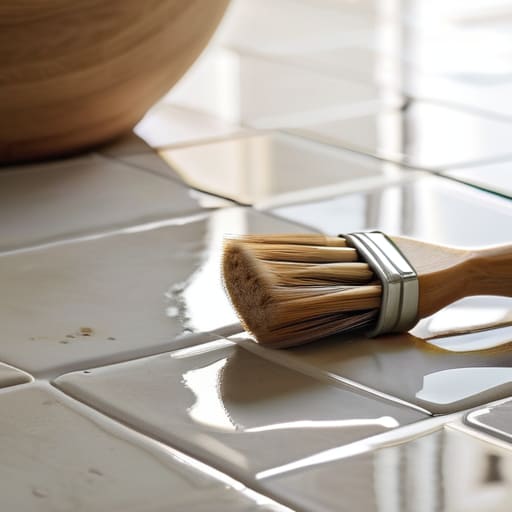
I was halfway through a Sunday morning deep-clean, hunched over on my hands and knees with a toothbrush and a sense of profound regret, when I realized I was doing it all wrong. I had spent forty dollars on a “specialized” foaming cleanser that promised miracle results, but all it really did was make my bathroom floor a slippery, expensive mess. If you’ve been staring at those dark, dingy lines in your kitchen or shower thinking you need a professional power washer or a chemistry degree to fix them, I have a secret for you: you don’t. Learning how to clean grout doesn’t require a cabinet full of aesthetic, color-coded spray bottles; it just takes a few pantry staples and a bit of elbow grease.
In this guide, I’m stripping away the performative cleaning trends and giving you the actual methods that work for my small apartment and my budget. I’ll walk you through the gritty, unglamorous steps to lift years of grime without damaging your tiles or wasting your entire weekend. We’re going to focus on tested, low-cost solutions that prioritize results over how pretty the cleaning supplies look on your shelf. Let’s get into it.
Table of Contents
- Step-by-Step Instructions
- Ditch the Chemicals for Natural Grout Cleaning Solutions That Actually Work
- The Best Grout Cleaning Tools for Real Results Not Just Pretty Pictures
- Five Little Hacks to Keep the Grime at Bay
- The Bottom Line: Keeping It Simple
- The Real Goal of a Clean Kitchen
- The Real Bottom Line
- Frequently Asked Questions
Guide Overview
Tools & Supplies
- Grout brush or old toothbrush for scrubbing small areas
- Scrub brush with stiff bristles for larger surfaces
- Microfiber cloth or sponge for wiping away residue
- Baking soda (1 cup)
- Warm water (as needed for paste)
- White vinegar (1/2 cup)
- Mild dish soap (a few drops)
Step-by-Step Instructions
- 1. First things first, clear the deck. I know it’s tempting to just dive in, but you’ll end up splashing dirty water all over your rugs or baseboards. Move your bath mats, clear the floor of any clutter, and if you’re working in the kitchen, move the appliances that are easy to slide. You want a clear workspace so you aren’t fighting your environment while you’re trying to scrub.
- 2. Grab your supplies—and no, you don’t need a professional-grade chemical kit. I keep a small stash of baking soda, white vinegar, and a decent dish soap in my pantry. Mix about a half-cup of baking soda with a little bit of water until it forms a thick paste that looks almost like toothpaste. If the grime is particularly stubborn, we’ll bring in the vinegar in the next step, but for now, let’s start with this gentle base.
- 3. Apply that paste generously to the grout lines. Don’t just skim the surface; you want to actually work the mixture into the crevices where the dirt likes to hide. I usually use an old toothbrush or a dedicated grout brush from a hardware store. If you’re using an old toothbrush, just make sure it’s one you’re actually ready to toss in the bin afterward because it’s going to get gross.
- 4. Let it sit. This is the part where most people fail because they want instant gratification, but patience is your best friend here. Give the paste at least 10 to 15 minutes to break down the oils and dirt. While you’re waiting, you can go grab a coffee or tend to your herbs—just don’t let it dry into a rock-hard crust, or you’ll be scrubbing for an hour.
- 5. Now, if you see some spots that are still looking pretty defiant, grab a spray bottle with straight white vinegar and spritz it right onto the baking soda paste. It’s going to fizz and bubble like a middle school science project, but that chemical reaction is exactly what you want to loosen the deep-seated grit.
- 6. It’s time for the actual elbow grease. Scrub the lines again, moving in small, circular motions. You don’t need to go overboard and exhaust yourself, but you do need to be thorough and consistent. Focus on those high-traffic areas where the discoloration is most obvious.
- 7. Finally, wipe everything away. I prefer using a microfiber cloth dampened with warm water rather than a mop, because it gives me more control over the rinsing process. Once the grout looks clean, go over it one last time with a completely dry towel to prevent any moisture from seeping into the lines, which can lead to more mold issues down the road.
Ditch the Chemicals for Natural Grout Cleaning Solutions That Actually Work
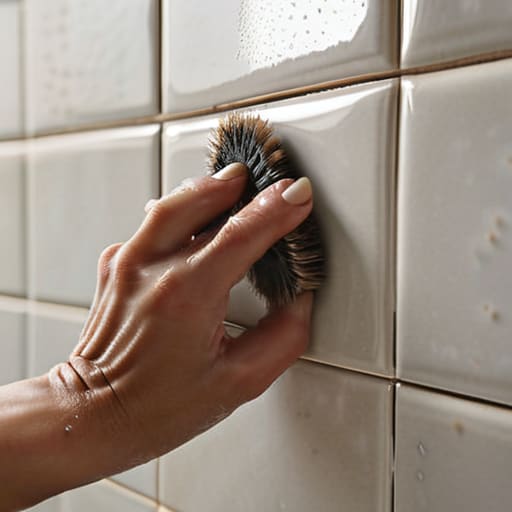
Look, I get it. Walking down the cleaning aisle can feel like a sensory assault of neon-colored bottles promising miracles. But honestly? Most of those heavy-duty sprays just leave behind a weird, waxy film that actually attracts more dirt later. I’ve learned the hard way that you don’t need a hazmat suit to tackle deep cleaning bathroom tile grout.
Instead, I swear by a simple mix of baking soda and vinegar for grout. It’s not glamorous, and yeah, it fizzes up like a middle school science project, but that reaction is what actually lifts the grime out of those tiny crevices. If you’re dealing with something a bit more stubborn, like soap scum or hard water buildup, try making a thick paste with baking soda and a little bit of hydrogen peroxide. It’s much gentler on your lungs and your wallet.
When it comes to removing grout stains from tile, the secret isn’t the strength of the chemical; it’s the patience of your scrubbing. Grab an old toothbrush or a stiff-bristled brush—don’t bother with those overpriced specialty kits—and let the natural solution sit for about ten minutes before you start working. It does the heavy lifting so your muscles don’t have to.
The Best Grout Cleaning Tools for Real Results Not Just Pretty Pictures
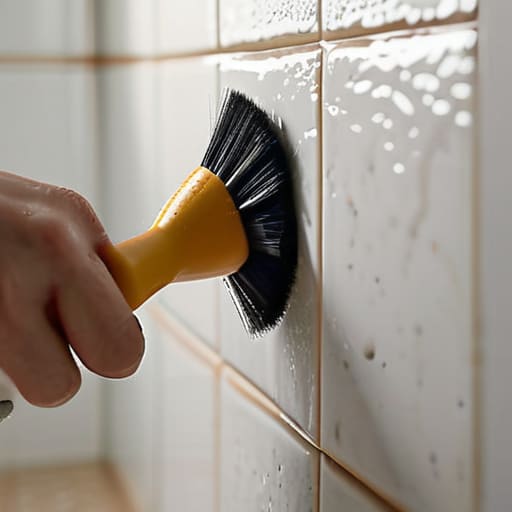
Look, I’ve seen those TikTok videos where people use these high-end, electric rotating brushes that look like they belong in a sci-fi movie. They look great in a reel, but honestly? Most of the time, they’re just expensive clutter in your utility closet. If you’re serious about deep cleaning bathroom tile grout, you don’t need a gadget graveyard. A stiff-bristled grout brush—or even a dedicated old toothbrush if you’re on a budget—is your best friend. The bristles need to be firm enough to actually agitate the grime without scratching your tile, but flexible enough to get into those tight corners where the real nastiness hides.
If you’re dealing with some particularly stubborn, dark lines, don’t be afraid to get a little more aggressive with a manual grout saw or a small scraper for the heavy lifting. Once you’ve finished removing grout stains from tile using your natural mixtures, the real work begins. You can’t just leave it raw and exposed; you’ll be back here doing this all over again in a month. My rule of thumb? Once everything is bone-dry, learn how to seal grout after cleaning to lock out moisture and prevent that nasty buildup from returning.
Five Little Hacks to Keep the Grime at Bay
- Don’t wait for the “disaster zone” stage; spend ten minutes once a month doing a quick wipe-down with a damp microfiber cloth to stop stains from actually setting in.
- If you have high-traffic areas like the entryway, consider a grout sealer—it’s a bit of a chore to apply, but it creates a barrier that makes your future cleaning sessions way less intense.
- When you’re scrubbing, focus on the direction of the grout lines rather than going in circles; it’s a small tweak, but it keeps the dirt from just getting pushed into the pores of the tile.
- Keep a dedicated old toothbrush in your cleaning caddy; it’s much better at getting into those tight corners than any expensive electric brush I’ve ever tried.
- If you’re dealing with a particularly stubborn stain, let your cleaning solution sit for at least ten minutes before you start scrubbing—letting the chemistry do the heavy lifting saves your wrists a lot of work.
The Bottom Line: Keeping It Simple
You don’t need a cabinet full of specialized, expensive chemicals to get the job done; baking soda and vinegar are your best friends for a reason.
Focus on the tools that actually do the heavy lifting—like a stiff brush—rather than chasing the “aesthetic” cleaning gadgets that look cute but don’t scrub.
Don’t aim for perfection; just aim for a clean, functional space that doesn’t make you feel overwhelmed every time you look at your floors.
The Real Goal of a Clean Kitchen
“Look, nobody actually wants a Pinterest-perfect kitchen; we just want a kitchen that doesn’t make us feel gross when we’re making coffee in the morning. Cleaning grout isn’t about achieving some flawless, sterile aesthetic—it’s about reclaiming your space from the grime so you can actually enjoy living in it.”
Maya Sterling
The Real Bottom Line
At the end of the day, cleaning your grout doesn’t have to be this massive, intimidating weekend project that leaves you exhausted and broke. Whether you decided to go the natural route with baking soda and vinegar or grabbed a dedicated scrub brush, the goal was simply to get things back to a state where they actually function well. You don’t need a cabinet full of overpriced, neon-colored chemicals to see a difference; you just need a little bit of elbow grease and the right approach. Remember, it’s not about making your kitchen look like a staged showroom for a magazine—it’s about maintaining a space that feels clean and manageable for your actual, busy life.
If you’re feeling a little discouraged because the grout still isn’t perfectly white or looks a bit uneven, please give yourself some grace. Perfection is a myth that usually just leads to burnout, and I promise your floors don’t need to be flawless to be great. Focus on the small wins and the fact that you actually took the time to tackle something that was weighing on your mind. Once you get into a simple, low-maintenance routine, you’ll realize that these little systems are what truly keep the chaos at bay. You’ve got this, and your home is going to feel so much lighter for it.
Frequently Asked Questions
How often do I actually need to deep clean my grout to keep it from getting gross again?
Honestly, if you’re waiting for the grout to look visibly gray or muddy before you step in, you’ve waited too long. I try to do a quick scrub every month to keep the grime from really setting in. But for a proper, deep clean? Aim for once every three to six months. It’s way easier to maintain a little bit of cleanliness regularly than to spend a whole Saturday fighting a massive, stubborn mess later.
My grout is stained a weird color even after scrubbing; is it possible to actually change the color back, or is it permanently ruined?
I know that feeling of staring at a stubborn stain and wondering if you’ve permanently ruined your floors. Honestly? It depends. If it’s just deep-seated grime, a heavy-duty paste of baking soda and peroxide might do the trick. But if the grout itself is actually discolored or worn down, scrubbing won’t fix it. In those cases, I usually skip the extra elbow grease and just go for a grout pen or a quick re-seal.
Is there a way to seal the grout after cleaning so I don't have to deal with this whole process every single month?
Honestly, yes—and it is a total game-changer. Sealing your grout is the best way to stop the cycle of constant scrubbing. Think of it like a protective raincoat for your floors; it keeps the dirt and spills from soaking into the porous surface. Grab a decent penetrating sealer from the hardware store, follow the instructions (don’t skip the drying time!), and you’ll find yourself cleaning way less often. It’s a little extra work upfront, but your future self will thank you.
