
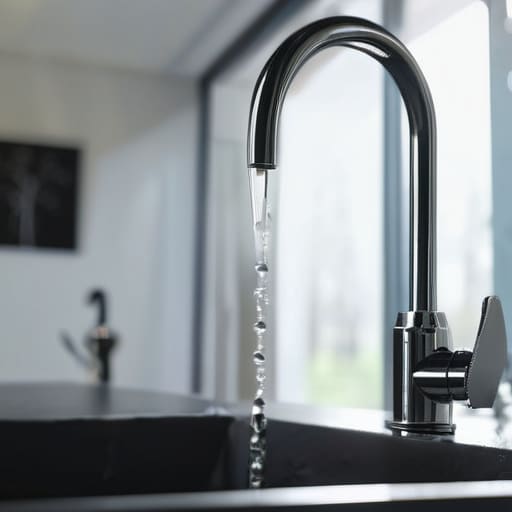
There is this pervasive myth that if you aren’t a professional plumber with a van full of specialized equipment, you’re doomed to listen to that rhythmic drip, drip, drip until you eventually cave and call someone expensive. I used to believe that, too. I remember sitting in my tiny apartment last spring, staring at my kitchen sink and feeling that familiar wave of “adulting” anxiety because I was certain I’d flood my floors if I even touched the handle. But here’s the truth: learning how to fix a leaky faucet isn’t about mastering complex engineering; it’s usually just about replacing a tiny, worn-out rubber washer.
I’m not here to give you a polished, cinematic DIY montage that makes it look effortless. Instead, I’m going to walk you through the actually useful steps—the messy, hands-on reality of getting under the sink without losing your mind. We’re going to skip the unnecessary jargon and focus on the basic tools you likely already have in your junk drawer. By the end of this, you’ll have a quiet sink, a lower water bill, and the genuine confidence that comes from solving a real problem yourself.
Table of Contents
Guide Overview
Tools & Supplies
- Adjustable wrench for loosening nuts
- Screwdriver (Phillips or flathead) for removing handles
- Allen wrench for small set screws
- Replacement washers or O-rings (as needed)
- Plumber's grease (small tube)
Step-by-Step Instructions
- 1. First things first, you need to shut off the water. I know, it sounds obvious, but if you skip this, you’re going to end up with a miniature indoor lake in your kitchen. Look under the sink for the shut-off valves and turn them clockwise until they stop. Once you’ve done that, open the faucet to let any remaining water drain out of the pipes. It’s a small step, but it saves a massive headache.
- 2. Now, clear out your workspace. Since I’m a bit of a minimalist, I like to keep my counters clear, but for this, you actually want a bit of room to spread out. Grab a towel and lay it over the drain. This isn’t just for the mess; it’s a lifesaver to prevent those tiny, frustrating screws from bouncing down the drain and disappearing forever.
- 3. Time to get the faucet apart. You’ll likely need to remove the decorative cap on the handle first—usually, there’s a tiny screw hidden underneath. Use your screwdriver to loosen it and lift the handle off. If it feels stuck, don’t force it too hard; just give it a little wiggle. I always keep my multi-tool handy for these exact moments when things aren’t cooperating.
- 4. Once the handle is off, you’ll see the cartridge or the stem. This is usually where the culprit lives. Depending on your faucet type, you might need to unscrew a packing nut or pull out a cartridge. If you’re dealing with an older model, it’s likely a worn-out washer that’s causing the drip. Just take your time here; there’s no rush to finish this in five minutes.
- 5. Inspect the parts you’ve pulled out. Look for any cracks, mineral buildup, or those little rubber washers that look flattened or torn. If you see something that looks questionable, just take it with you to the local hardware store. I’ve learned the hard way that guessing the size of a replacement part is a quick way to end up making three trips to the store instead of one.
- 6. Swap out the old, crusty parts for the fresh ones. If you’re replacing a washer, make sure it’s seated firmly in its spot. If you’re replacing a whole cartridge, just line it up with the notches in the faucet body. It’s a bit like assembling a simple puzzle—as long as everything is aligned properly, you should be good to go.
- 7. Put everything back together in the exact reverse order that you took it apart. Tighten the screws, pop the handle back on, and replace the decorative cap. Once everything is secure, slowly turn the water valves back on under the sink. Check for leaks immediately, and if you don’t see any water pooling, you’ve officially won the battle against that annoying drip.
Diagnosing Common Causes of Leaking Taps Fast
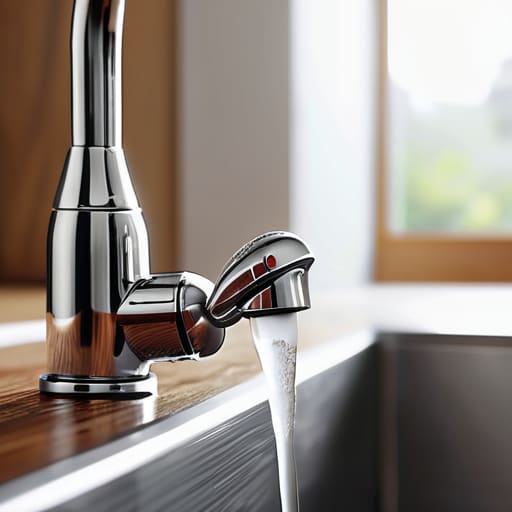
Before you start tearing things apart, you need to play detective for a minute. Most of the time, that annoying sound is coming from a few common causes of leaking taps that are actually pretty predictable once you know what to look for. If the drip is coming from the spout itself, you’re likely looking at a worn-out seal or a washer that’s seen better days. However, if water is pooling around the base of the handle every time you turn it on, the issue is probably deeper inside the internal mechanism.
If you have a single-handle setup, you’re likely dealing with a cartridge issue rather than a simple washer. This means your troubleshooting will lean more toward cartridge faucet replacement steps rather than just swapping out a tiny rubber ring. I always tell myself: identify the culprit before you buy the parts. It saves a massive headache (and an extra trip to the hardware store) when you can walk in knowing exactly what you need. Grab a flashlight, check where the moisture is actually originating, and let’s figure out if we’re looking at a quick fix or something a bit more involved.
The Essential Plumbing Tools for Faucet Repair
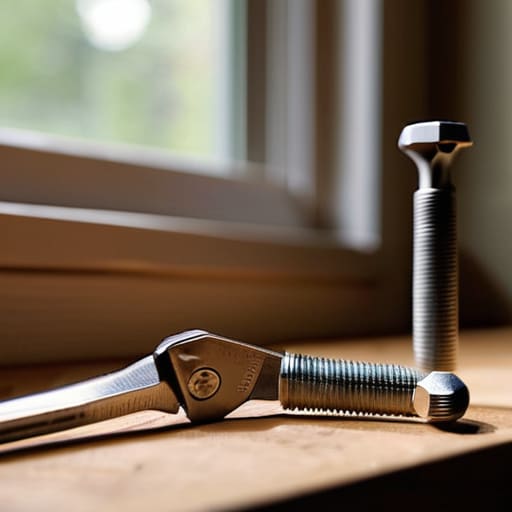
Before you dive in, let’s talk gear. I’ve learned the hard way that running to the hardware store halfway through a job is the fastest way to lose your momentum (and your sanity). You don’t need a professional-grade toolkit, but you do need a few reliable plumbing tools for faucet repair to avoid stripping screws or scratching your finish. At a minimum, grab an adjustable wrench, a screwdriver set (both Phillips and flathead), and some needle-nose pliers. If you’re dealing with a more complex setup, having a bit of plumber’s grease on hand is a total game-changer for making things glide smoothly.
One thing my dad always told me—and I swear by it—is to protect your workspace. If you’re working on a delicate finish, wrap your wrench in a bit of electrical tape or a thin rag so you don’t leave ugly marks on the metal. Also, if your specific model requires a replace faucet washer approach, make sure you have a few assorted washer kits ready to go. It’s much better to have a spare part sitting there than to be stuck staring at a dry sink while the water keeps dripping in the background.
Pro-Tips to Save Your Sanity (and Your Sink)
- Don’t skip the “shut-off” step. Before you even touch a screwdriver, find those valves under the sink and turn them off. There is nothing quite as soul-crushing as a “quick fix” turning into an accidental indoor swimming pool in your kitchen.
- Keep a towel or a rag handy to plug the drain. I’ve lost more than one tiny, crucial screw to the dark abyss of the P-trap, and trust me, you don’t want to be hunting for hardware in the plumbing while you’re already frustrated.
- Take your old parts with you. When you head to the hardware store, don’t just guess the size of the washer or the cartridge based on a blurry photo. Grab the actual broken piece and bring it with you to ensure you’re getting an exact match.
- Clean as you go. While you have the faucet disassembled, use a little white vinegar to soak off any mineral buildup or crusty lime scale. It’s a small step that makes a huge difference in how well the new parts actually seat.
- Resist the urge to over-tighten. I know it’s tempting to crank that nut down as hard as you can to “make sure it stays,” but you’ll likely just crack a seal or strip a thread. Tighten it until it’s snug, then stop. Let the hardware do its job.
The Bottom Line: Keep It Simple and Save Your Cash
Don’t let a tiny drip intimidate you; most faucet issues are just a worn-out washer or cartridge that you can swap out yourself in twenty minutes.
You don’t need a professional-grade toolkit to get the job done, but having the right basic wrench and a screwdriver on hand will save you a massive headache.
Stop treating a leak like an aesthetic “vintage” vibe—fix it as soon as you notice it to keep your water bill from creeping up and to prevent actual damage to your sink.
## A Little Perspective on the Drip
“A leaky faucet isn’t a sign that your house is falling apart; it’s just a tiny, annoying system failure waiting for a quick fix. Don’t let a little water waste make you feel like you’re failing at adulting—grab your wrench, tackle the drip, and reclaim your peace of mind.”
Maya Sterling
You’ve Got This
At the end of the day, fixing that drip isn’t about becoming a master plumber; it’s about taking a small, practical step to reclaim your space and your budget. We’ve walked through identifying the culprit—whether it’s a worn-out washer or a faulty cartridge—and gathered the basic tools you need to get the job done. Remember, you don’t need a garage full of expensive equipment to make a difference; you just need a bit of patience and the right approach. By tackling this now, you’re preventing a minor annoyance from turning into a costly emergency repair down the road.
I know that staring at a disassembled faucet can feel a little intimidating when you aren’t used to getting your hands dirty, but I promise that the feeling of satisfaction once that water finally stops dripping is totally worth it. Life is messy, and things in our homes are bound to break, but you don’t have to call a professional every time something goes slightly sideways. Every small fix you master is one more way you’re building a life that works for you, on your own terms. So, grab your multi-tool, take a deep breath, and go show that faucet who’s boss.
Frequently Asked Questions
I tried replacing the washer but it's still dripping—did I probably buy the wrong size or is there something else broken inside?
Ugh, I’ve been there. It’s so frustrating when you think you’ve finally nailed it and that drip just won’t quit. Honestly, it’s usually one of two things: either the washer size is slightly off, or the valve seat itself is corroded or pitted. If the seat is uneven, even a brand-new washer won’t create a tight seal. Grab your multi-tool and check for any mineral buildup or scratches inside the housing before buying more parts.
Is it actually worth trying to fix this myself, or am I just going to end up causing a bigger flood and needing to call an expensive plumber anyway?
Look, I get it. The fear of turning a tiny drip into a kitchen lake is real. But honestly? Most faucet leaks are just a worn-out washer or a loose cartridge—simple stuff. If you follow the steps and take it slow, you’ll likely save a massive service fee. Just remember: if things feel like they’re escalating or you’re staring at a pipe you don’t recognize, stop. There’s no shame in calling a pro once you’ve hit your limit.
How do I know if I need to replace the entire faucet fixture instead of just fixing a small part?
Look, I’ve been there—staring at a sink, wondering if I’m just wasting my Saturday on a lost cause. Here’s my rule of thumb: if it’s just a worn-out washer or a cartridge, fix it. But if the actual metal body of the faucet is corroded, or if you’ve replaced the parts twice and it’s still dripping, it’s time to call it. Don’t throw good money after bad; just grab a new fixture and move on.
