
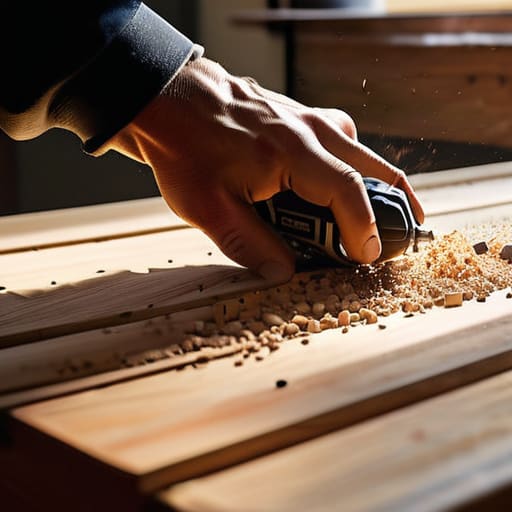
I was standing in my living room last Tuesday, staring at a crookedly hung floating shelf and a pile of sawdust, wondering why I hadn’t just called a handyman. My dad always made it look so effortless, but as I gripped that heavy, vibrating tool, I realized I had no idea how to use a drill without feeling like I was about to puncture a water pipe or strip every screw in sight. We’ve been sold this idea that you need a massive, professional-grade workshop to handle basic home fixes, but honestly? That’s just unnecessary noise that keeps people from actually getting things done.
In this guide, I’m stripping away the intimidating jargon and the “expert” fluff to give you the actual, messy reality of home maintenance. I’m going to walk you through the essential mechanics, from picking the right bit to controlling that sudden kickback, so you can stop feeling paralyzed by your toolbox. You aren’t going to become a master carpenter overnight, but I promise you’ll learn enough to stop guessing and start building things that actually stay on the wall.
Table of Contents
- Step-by-Step Instructions
- Mastering Drill Bit Types and Uses Without the Overwhelm
- Drilling Into Wood vs Metal Real Results Not Pinterest Perfection
- Pro-Tips for When You’re Actually Trying to Get Things Done
- The Real-World Cheat Sheet
- ## The Reality Check
- Don't Let the Tool Intimidate You
- Frequently Asked Questions
Guide Overview
Tools & Supplies
- Power Drill (cordless or corded drill)
- Drill Bits (set of wood, metal, or masonry bits)
- Safety Glasses (1 pair)
- Workpiece (1 piece of wood, metal, or plastic)
- Marking Tool (1 pencil or marker)
Step-by-Step Instructions
- 1. First things first, you need to pick the right bit for the job. I know, it looks like a confusing little metal forest in the tool kit, but just look at the tip. If you’re just driving a screw, you need a bit that matches the shape of the screw head exactly so you don’t strip the screw and end up frustrated. If you’re actually making a hole, you need a drill bit, and those are usually pointed or have a little notch at the end.
- 2. Once you’ve got your bit, pop it into the chuck. The chuck is that adjustable part at the very front of the drill. You’ll likely have to twist it to open the “jaws” wide enough to fit the bit, slide the bit in, and then tighten it back up firmly. If your drill has a key (a little metal tool used to tighten it), use it, but most modern ones are keyless and just require a good, solid twist with your hand.
- 3. Before you even touch the trigger, check your settings. Most drills have a ring near the chuck with different symbols. If you see a little screw icon, you’re in “driver” mode; if you see a drill bit icon, you’re in “drill” mode. I’ve definitely made the mistake of trying to drill a hole while set to driver mode, and it’s a total waste of energy.
- 4. Now, get your footing. If you’re working on a wall, make sure you aren’t leaning your whole body weight against it in a way that’ll make you slip. Hold the drill with both hands if you can—one on the main handle and one on the back or the side grip. You want to be steady and controlled, not fighting the machine like it’s trying to escape.
- 5. When you’re ready to go, place the tip of the bit against your mark. Don’t just slam the trigger; start with a very light squeeze to get the bit centered and moving. Once you feel it “bite” into the material and stay on track, you can increase the pressure. If you’re drilling into something like wood, keep a consistent, firm pressure, but don’t force it so hard that you snap the bit.
- 6. If you’re driving a screw, this is where the “clutch” comes in. That numbered ring near the front lets you control how much power is sent to the screw. If you’re working with something delicate, like a thin piece of wood, set it to a lower number. This way, when the screw gets tight, the drill will make a clicking sound and stop turning instead of driving the screw halfway through your project.
- 7. Finally, when you’re done with the hole or the screw, don’t just yank the drill away. Slowly ease off the trigger to let the bit come to a complete stop while it’s still in the material. This prevents the bit from jumping out and scratching your surface or, worse, catching your hand. Pull it straight out, and you’re good to go.
Mastering Drill Bit Types and Uses Without the Overwhelm
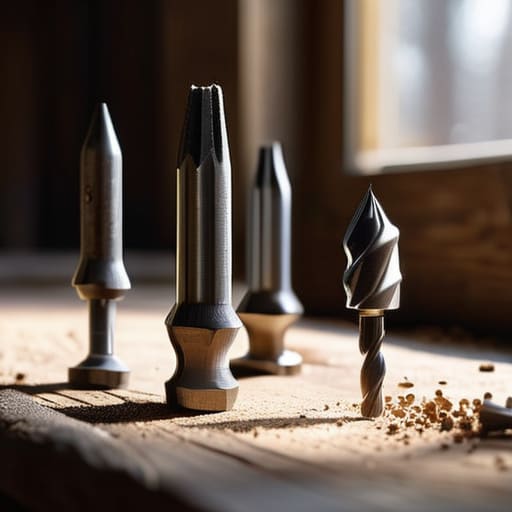
Look, walking into a hardware store and staring at a wall of shiny metal bits can feel like trying to read a foreign language. It’s overwhelming, but here’s the secret: you don’t need the whole catalog. Most of the time, you’re just navigating the difference between drilling into wood vs metal. For wood, you want those standard twist bits that bite into the grain. If you’re working with metal, you need something specifically designed to handle that heat without melting into a useless blob. Honestly, just grab a small variety pack of the basics and you’ll be fine for 90% of your apartment projects.
Once you have the right bit, don’t just mash the trigger and hope for the best. Pay attention to your adjusting drill torque settings—it sounds technical, but it’s really just about telling the drill when to stop pushing so you don’t strip your screws or crack your materials. Think of it as finding the sweet spot between power and control. It’s not about being a pro; it’s just about not making a bigger mess than you started with.
Drilling Into Wood vs Metal Real Results Not Pinterest Perfection
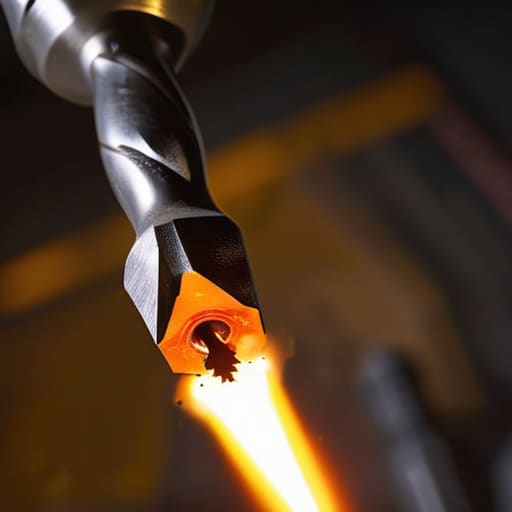
When you move from a piece of scrap pine to a metal bracket, you’re going to notice a massive difference in how the tool behaves. When I’m drilling into wood vs metal, the biggest mistake I see is treating them exactly the same. Wood is forgiving; it wants to let you in. But metal? Metal fights back. If you go in too fast with a high speed, you’ll actually burn up your bit before you even make a dent. For metal, I always slow down the trigger pull and apply steady, firm pressure. It’s more of a slow burn than a quick burst.
Another thing that trips people up is the settings. If you’re working on something delicate, don’t forget about adjusting drill torque settings to prevent stripping your screws. It’s not about being fancy; it’s about not having to redo the work because you were too aggressive. If you feel the drill jerking or slipping, stop, check your bit, and adjust your approach. It’s much better to take an extra thirty seconds to get the settings right than to spend an hour fixing a ruined project.
Pro-Tips for When You’re Actually Trying to Get Things Done
- Mark your spot with a nail or a center punch first. If you just try to press the bit against a smooth surface, it’s going to skitter across the wood like a nervous toddler, and you’ll end up with a scratch instead of a hole.
- Don’t go full throttle right away. Start with a slow, steady squeeze on the trigger to get the bit seated, then ramp up the speed once you know you’re on track. It saves your hardware and your sanity.
- Use a piece of scrap wood as a “backer.” If you’re drilling all the way through something, clamp a scrap piece of wood underneath it. This prevents the back side of your project from splintering or blowing out when the bit exits.
- Check your clutch settings. If you’re driving screws and the drill keeps stopping or stripping the head, you probably need to adjust that numbered ring on the front. It’s basically the “intensity” dial for how much force the drill applies.
- Keep your eyes on the work, not the drill. It sounds obvious, but when you’re staring at the trigger or the battery, you lose your sense of depth. Watch the bit meet the material so you can feel when it’s biting in.
The Real-World Cheat Sheet
Stop overthinking the gear; just make sure you’re using the right bit for the material so you don’t end up with a stripped screw or a ruined piece of wood.
Focus on steady, even pressure rather than trying to force the drill through the surface—let the tool do the heavy lifting so you don’t lose control.
Safety isn’t about being perfect, it’s just about being smart: wear your eye protection and double-check your workspace so a quick project doesn’t turn into a headache.
## The Reality Check
“Don’t let the fear of a crooked hole stop you from starting; a drill is just a tool to solve a problem, not a test of your perfectionism. If the screw goes in and the shelf stays up, you’ve already won.”
Maya Sterling
Don't Let the Tool Intimidate You
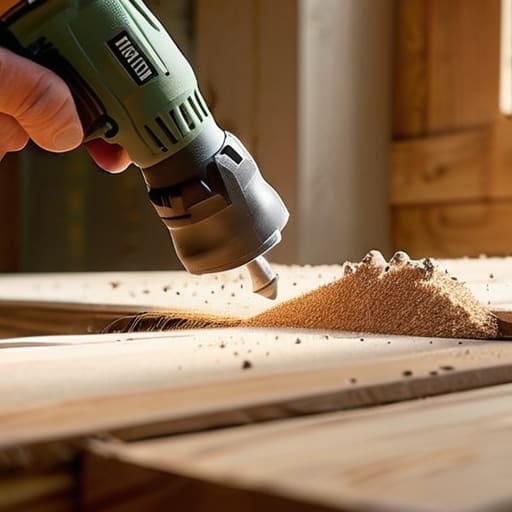
At the end of the day, using a drill isn’t about having a garage full of expensive gadgets or knowing every single technical specification by heart. It’s really just about knowing which bit to grab for the job at hand and having the confidence to apply steady pressure without overthinking it. We’ve covered how to pick the right bit, how to handle different materials like wood and metal, and how to keep your project from turning into a disaster. Just remember that the goal isn’t to create a museum-quality masterpiece on your first try; the goal is to get the screw in the wall so you can finally hang that shelf and move on with your life.
If you ended up with a slightly crooked hole or a splintered piece of wood, please don’t beat yourself up. I’ve definitely been there, usually while trying to fix something that should have taken five minutes but ended up taking an hour. The real win here isn’t a flawless finish—it’s the fact that you picked up the tool and actually did the thing yourself. DIY is a messy, trial-and-error process, and that is perfectly okay. Stop waiting for the “perfect” moment or the “perfect” skill level to start your next project. Just grab your drill, trust your gut, and start making things work in your own space.
Frequently Asked Questions
How do I stop the drill from slipping and scratching my surface when I'm first starting the hole?
I’ve definitely been there—that heart-sinking moment when the bit skids across your wood and leaves a permanent scar. To stop the slip, don’t just dive in. Grab a piece of painter’s tape and stick it right where you want to drill; it gives the bit something to grip. Or, even better, use a center punch (or an old nail and a hammer) to make a tiny little divot first. It gives the bit a home so it stays put.
Is there a way to tell if I'm using too much pressure and about to burn out the motor or snap a bit?
If you’re leaning into the drill with your whole body weight, you’re doing too much. I used to think more muscle meant more progress, but all that does is overheat the motor or snap a bit mid-hole. Instead, listen to the sound. If it starts whining or sounds like it’s struggling to breathe, back off. You want a steady, consistent hum. Let the tool do the heavy lifting; your job is just to guide it.
Do I actually need to buy a separate set of bits for every single project, or can I get by with just a few basics?
Honestly? Absolutely not. Please don’t fall into the trap of thinking you need a massive, expensive kit for every little thing. I used to do that until my junk drawer became a graveyard of unused plastic cases. Start with a small, decent set of multipurpose bits—wood, metal, and maybe a few masonry ones if you’re feeling ambitious. Get the basics that actually work, and only expand when a specific project makes it necessary.
