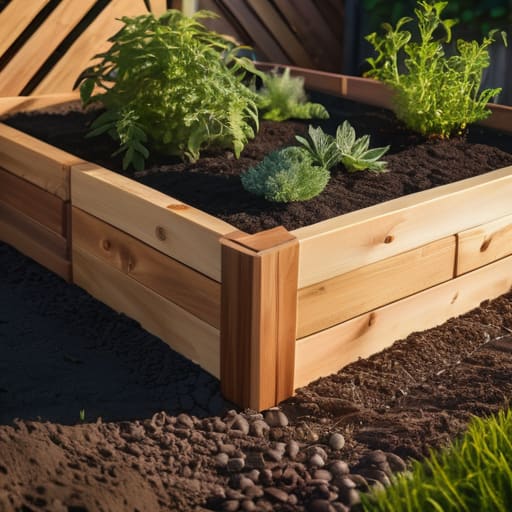
I was standing in my tiny patch of dirt last spring, staring at a $150 “designer” cedar kit I’d ordered online, feeling completely defeated because I couldn’t figure out why the pieces wouldn’t line up. It was one of those moments where the gap between the Pinterest dream and my actual reality felt massive. I realized then that most guides on how to build a raised garden bed are either way too expensive or way too complicated, assuming you have a workshop full of power tools and a massive backyard. Truthfully, you don’t need a master carpenter’s license or a huge budget to get something growing in the ground; you just need a solid plan and some decent wood.
In this guide, I’m stripping away the fluff and the performative “aesthetic” gardening nonsense. I’m going to show you exactly how to build a raised garden bed using simple, sturdy materials that won’t break the bank. We’ll walk through the actual assembly, the best soil hacks for beginners, and how to avoid the common mistakes that usually end in a pile of rotting wood. This isn’t about creating a garden masterpiece for Instagram; it’s about building a functional system that actually works for your life and your wallet.
Table of Contents
Guide Overview
Tools & Supplies
- Drill/Driver for assembling boards
- Measuring tape for accurate cuts
- Level to ensure even ground
- Untreated cedar or pine boards (approx. 4-6 boards)
- Wood screws (1 box of 2.5 inch)
- Garden soil (enough to fill volume)
- Hardware cloth or landscape fabric (optional for base)
Step-by-Step Instructions
- 1. First things first, you need to pick your spot and grab your wood. I know the internet loves to push expensive, pre-cut cedar kits, but honestly? Just head to your local hardware store and grab some untreated, rot-resistant lumber like cedar or redwood if your budget allows. If you’re on a tight budget, even standard heat-treated pine works, just know you might have to replace it sooner. Measure out where you want the bed to sit—I usually aim for about 3 or 4 feet wide so I can actually reach the middle without stepping on my soil and compacting it.
- 2. Once you have your wood, it’s time for the assembly. You don’t need a workshop; a simple cordless drill and some exterior-grade wood screws are your best friends here. Lay your boards out on a flat surface (like your driveway or even a patch of grass) to form a rectangle. I like to use 4×4 posts in the corners to act as anchors; it makes the whole structure way more stable and prevents the sides from bowing outward once you fill it with heavy, wet soil.
- 3. Before you even think about adding dirt, you have to prep the ground. Don’t just plop the box on top of your lawn and call it a day—the weeds will win that battle immediately. I usually clear out the grass or, even better, lay down a thick layer of plain brown cardboard at the bottom of the bed. It’s a total lifesaver because it smothers the weeds and grass, then eventually breaks down naturally to feed the soil.
- 4. Now comes the part that feels like a workout: the soil mix. Please, I am begging you, don’t just use dirt from your backyard. It’s usually too dense and lacks the nutrients your plants are craving. I swear by a simple, functional mix of one part compost, one part peat moss (or coconut coir), and one part vermiculite. It’s a bit of a heavy lift to shovel it all in, but your future vegetables will actually thrive instead of just surviving.
- 5. While you’re filling it, take a second to think about your layout. Since I’m a bit of a herb nerd, I like to leave a little extra space for things like mint—but keep it in a pot inside the bed, otherwise, it will hijack the entire garden like an uninvited guest. Group your plants by how much water they need so you aren’t constantly playing a guessing game with the hose.
- 6. Finally, give everything a good, deep soak. Don’t just sprinkle the surface; you want the water to reach deep down into that new soil mix to settle everything in. Once it’s damp, you’re officially a gardener. It might not look like those perfectly manicured professional plots you see on Instagram, but it’s yours, it’s functional, and it’s ready to grow.
The Real Truth About Cedar vs Pressure Treated Lumber
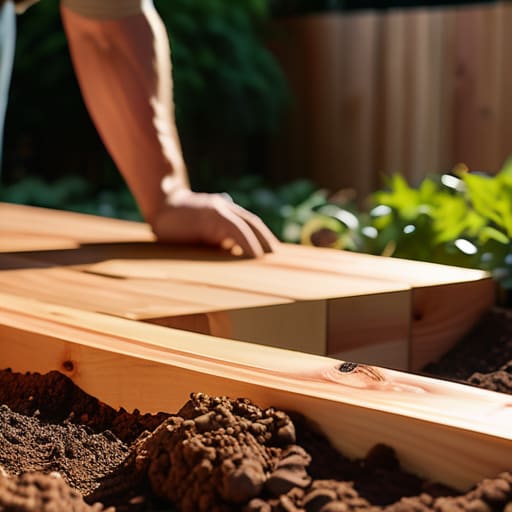
When you’re standing in the lumber aisle, the price tag on cedar is going to give you immediate sticker shock. I get it. It’s tempting to pivot to the cheaper option, but when it comes to the cedar vs pressure treated lumber debate, there’s a bit more to the story than just the cost. Cedar is naturally rot-resistant, meaning it can handle being shoved in the dirt for years without falling apart. It’s the gold standard for a reason, even if it feels like a splurge upfront.
Now, I know what you’re thinking: “Is the pressure-treated stuff actually toxic?” The truth is, modern treated wood uses different chemicals than the old-school stuff, but I still prefer to play it safe, especially if you’re growing things you plan to eat. If you do go the budget route with treated wood, I always recommend lining your beds with a heavy-duty barrier to keep things separated. Ultimately, choosing the best wood for raised beds comes down to your budget and how much you want to rebuild this project in three years.
Choosing Garden Bed Dimensions for Vegetables That Wont Fail You
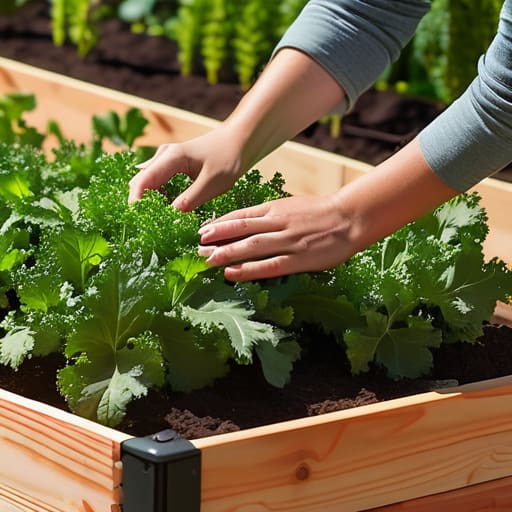
Here is where most people trip up: they build something that looks great in a sketch but becomes a nightmare to actually maintain. My biggest piece of advice? Don’t build anything wider than four feet. I know, it sounds counterintuitive if you’re trying to maximize space, but unless you want to be stepping into your garden and compacting all that expensive soil, you need to be able to reach the center from either side. If you can’t reach the middle without leaning precariously, you’ll eventually stop weeding the center, and that’s how a garden becomes a jungle.
When it comes to depth, it’s tempting to go super shallow to save money, but your plants will pay the price. Most veggies need at least 12 inches of space to actually stretch their roots. If you’re planning on heavy feeders like tomatoes, aim for even deeper. Also, keep your length in mind based on your actual walking paths. I’ve seen so many people struggle with awkward garden bed dimensions for vegetables simply because they forgot they need room to move around the perimeter with a watering can or a harvest basket. Keep it accessible, or you won’t use it.
5 things I wish I knew before I started digging
- Don’t overthink the height. While those massive, waist-high beds look great in photos, they’re expensive and overkill for most veggies. A simple 12-inch depth is plenty for lettuce, herbs, and most root veggies, and it’ll save you a massive chunk of change on soil.
- Line the bottom with cardboard, not plastic. I used to think I needed a barrier to stop weeds, but if you layer plain, non-glossy cardboard at the base, it actually smothers the grass and then decomposes into the soil. It’s free, it works, and it’s way better for the long-term health of your dirt.
- Leveling is the unglamorous hero of gardening. If your bed is even slightly tilted, water is going to pool in one corner and leave the other side bone-dry. Spend the extra twenty minutes with a level and a shovel to get the base flat; your plants (and your sanity) will thank you.
- Think about your reach, not just your space. There is nothing more frustrating than having a beautiful garden bed that you can’t actually reach the middle of without stepping into it and compacting the soil. Keep your beds narrow enough so you can reach every single inch from the perimeter.
- Plan for your future self. If you’re building these yourself, add a few extra screws or a small scrap of wood to your toolkit. You’ll eventually want to add a trellis for climbing peas or a divider for a different crop, and having a sturdy, well-constructed frame makes those “mid-season pivots” actually possible.
The TL;DR version
Don’t get paralyzed by the “perfect” setup; pick a wood that fits your budget and get it in the ground before the growing season slips away.
Keep your beds narrow enough that you can actually reach the middle without stepping on your soil and crushing the life out of it.
Focus on functionality over aesthetics—a slightly crooked garden bed that produces massive tomatoes is infinitely better than a beautiful one that stays empty.
The real goal of gardening
Your garden doesn’t need to look like a professional landscape magazine to be successful; it just needs to be a place where you can actually reach the plants without breaking your back or breaking your budget.
Maya Sterling
Get Your Hands Dirty
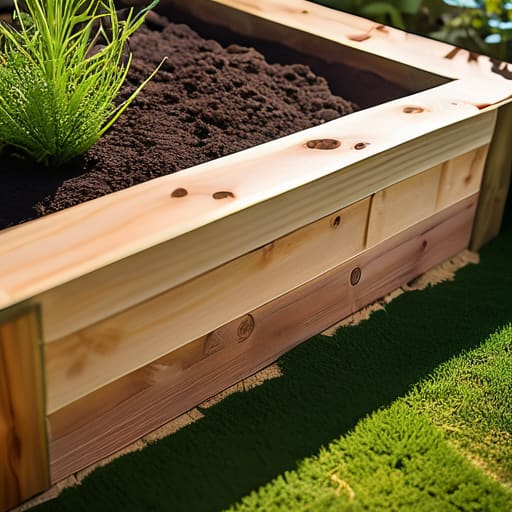
At the end of the day, building a raised bed isn’t about having a perfectly manicured backyard that looks like a magazine spread. It’s about the basics: picking lumber that won’t rot in a year, sizing your beds so you can actually reach the middle without breaking your back, and getting that soil in the ground before you lose your nerve. Whether you went with the premium cedar route or opted for something more budget-friendly, the goal was always the same—creating a functional space where things can actually grow. Don’t sweat the small stuff, like a slightly crooked corner or a mismatched screw; as long as the structure is sturdy and level, your plants won’t care one bit.
I know that starting a DIY project can feel like another massive item on an already overflowing to-do list, but I promise you, the payoff is worth the initial mess. There is something incredibly grounding about stepping outside to harvest a handful of basil or a few tomatoes that you grew from scratch in a bed you built yourself. Stop waiting for the “perfect” time or the perfect toolset to arrive. Just grab your multi-tool, head to the hardware store, and start building. You’ve totally got this.
Frequently Asked Questions
Do I really need to line the bottom with cardboard, or is that just an extra step I can skip?
Honestly? It’s one of those “extra” steps that actually pays off. You don’t need it, but if you skip the cardboard, you’re basically inviting grass and weeds to move into your new garden bed for free. I always layer a few sheets of plain, non-glossy cardboard at the bottom. It smothers the weeds and eventually breaks down into compost, making your soil richer. It’s a five-minute task that saves you hours of weeding later.
How do I keep the soil from washing out of the corners after a heavy rain?
Ugh, I’ve been there—standing on my porch watching my expensive organic soil literally migrate into the walkway after a storm. It’s so frustrating. Honestly, the easiest fix is to line the inside of your bed with a heavy-duty landscape fabric before you add the dirt. It lets the water drain through but keeps the soil put. If you don’t want to do that, just tuck some larger stones or even some old terracotta shards into the corners first to create a natural barrier.
Is it worth it to build a raised bed on top of my existing grass, or should I clear the area first?
Honestly? Don’t waste your entire weekend wrestling with a shovel and a tiller. If you’re looking for the “functional over aesthetic” approach, just go with the “no-dig” method. Lay down some thick, plain brown cardboard over the grass first—make sure you remove any tape—and then pile your soil right on top. It smothers the weeds and turns the grass into compost right under your feet. It’s a little lazy, sure, but it works.