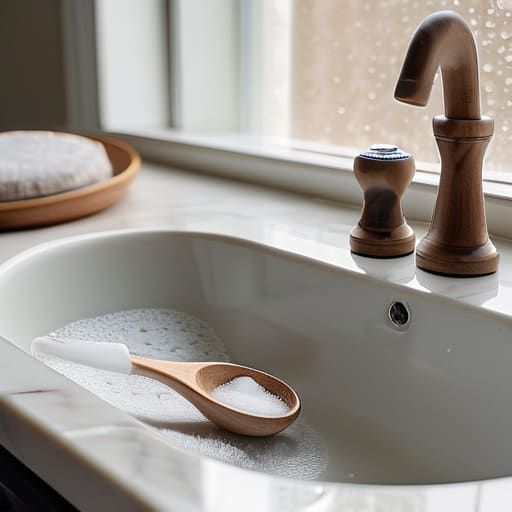
I was standing in my kitchen last Tuesday, staring at a pool of murky, lukewarm water swirling around my ankles, wondering why on earth I hadn’t learned this sooner. There is nothing quite like the sudden, sinking realization that you’re officially “adulting” when a sink backup turns your evening plans into a frantic search for a plunger. Most people think you need to call an expensive plumber or pour a gallon of caustic, lung-burning chemicals down the pipe to fix it, but that is a total myth. I’ve learned that knowing how to unclog a drain is actually much more about having the right basic tools and a little bit of patience than it is about spending a fortune.
In this guide, I’m skipping the performative, “perfect home” advice and getting straight to the tested methods that actually work in a real, messy apartment. I’ll walk you through the low-cost DIY hacks I use in my own home—from the baking soda trick to using a simple zip tool—so you can clear those pipes without losing your mind or your savings. We aren’t aiming for a Pinterest-perfect kitchen here; we’re just aiming for functional plumbing that actually works.
Table of Contents
- Step-by-Step Instructions
- Ditch the Chemicals for Natural Drain Cleaner Recipes
- Mastering Plumbing Snake Usage Without the Expensive Plumber
- A few little things I’ve learned the hard way
- The bottom line on keeping your drains flowing
- ## The Real Lesson in a Clogged Sink
- Wrapping It All Up
- Frequently Asked Questions
Guide Overview
Tools & Supplies
- Plunger [Cup or flange style to create suction]
- Drain Snake [Handheld auger to reach deeper clogs]
- Baking Soda [1/2 cup for natural cleaning]
- Vinegar [1/2 cup to react with baking soda]
Step-by-Step Instructions
- 1. First things first, clear out the surface clutter. If you’re looking at a sink, move your soap dispensers and scrub brushes out of the way so you actually have room to work. I always keep a small bucket nearby because, let’s be honest, things are about to get a little bit messy once we start poking around.
- 2. Grab a pair of old tweezers or, if you’re feeling extra resourceful, that multi-tool I always have in my bag, and pull out any visible hair or gunk sitting right at the drain stopper. It’s gross, I know, but removing the “easy” stuff first can sometimes be enough to break the seal of the clog without needing anything more intense.
- 3. If the water is still sitting there stubbornly, it’s time to reach for the plunger. Make sure you’re using a cup-style plunger for sinks rather than the flange ones meant for toilets; you want a tight seal around the drain. Give it a few firm, rhythmic pumps to create the pressure needed to shift whatever is stuck underneath.
- 4. If the plunger didn’t do the trick, we’re moving into the baking soda and vinegar phase. Pour about half a cup of baking soda down the drain, followed by half a cup of white vinegar. It’s going to fizz and bubble like a middle school science project, but that chemical reaction is actually doing the heavy lifting to break down organic buildup. Let it sit for at least 20 minutes.
- 5. While that mixture is working its magic, go ahead and boil a kettle of water. Once the timer is up, pour the hot water directly down the drain in a steady stream. This helps flush away the loosened debris and any leftover oily residue that might be causing the backup in the first place.
- 6. If you’re still staring at a pool of stagnant water, it’s time to get a little more hands-on with the P-trap. This is that U-shaped pipe under your sink. Place a bucket underneath it to catch whatever falls out, then unscrew the slip nuts by hand (or with a wrench if they’re being stubborn). Once the trap is off, clear out the gunk manually—it’s much more satisfying than it is disgusting once you realize you’ve actually solved the problem.
- 7. Finally, once you’ve cleared the blockage and reassembled everything, run the hot water for a few minutes to ensure everything is flowing smoothly. Check the connections under the sink to make sure there aren’t any new leaks. If it’s draining well, you’re officially back in business and can go back to your day.
Ditch the Chemicals for Natural Drain Cleaner Recipes
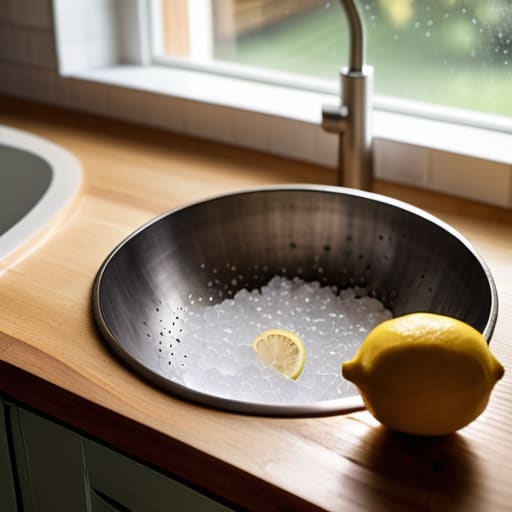
Look, I get the temptation to grab those heavy-duty, caustic cleaners from the grocery store aisle. They promise instant results, but honestly? They’re harsh on your pipes and even harsher on your lungs. I’ve learned the hard way that most of those chemicals just create a toxic sludge that’s a nightmare to deal with later. Instead, I always lean on natural drain cleaner recipes that I already have sitting in my pantry.
A classic combo of baking soda and vinegar is my absolute go-to for a stubborn kitchen sink blockage. It’s not going to work like magic in five seconds, but if you let that fizzing reaction sit for a bit, it does a surprisingly decent job of breaking down organic gunk. If you’re dealing with something a bit more persistent, don’t be afraid to follow up with a kettle of boiling water. It’s a simple, low-cost way to handle routine bathroom drain maintenance without turning your home into a chemistry lab. It’s much better for your plumbing—and your wallet—in the long run.
Mastering Plumbing Snake Usage Without the Expensive Plumber
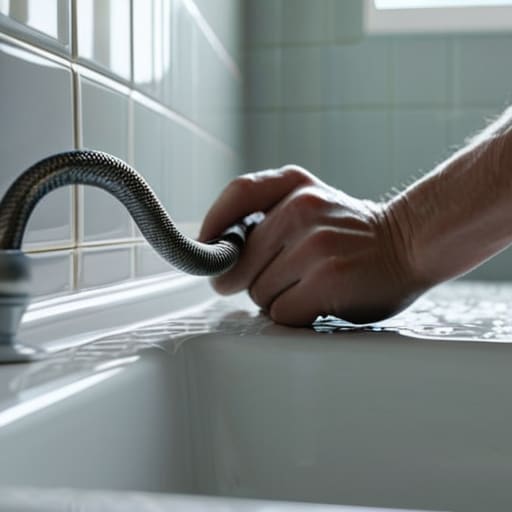
If the baking soda and vinegar trick didn’t do the job, it’s time to get a little more hands-on with a plumbing snake. I used to be terrified of this tool—I always thought I’d end up breaking a pipe or making a massive, watery mess—but once you get the hang of it, it’s a total game-changer. When you’re practicing plumbing snake usage, the secret is patience. Don’t just shove it in there and crank the handle like you’re starting a lawnmower. Instead, feed the cable in slowly until you feel that resistance, then give it a gentle twist to grab onto whatever is causing the snag.
The most important thing I’ve learned is to listen to the feedback from the cable. If it feels stuck, don’t force it; you might be hitting a corner in the pipe. Also, keep a bucket and some old rags nearby—it’s going to get a bit gross, and trust me, you don’t want that murky water splashing onto your floor. Mastering this is a huge part of long-term bathroom drain maintenance, and honestly, it’s much more satisfying than calling a plumber and paying a service fee just to show up.
A few little things I’ve learned the hard way
- Check your P-trap before you panic. Most of the time, the clog is just sitting right there in that U-shaped pipe under the sink. It’s a bit gross, but putting a bucket underneath and unscrewing it is way faster than calling a professional.
- Don’t go overboard with the plunger. I used to think more force meant more success, but you can actually end up pushing the clog deeper into your pipes. It’s all about that rhythmic, steady pressure to create a vacuum, not just a frantic workout.
- Use a wire hanger if you’re in a pinch. If you don’t have a fancy snake handy, straighten out a cheap wire hanger and put a tiny little hook at the end. It’s perfect for fishing out those annoying clumps of hair that love to hang out near the drain stopper.
- Hot water is your best friend, but use it wisely. Pouring boiling water down the drain can help melt away soap scum or grease, but if you have PVC pipes, stick to very hot tap water instead so you don’t accidentally warp the seals.
- Prevention is actually easier than the cure. I’ve started using those little mesh drain strainers in my kitchen and bathroom. They cost next to nothing, and honestly, catching the debris before it goes down the drain saves me so much stress (and money) in the long run.
The bottom line on keeping your drains flowing
Don’t panic and reach for the harsh chemicals first; they can actually damage your pipes over time, so try the baking soda and vinegar method before you go nuclear.
Investing in a basic plumbing snake is a total game-changer that will save you hundreds in plumber fees—it’s one of those tools that’s worth its weight in gold.
Prevention is way easier than a cure, so try to catch hair and food debris before they even make it down the drain to save yourself the headache later.
## The Real Lesson in a Clogged Sink
“A clogged drain is never actually about the plumbing; it’s usually just a tiny, annoying reminder that our systems—whether they’re in our pipes or our daily routines—need a little bit of unglamorous maintenance to keep running smoothly.”
Maya Sterling
Wrapping It All Up
Look, we’ve covered a lot of ground today, from skipping those harsh, caustic chemicals in favor of simple pantry staples to actually getting your hands dirty with a plumbing snake. Whether you ended up using the baking soda method or had to do a little manual labor to clear out a stubborn clog, the important thing is that you tackled the problem yourself. You don’t need a degree in engineering or a massive budget to keep your pipes flowing; you just need a little bit of patience and the right tools on hand. Remember, the goal isn’t to have a perfect, showroom-ready kitchen, but to have a home that actually works for you without constant, expensive interruptions.
If you’re feeling a little exhausted or maybe a bit grossed out by the process, honestly, I get it. I’ve definitely had moments where I just wanted to close the cabinet and pretend the slow drain didn’t exist. But there is something so incredibly empowering about realizing that these little household hiccups aren’t insurmountable disasters. Once you master these basic, messy systems, you stop feeling like a victim to your own home and start feeling like the person in control. So, take a breath, wash your hands, and celebrate the win—you just saved yourself a hefty plumber’s bill and proved you’ve got this.
Frequently Asked Questions
Is it safe to use a plunger on a sink, or am I just going to end up making a huge mess on my floor?
It is absolutely safe, but you’re right to be cautious—it can definitely get messy if you don’t prep. The trick is to plug the overflow hole (that little hole near the top of the sink) with a damp rag first. If you don’t, the air pressure just escapes through there instead of hitting the clog. Seal that up, use a small cup plunger, and you’ll avoid the dreaded sink-splatter on your floor.
At what point do I stop trying to DIY this and actually call in a professional before I break something?
Look, I’m all for the DIY spirit, but there’s a line between “saving money” and “calling a plumber to fix a flood.” If you’ve tried the snake and the baking soda and nothing is moving, stop. If you notice water backing up into the shower when you flush the toilet, or if you see actual cracks in your pipes, put the multi-tool down. Don’t risk a massive repair bill just to save a service fee.
If I’ve already poured some store-bought cleaner down there, can I still try the baking soda and vinegar trick?
Wait, stop right there! If you’ve already poured a store-bought chemical cleaner down the drain, please don’t add the baking soda and vinegar yet. Mixing those can cause a literal chemical reaction that might splash back or even release fumes you don’t want in your kitchen. Flush the drain with plenty of hot water first to clear out as much of the commercial stuff as possible before you try my natural method. Safety first!